
Since I was a child I have always loved spending time to diassemble things and putting them back together.
Actually I was much better at taking them apart than putting them back together. For this reason, I started buying things with the thrill of fixing and eventually became good at it.
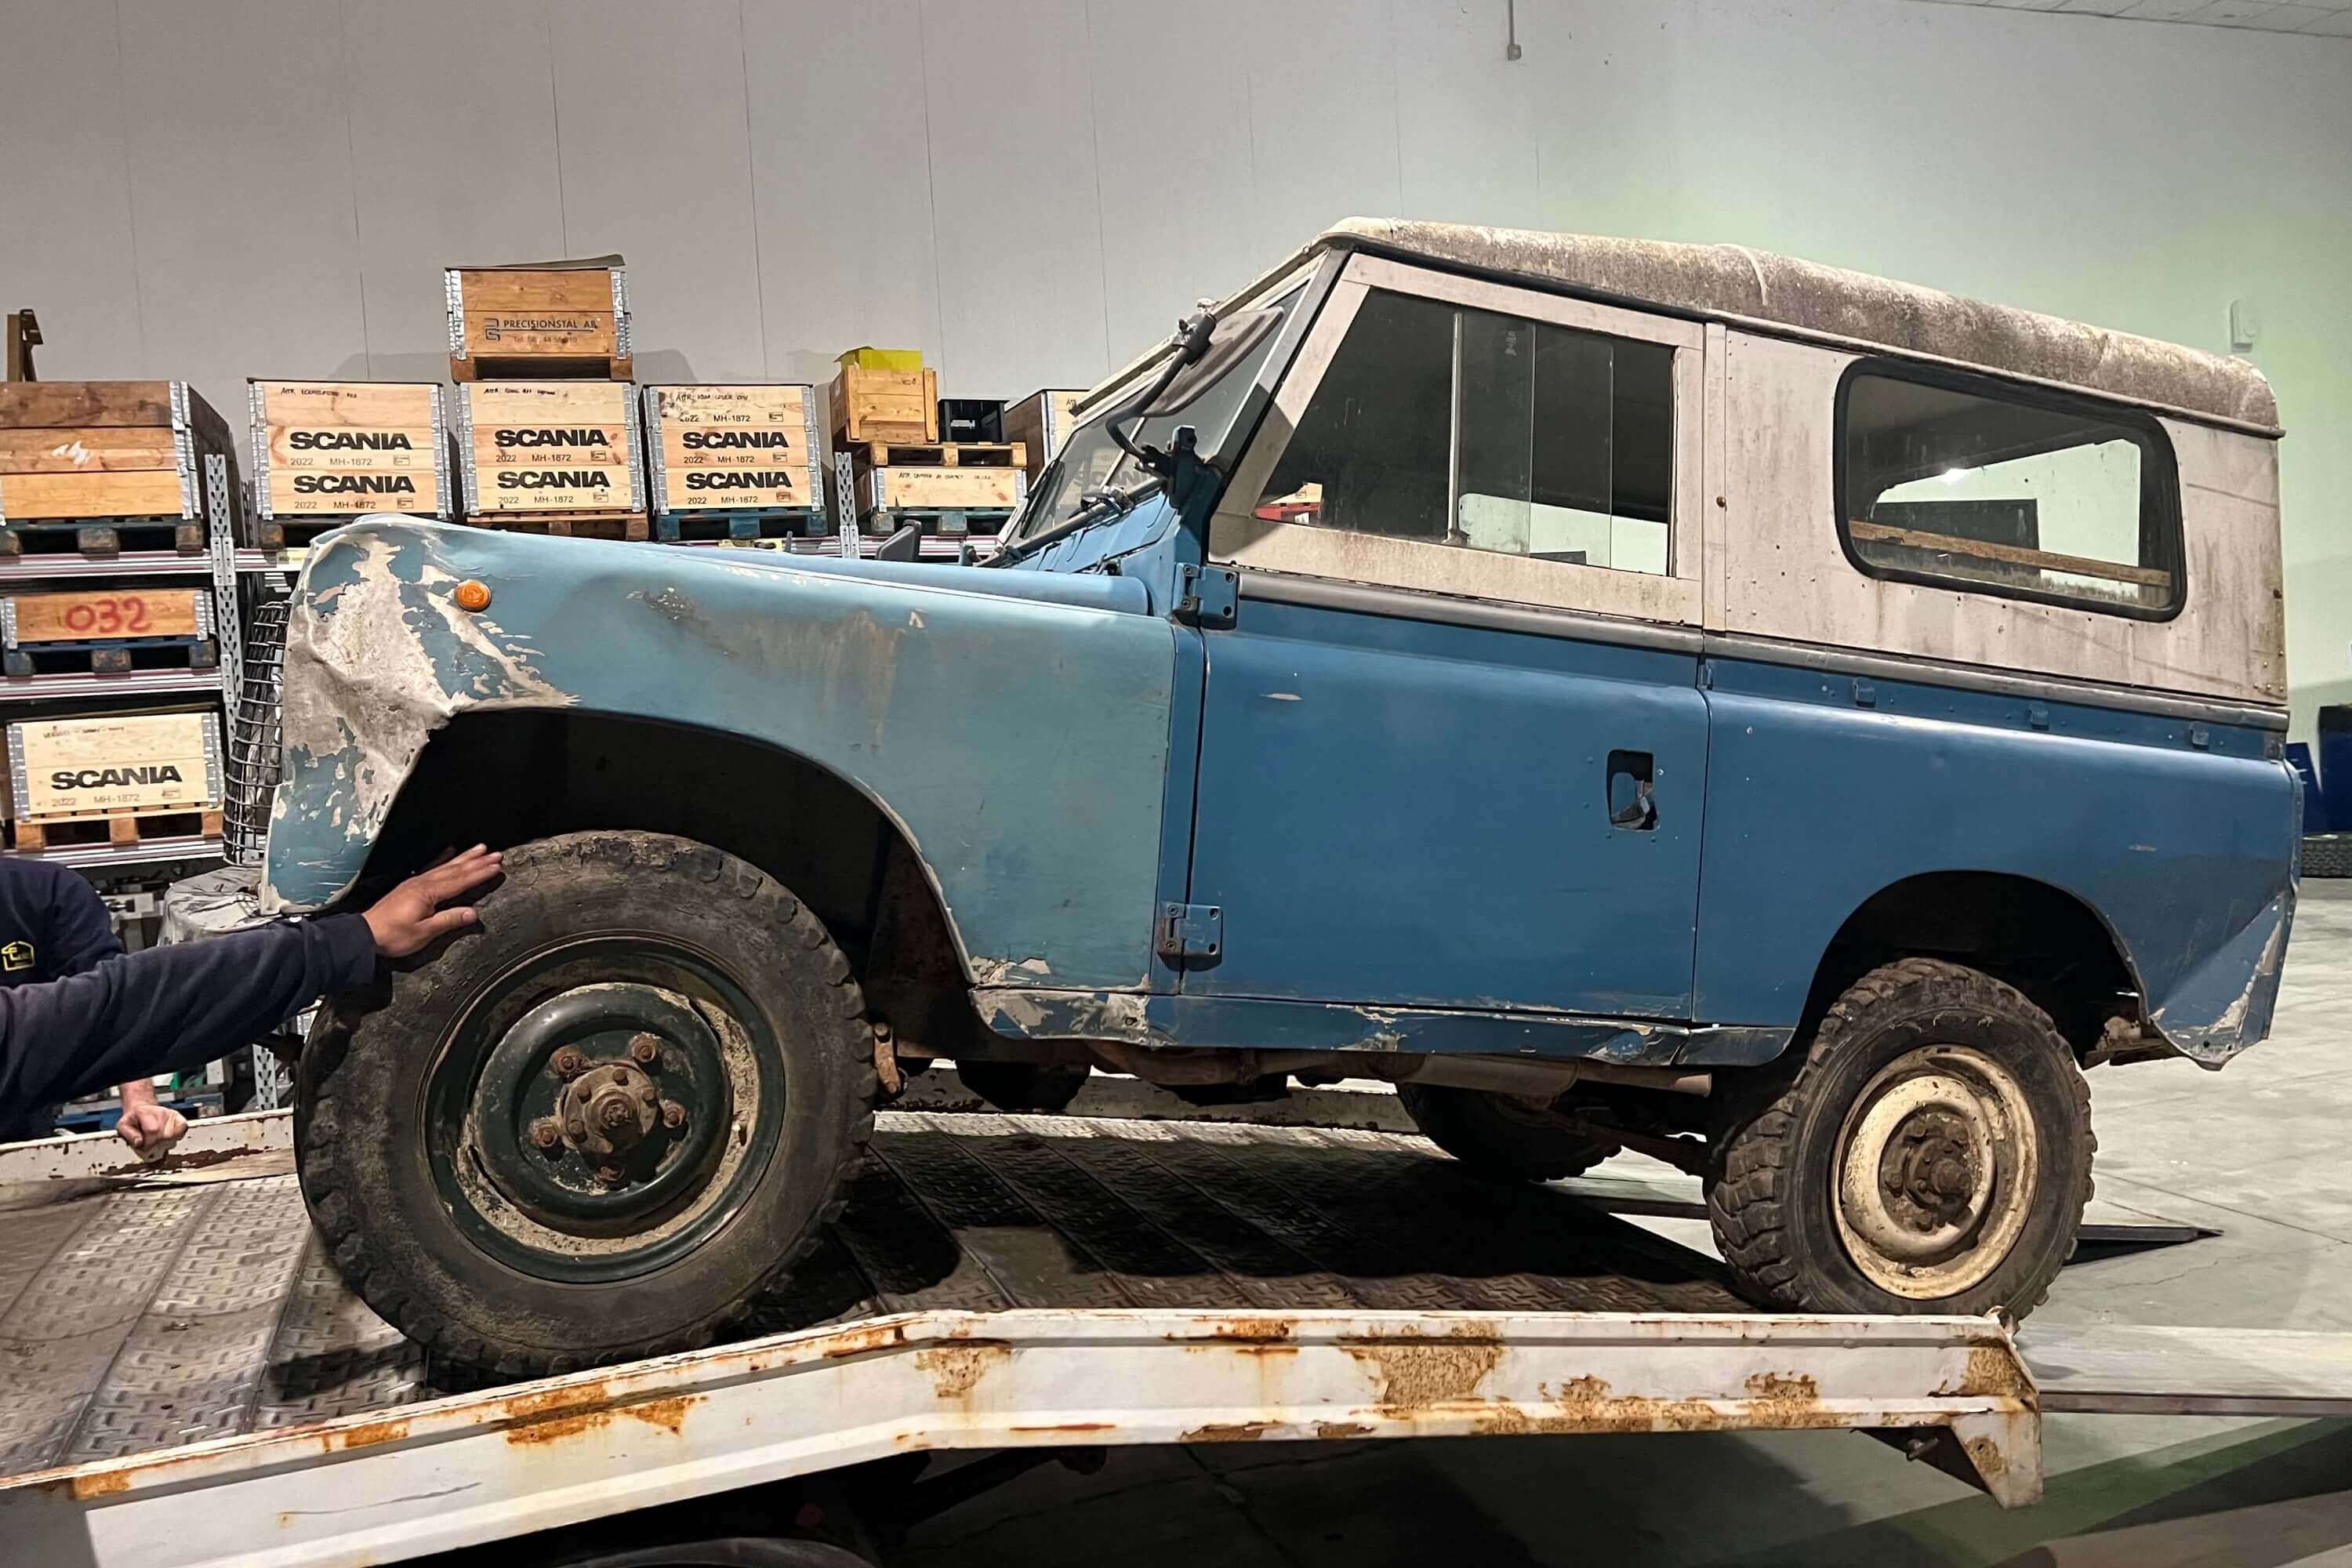
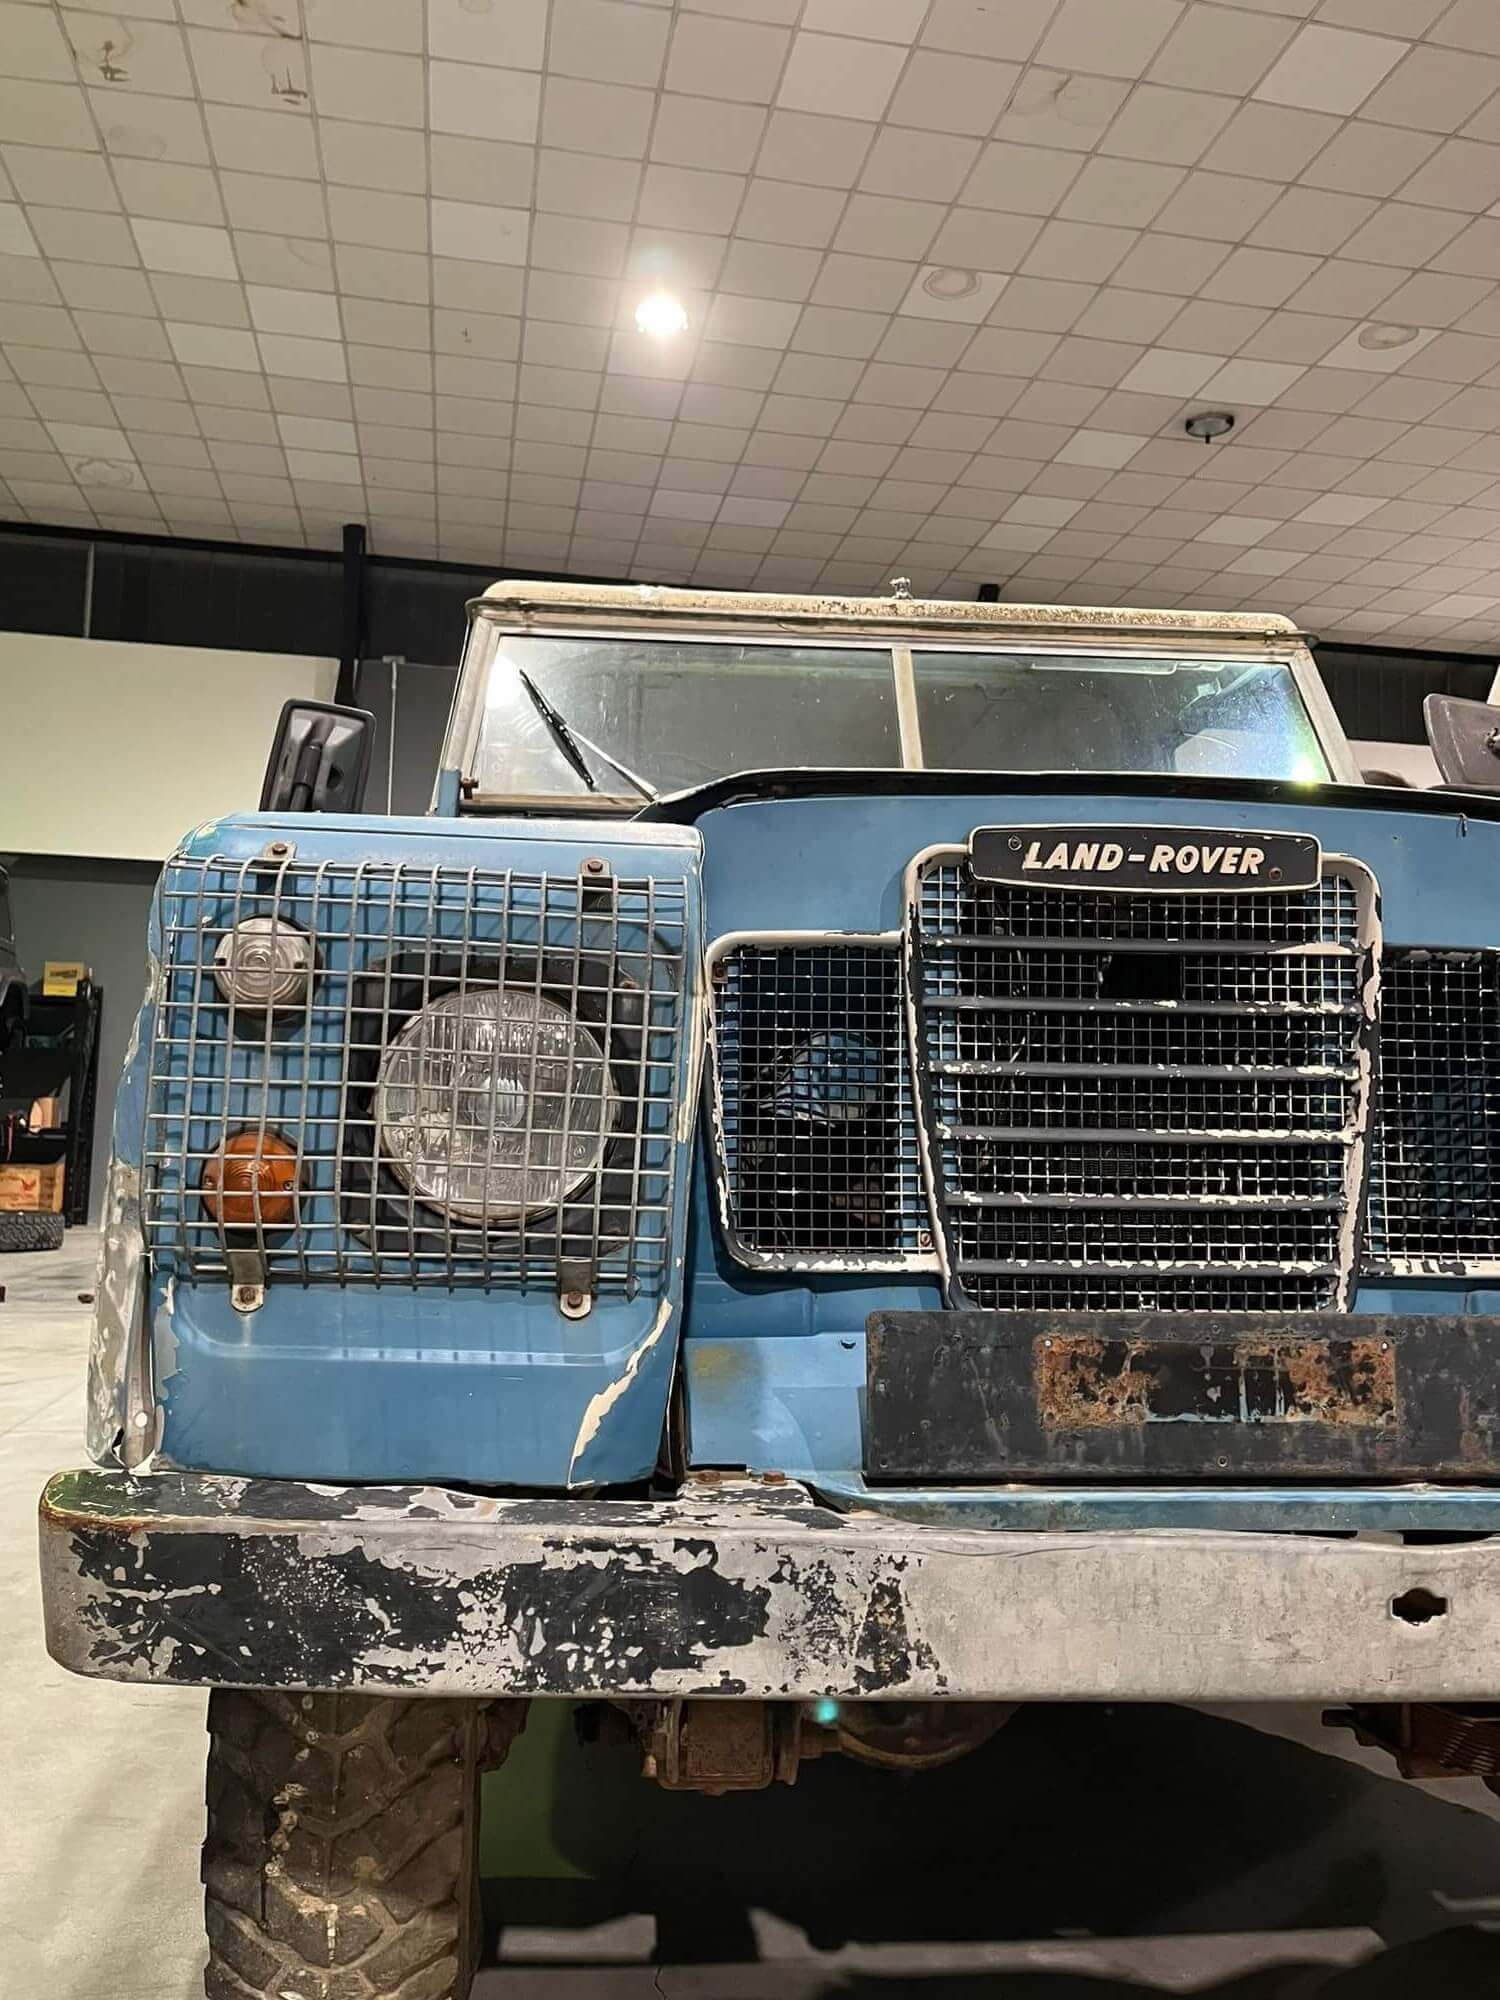
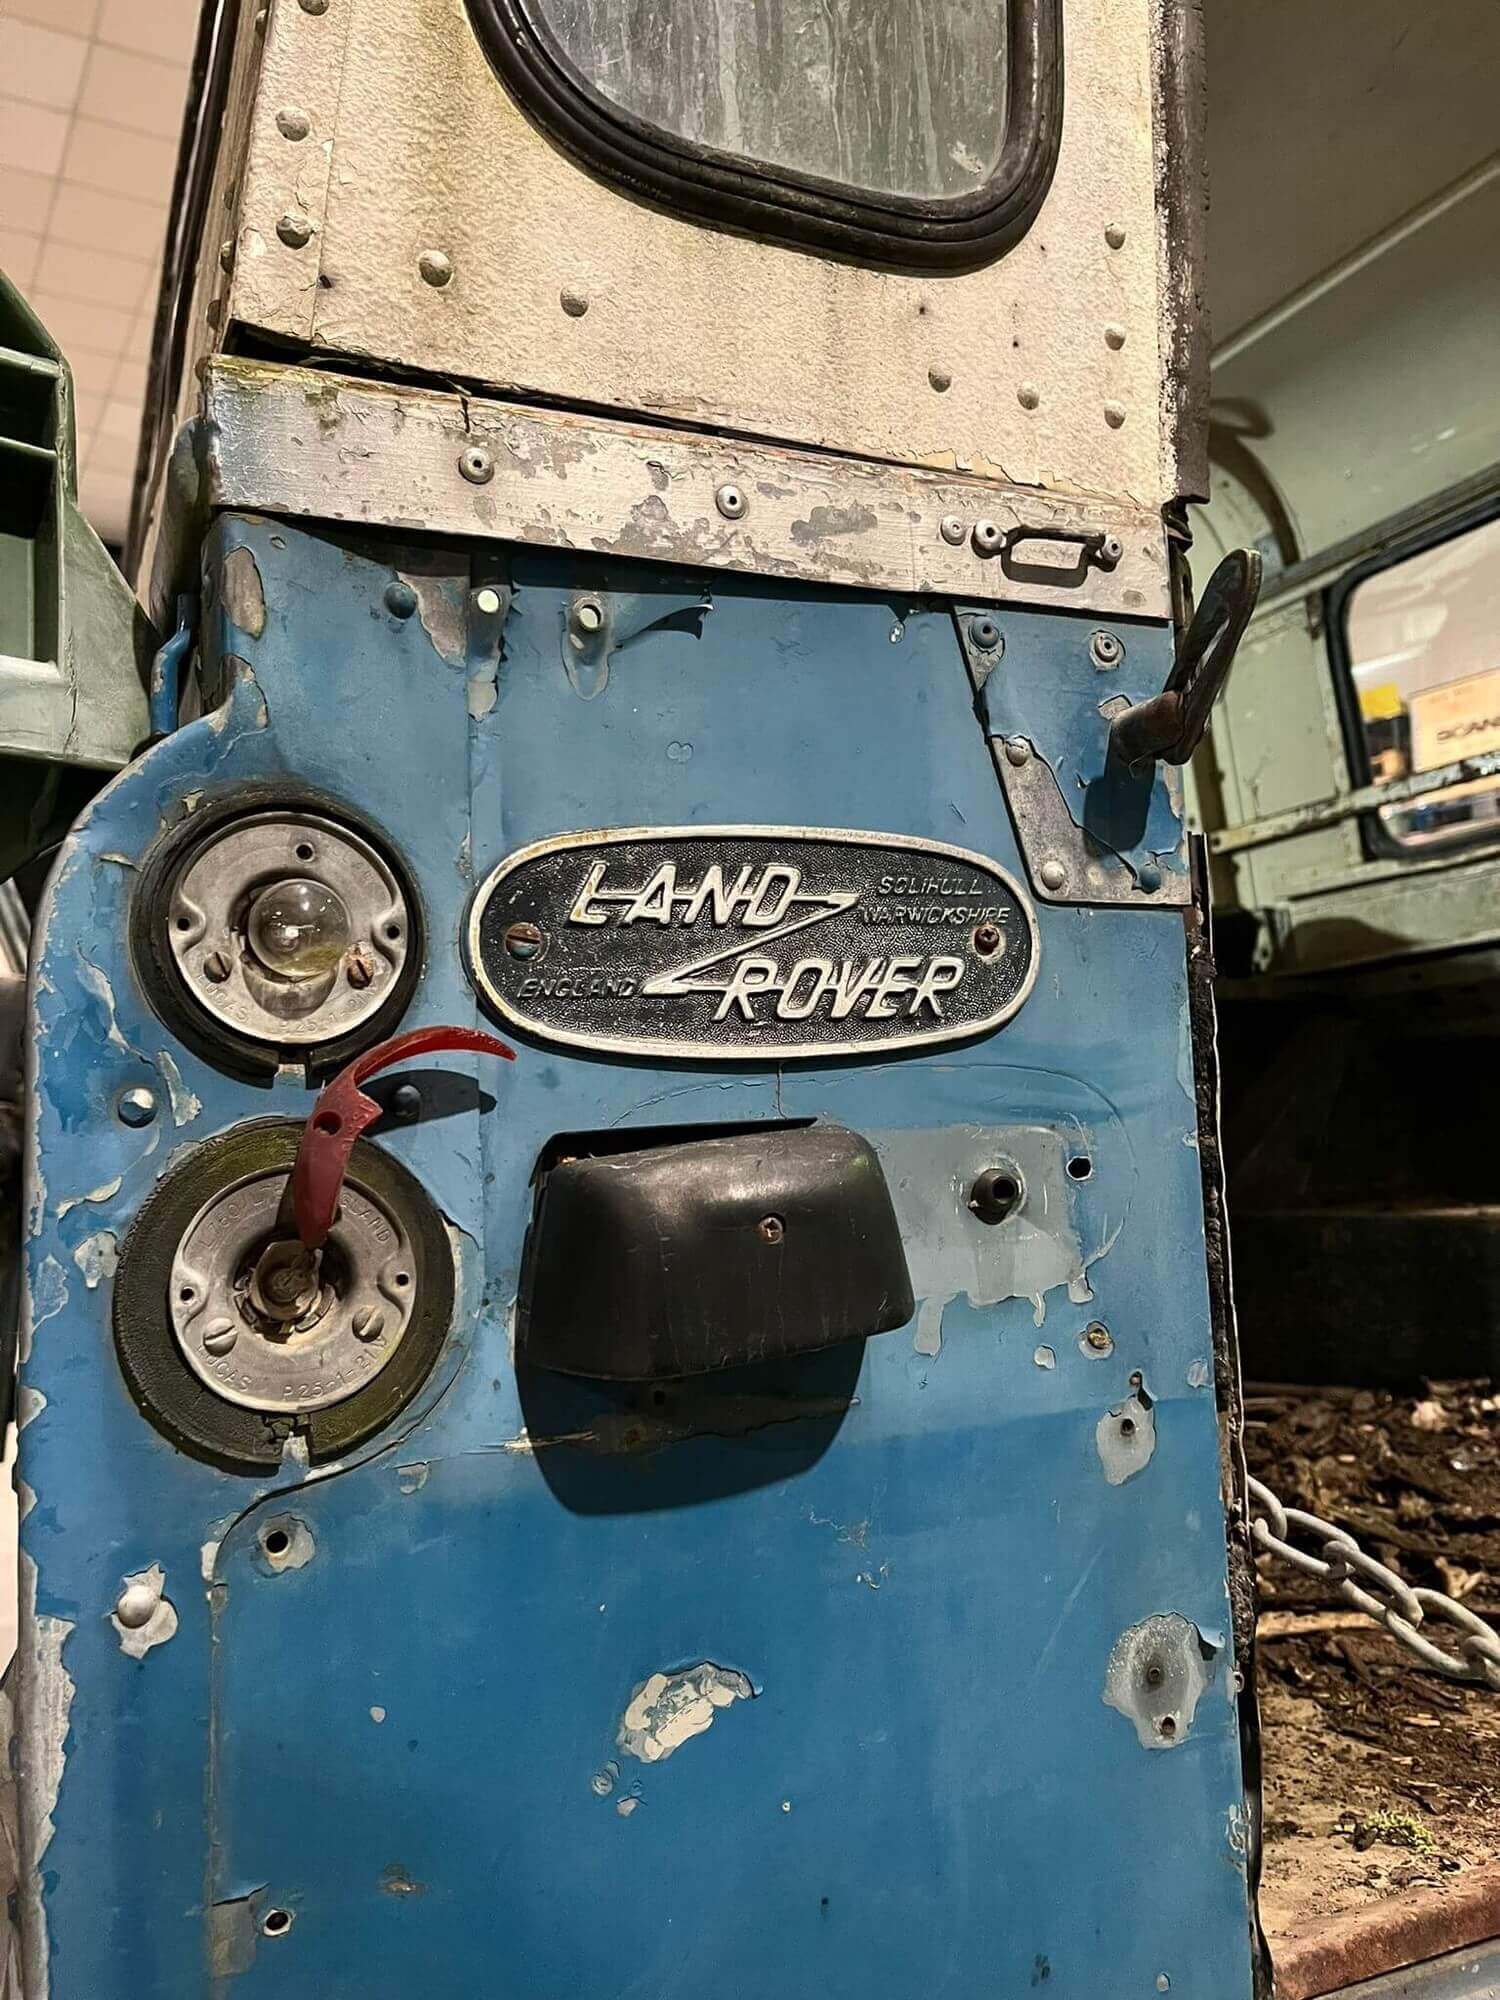
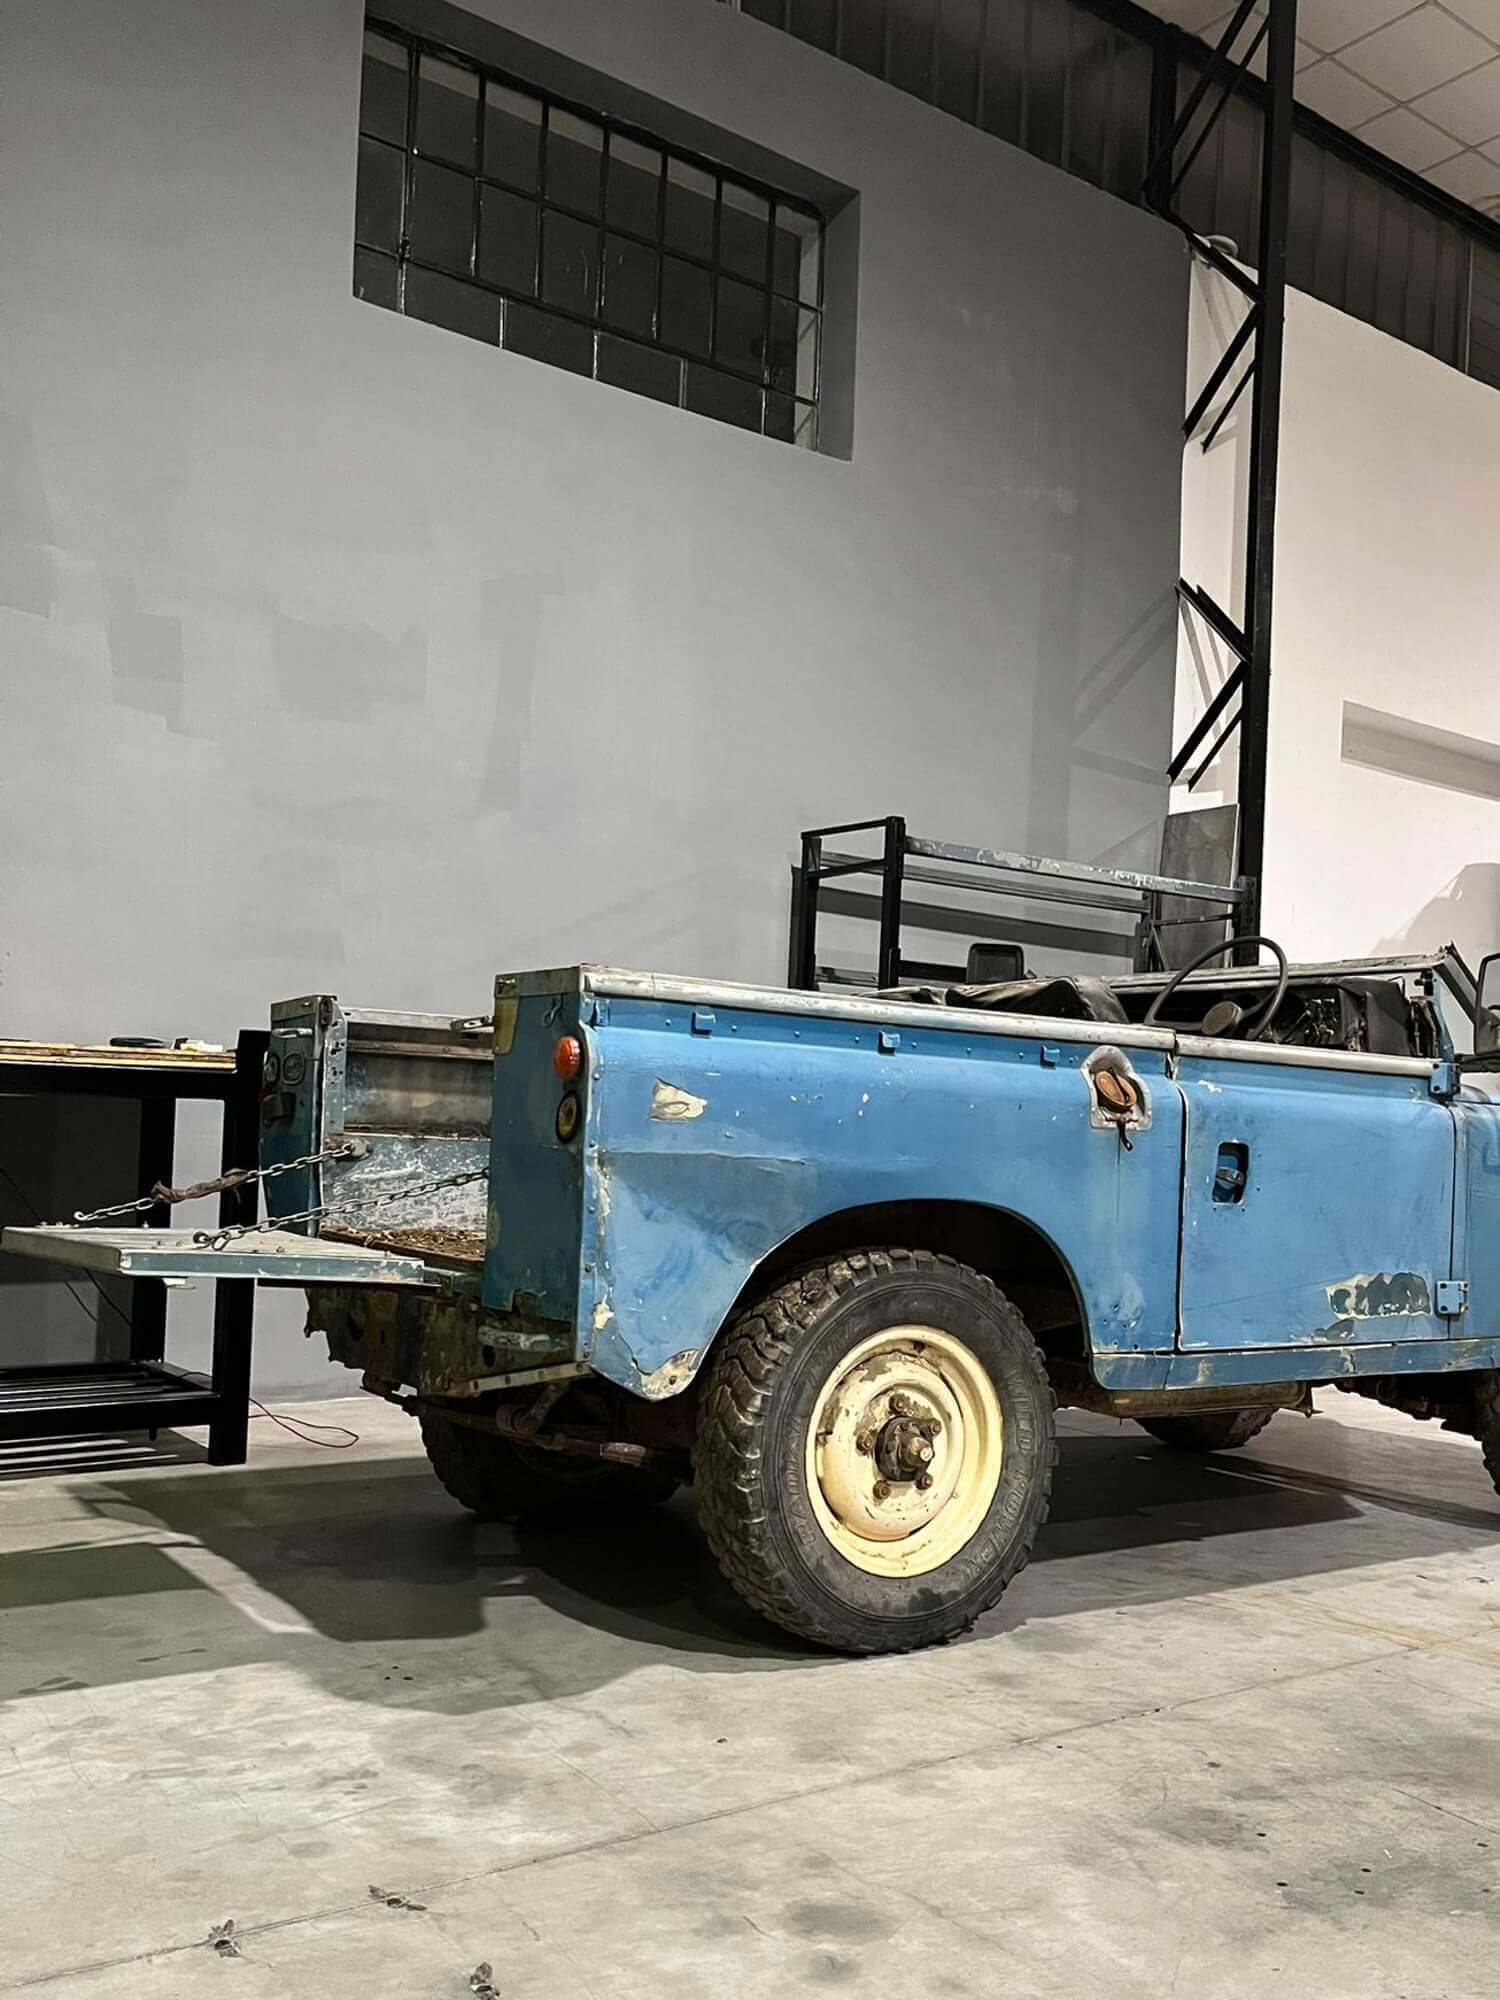
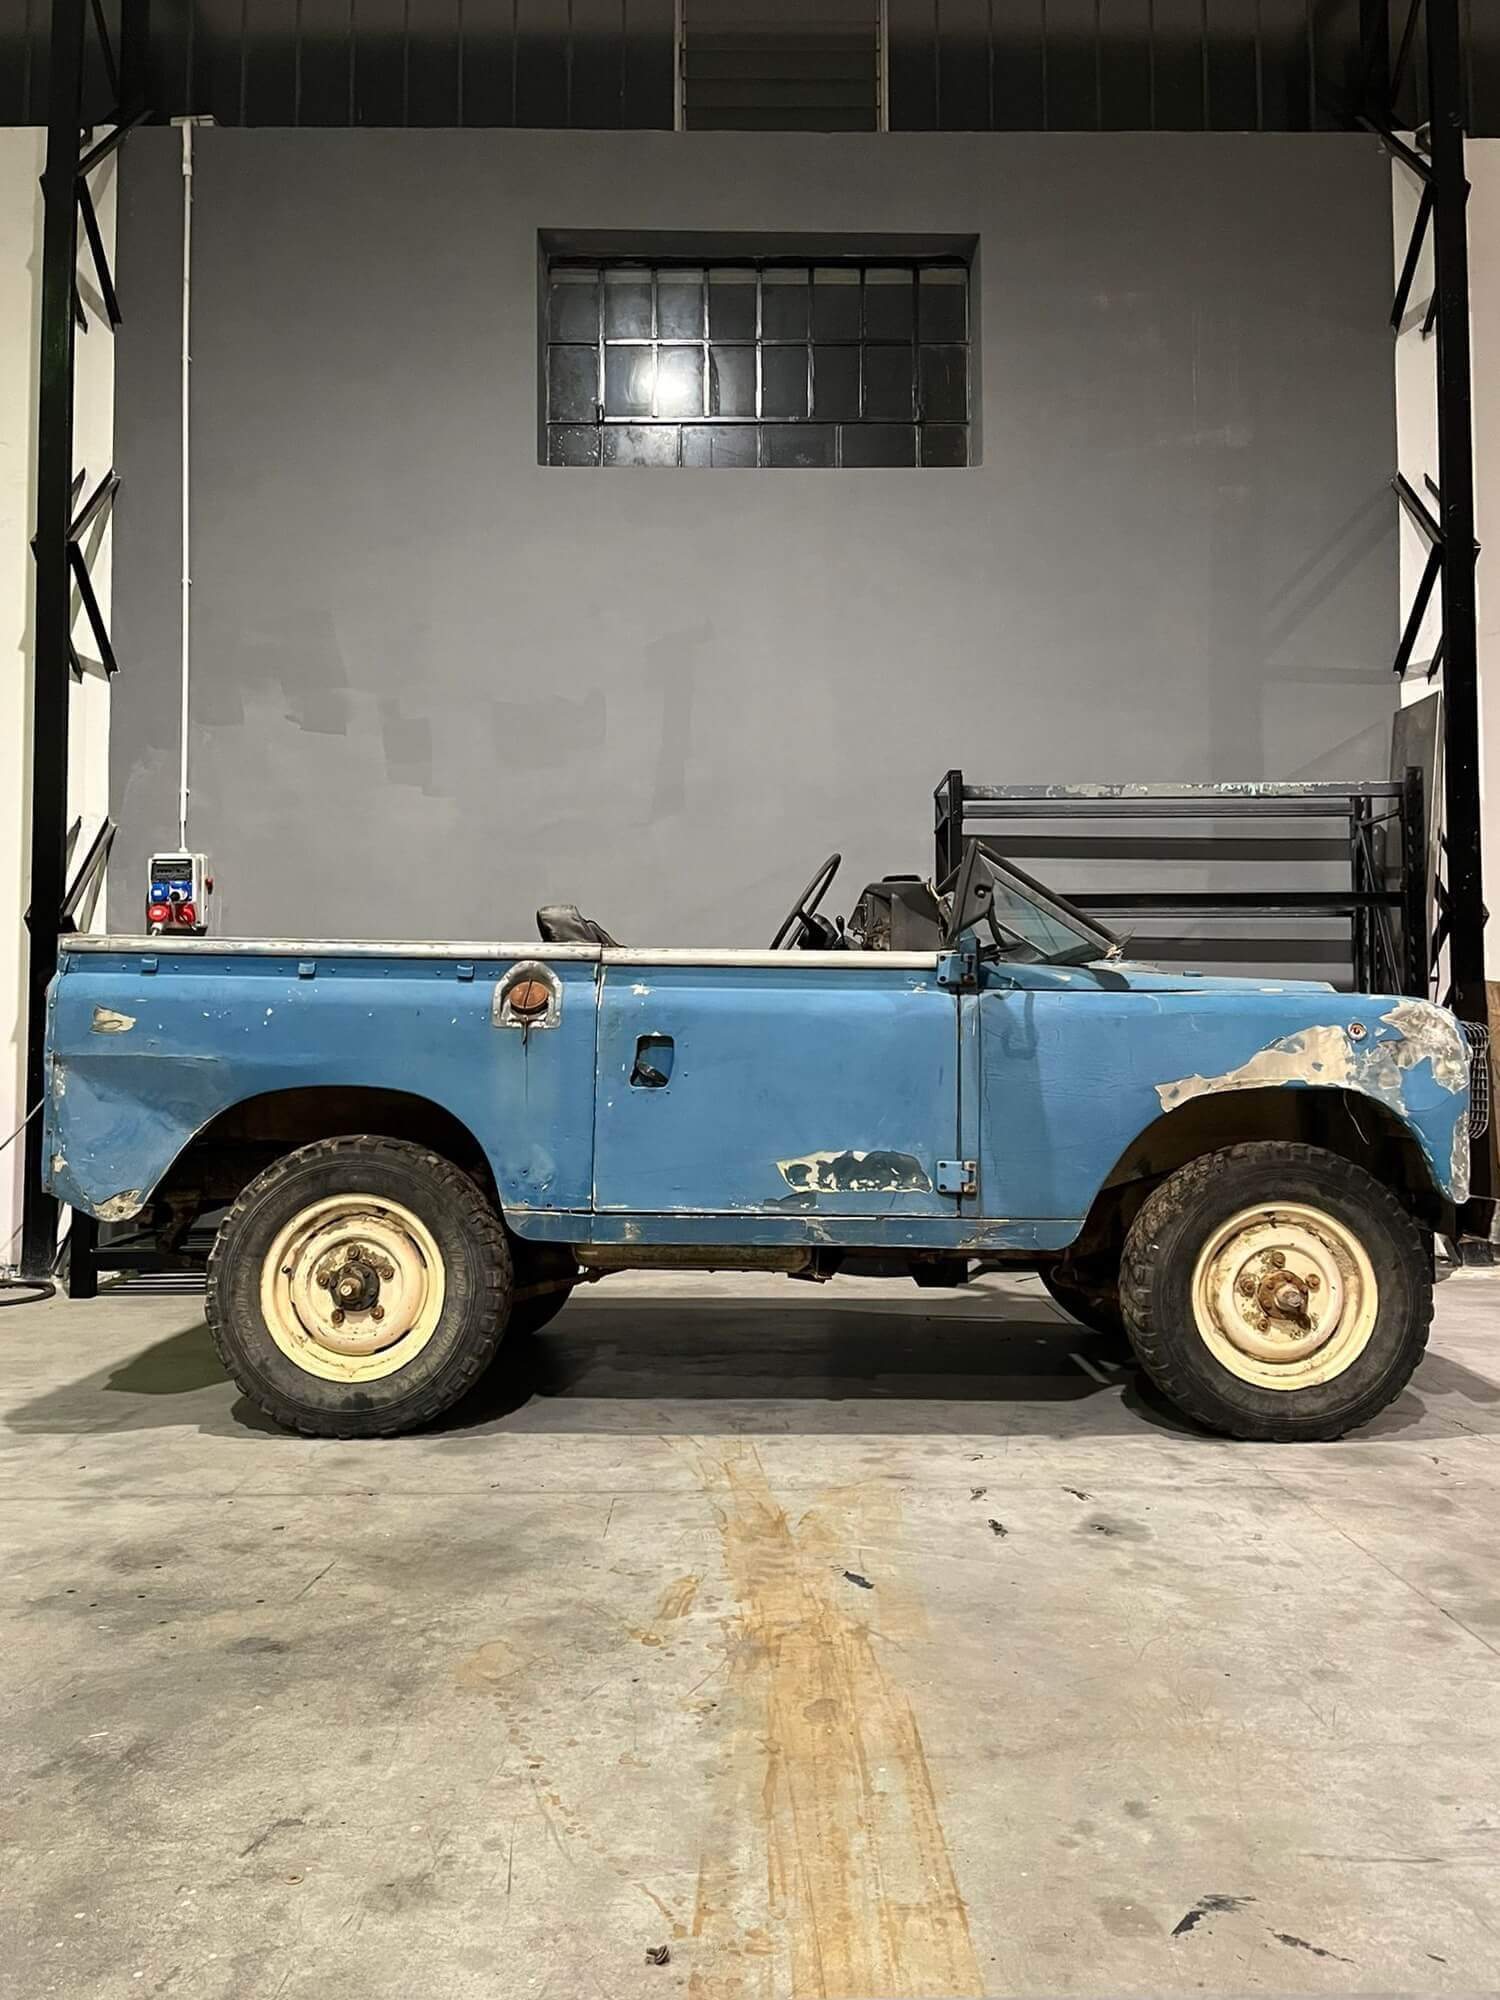
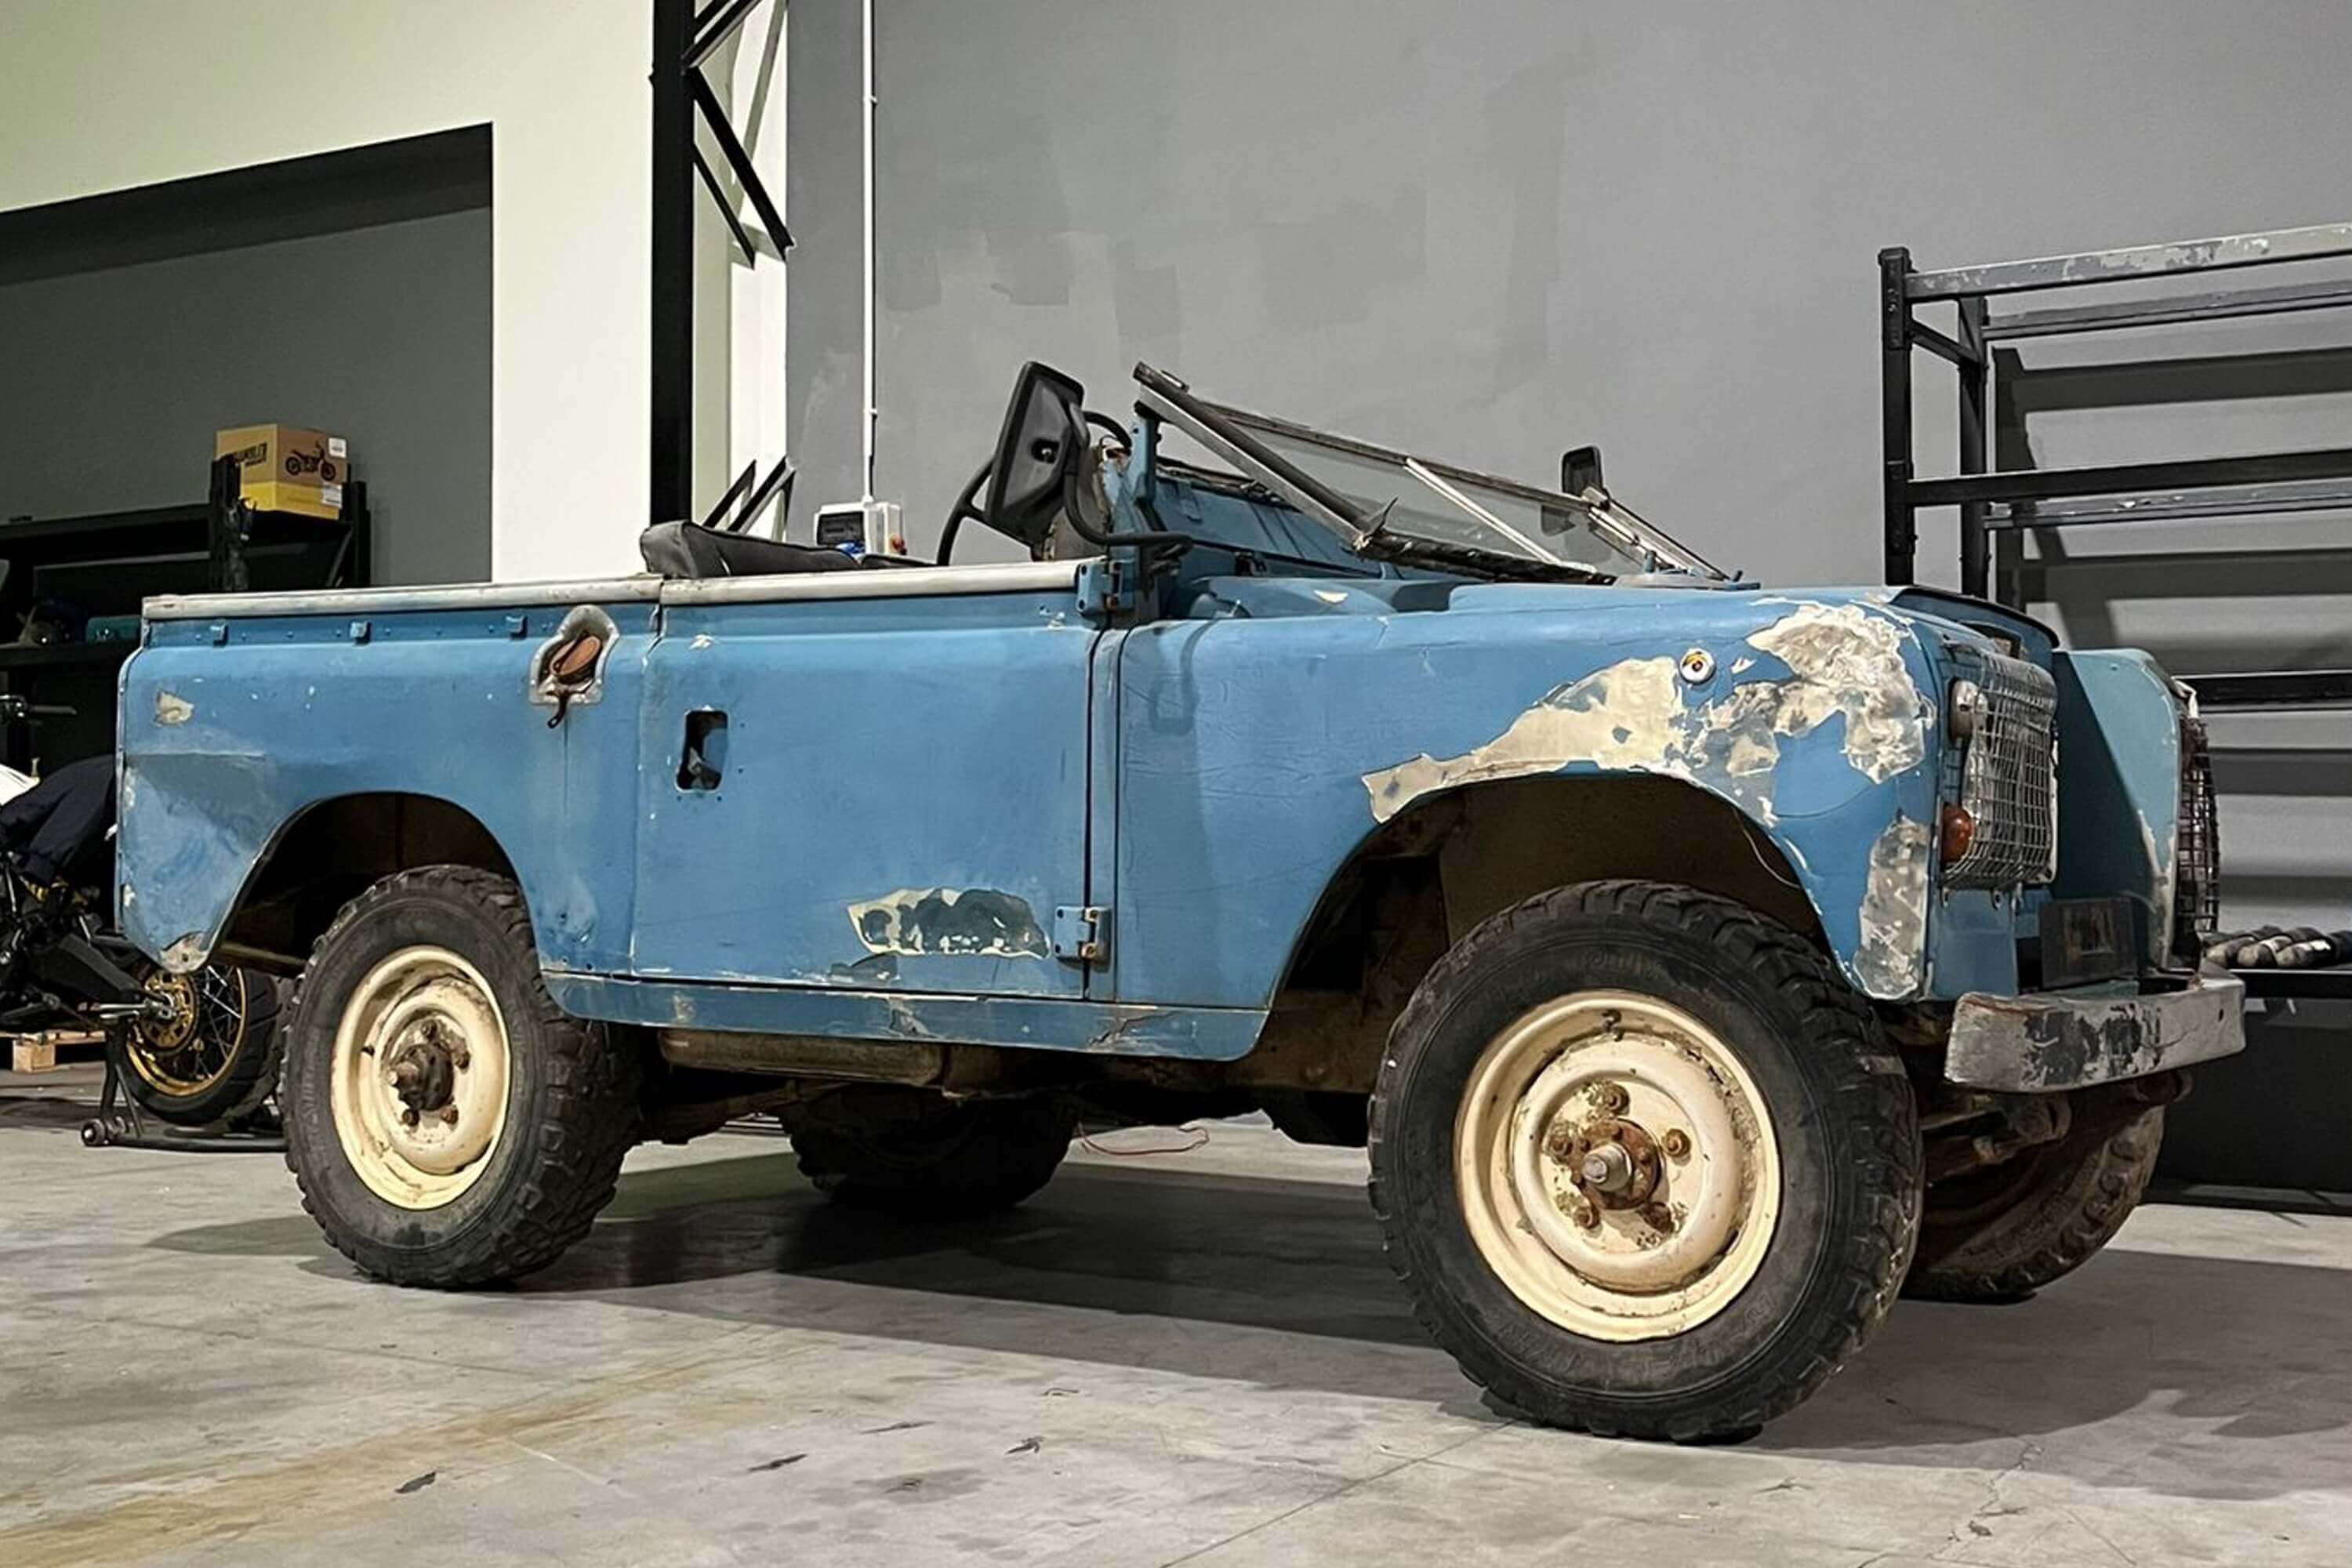
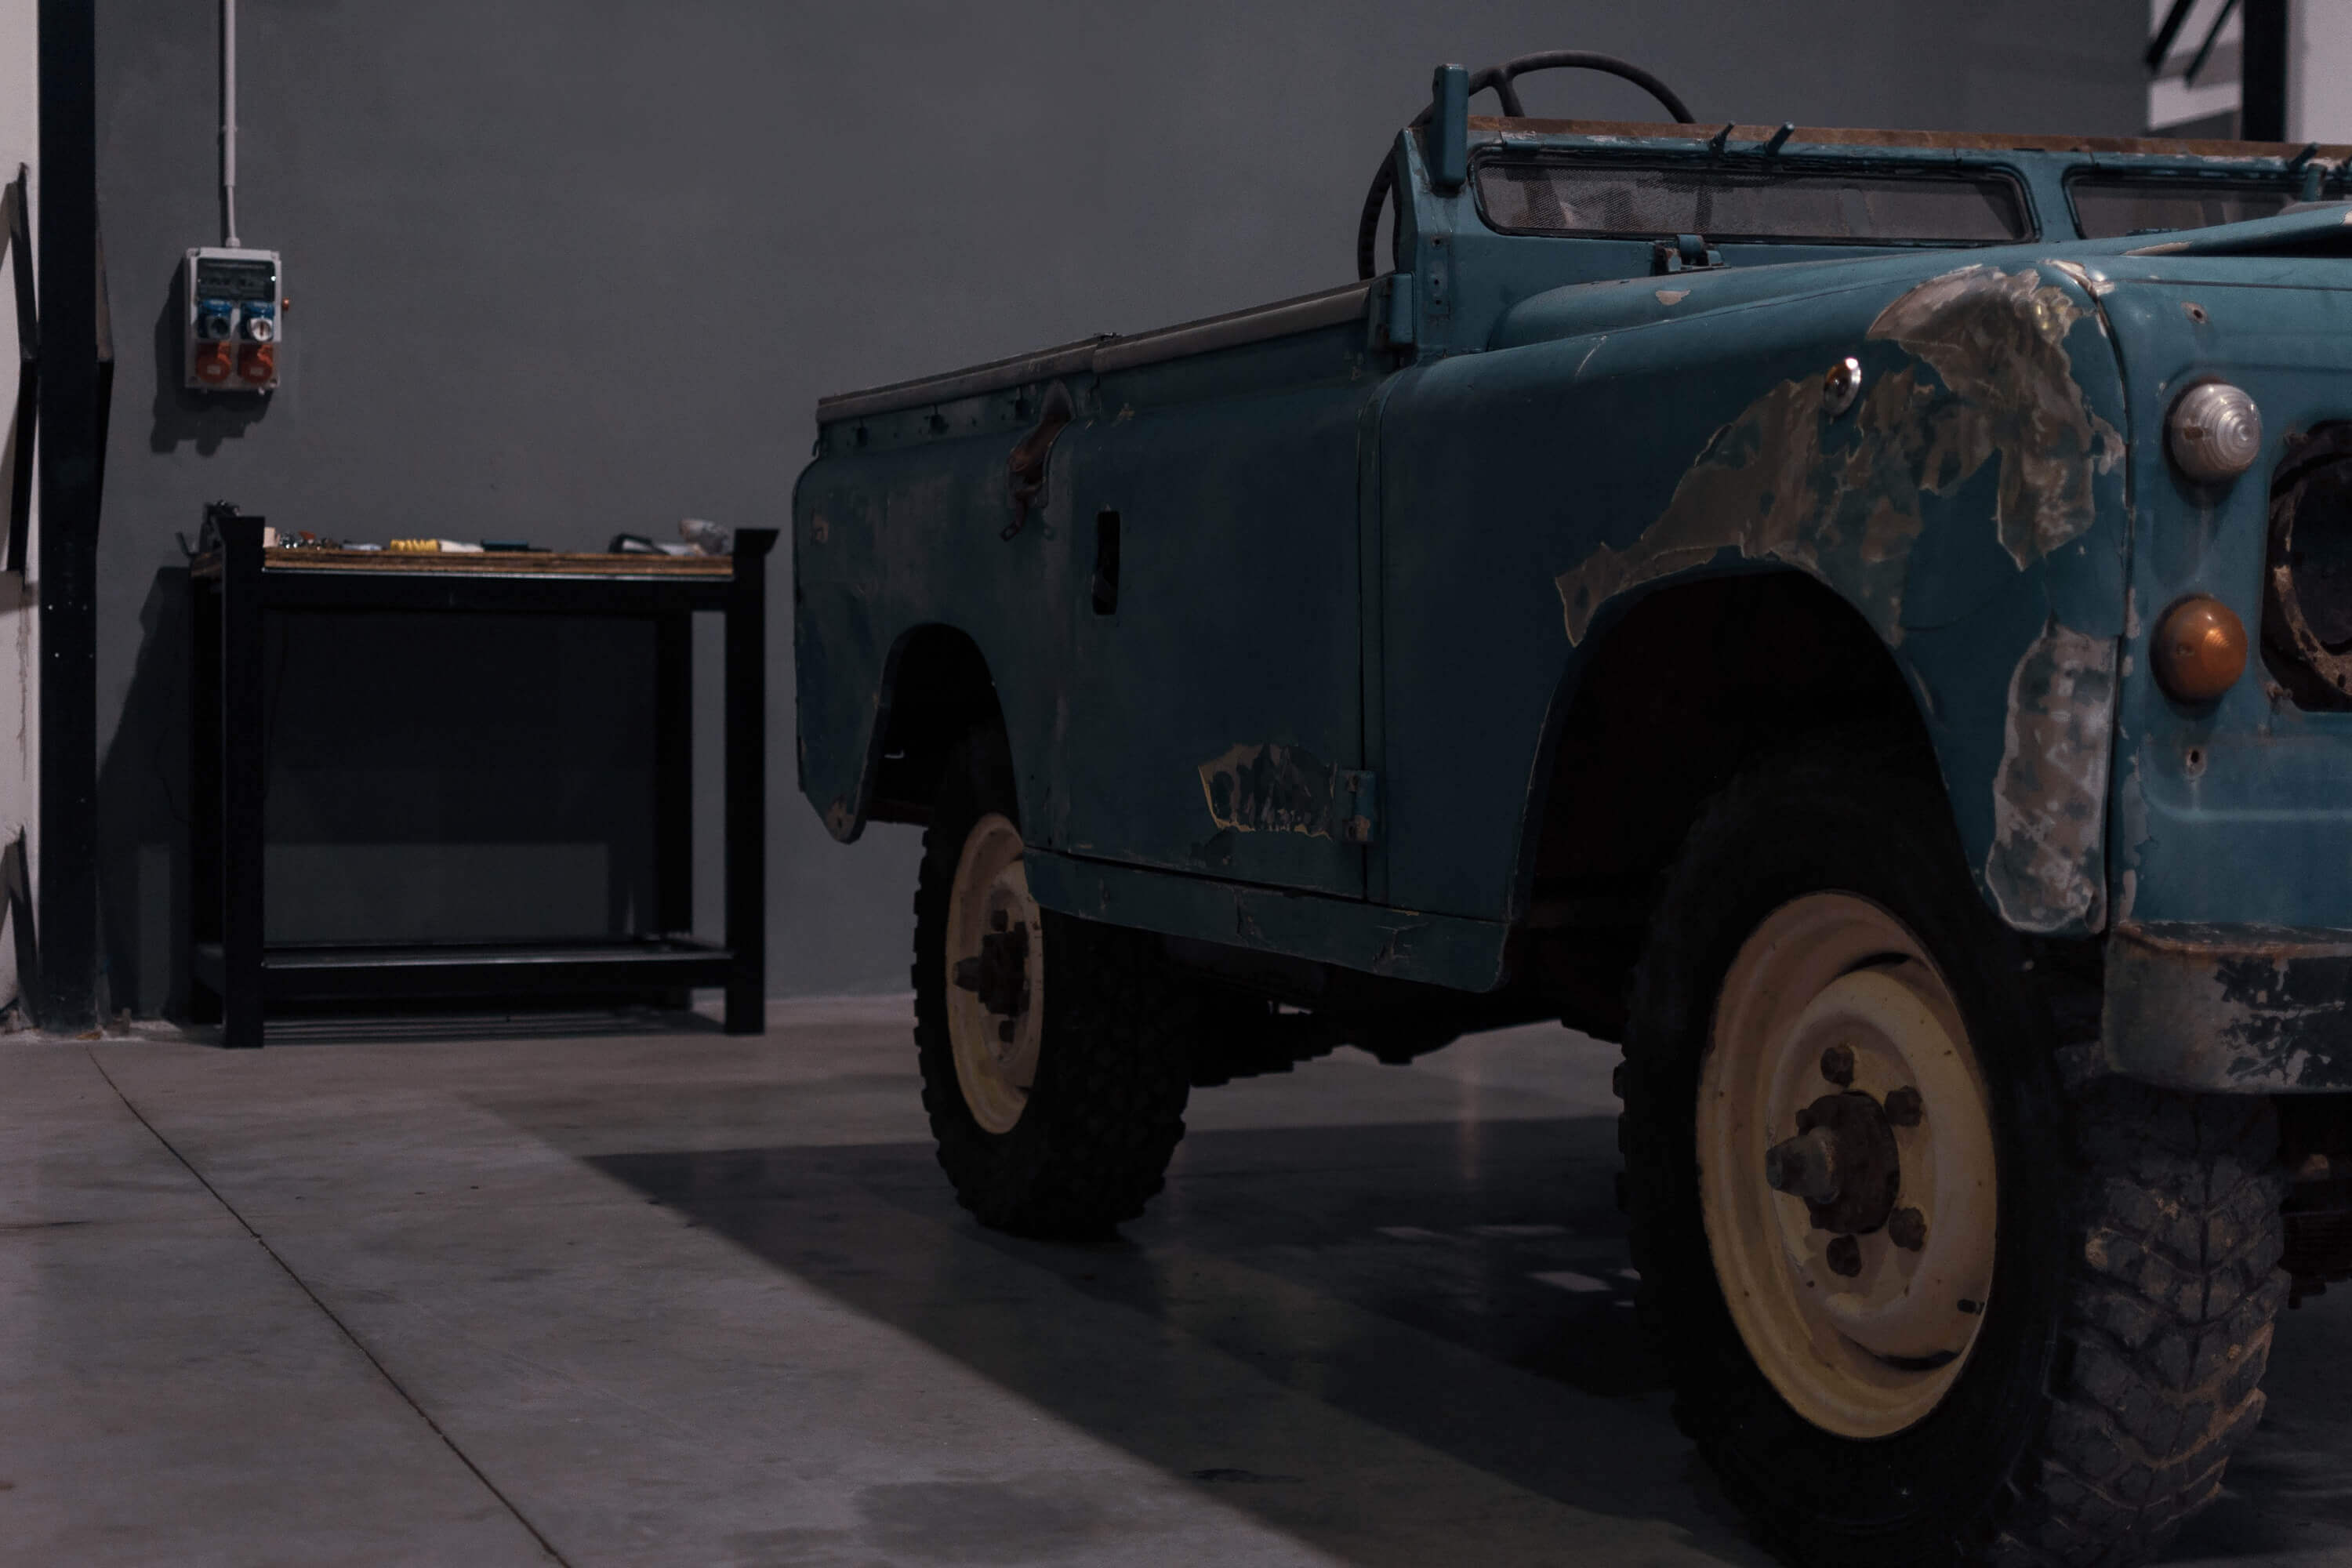
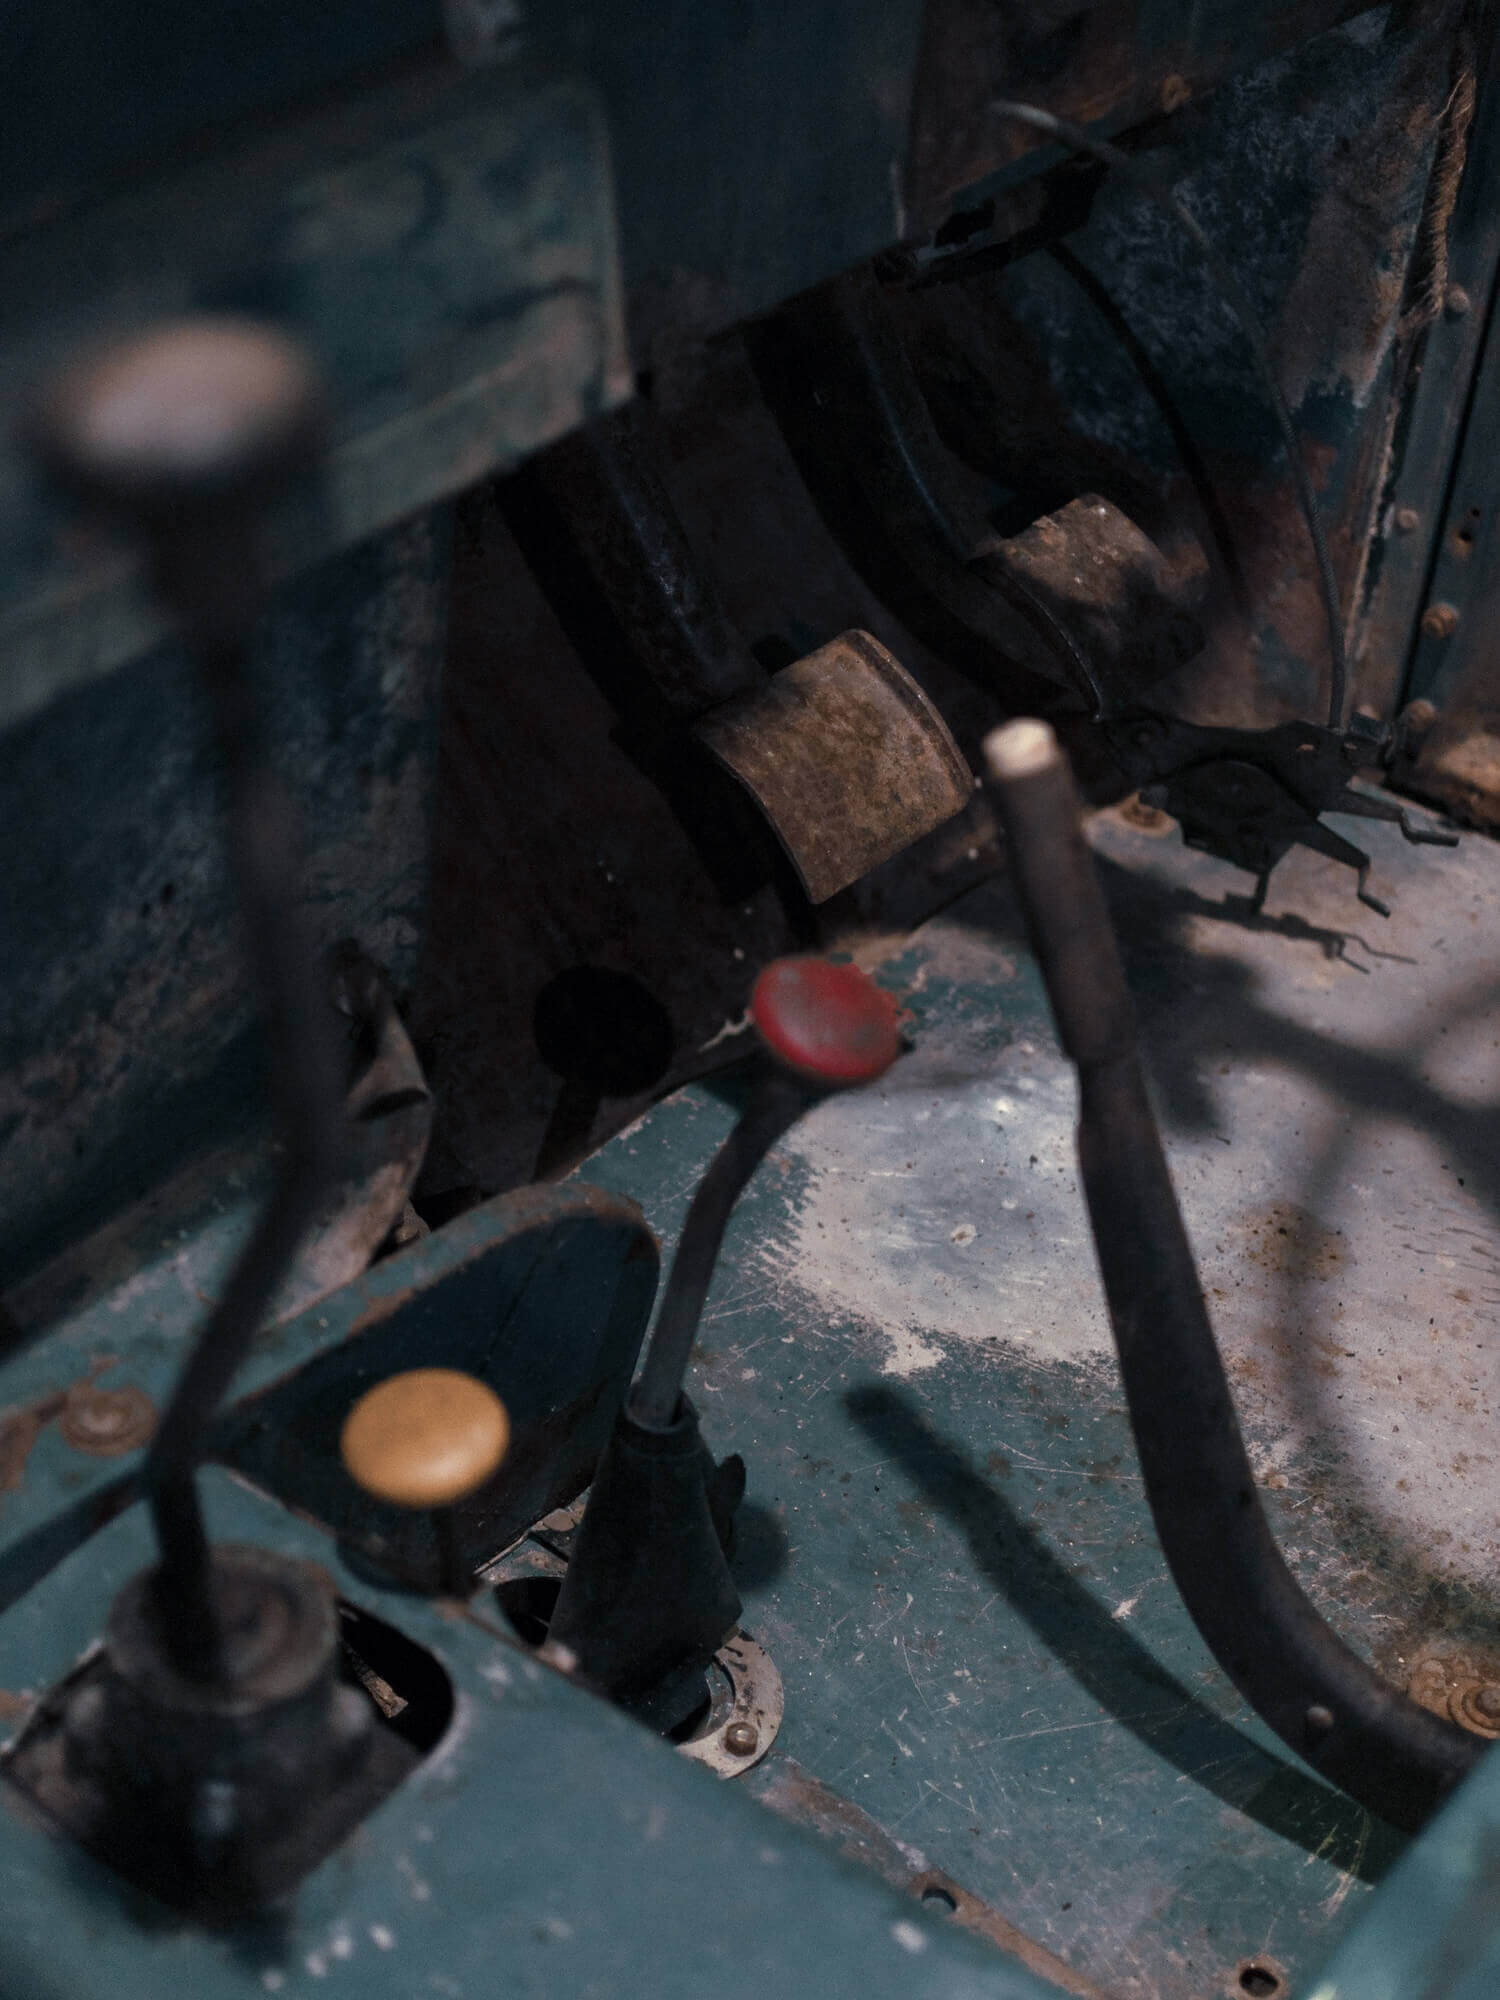
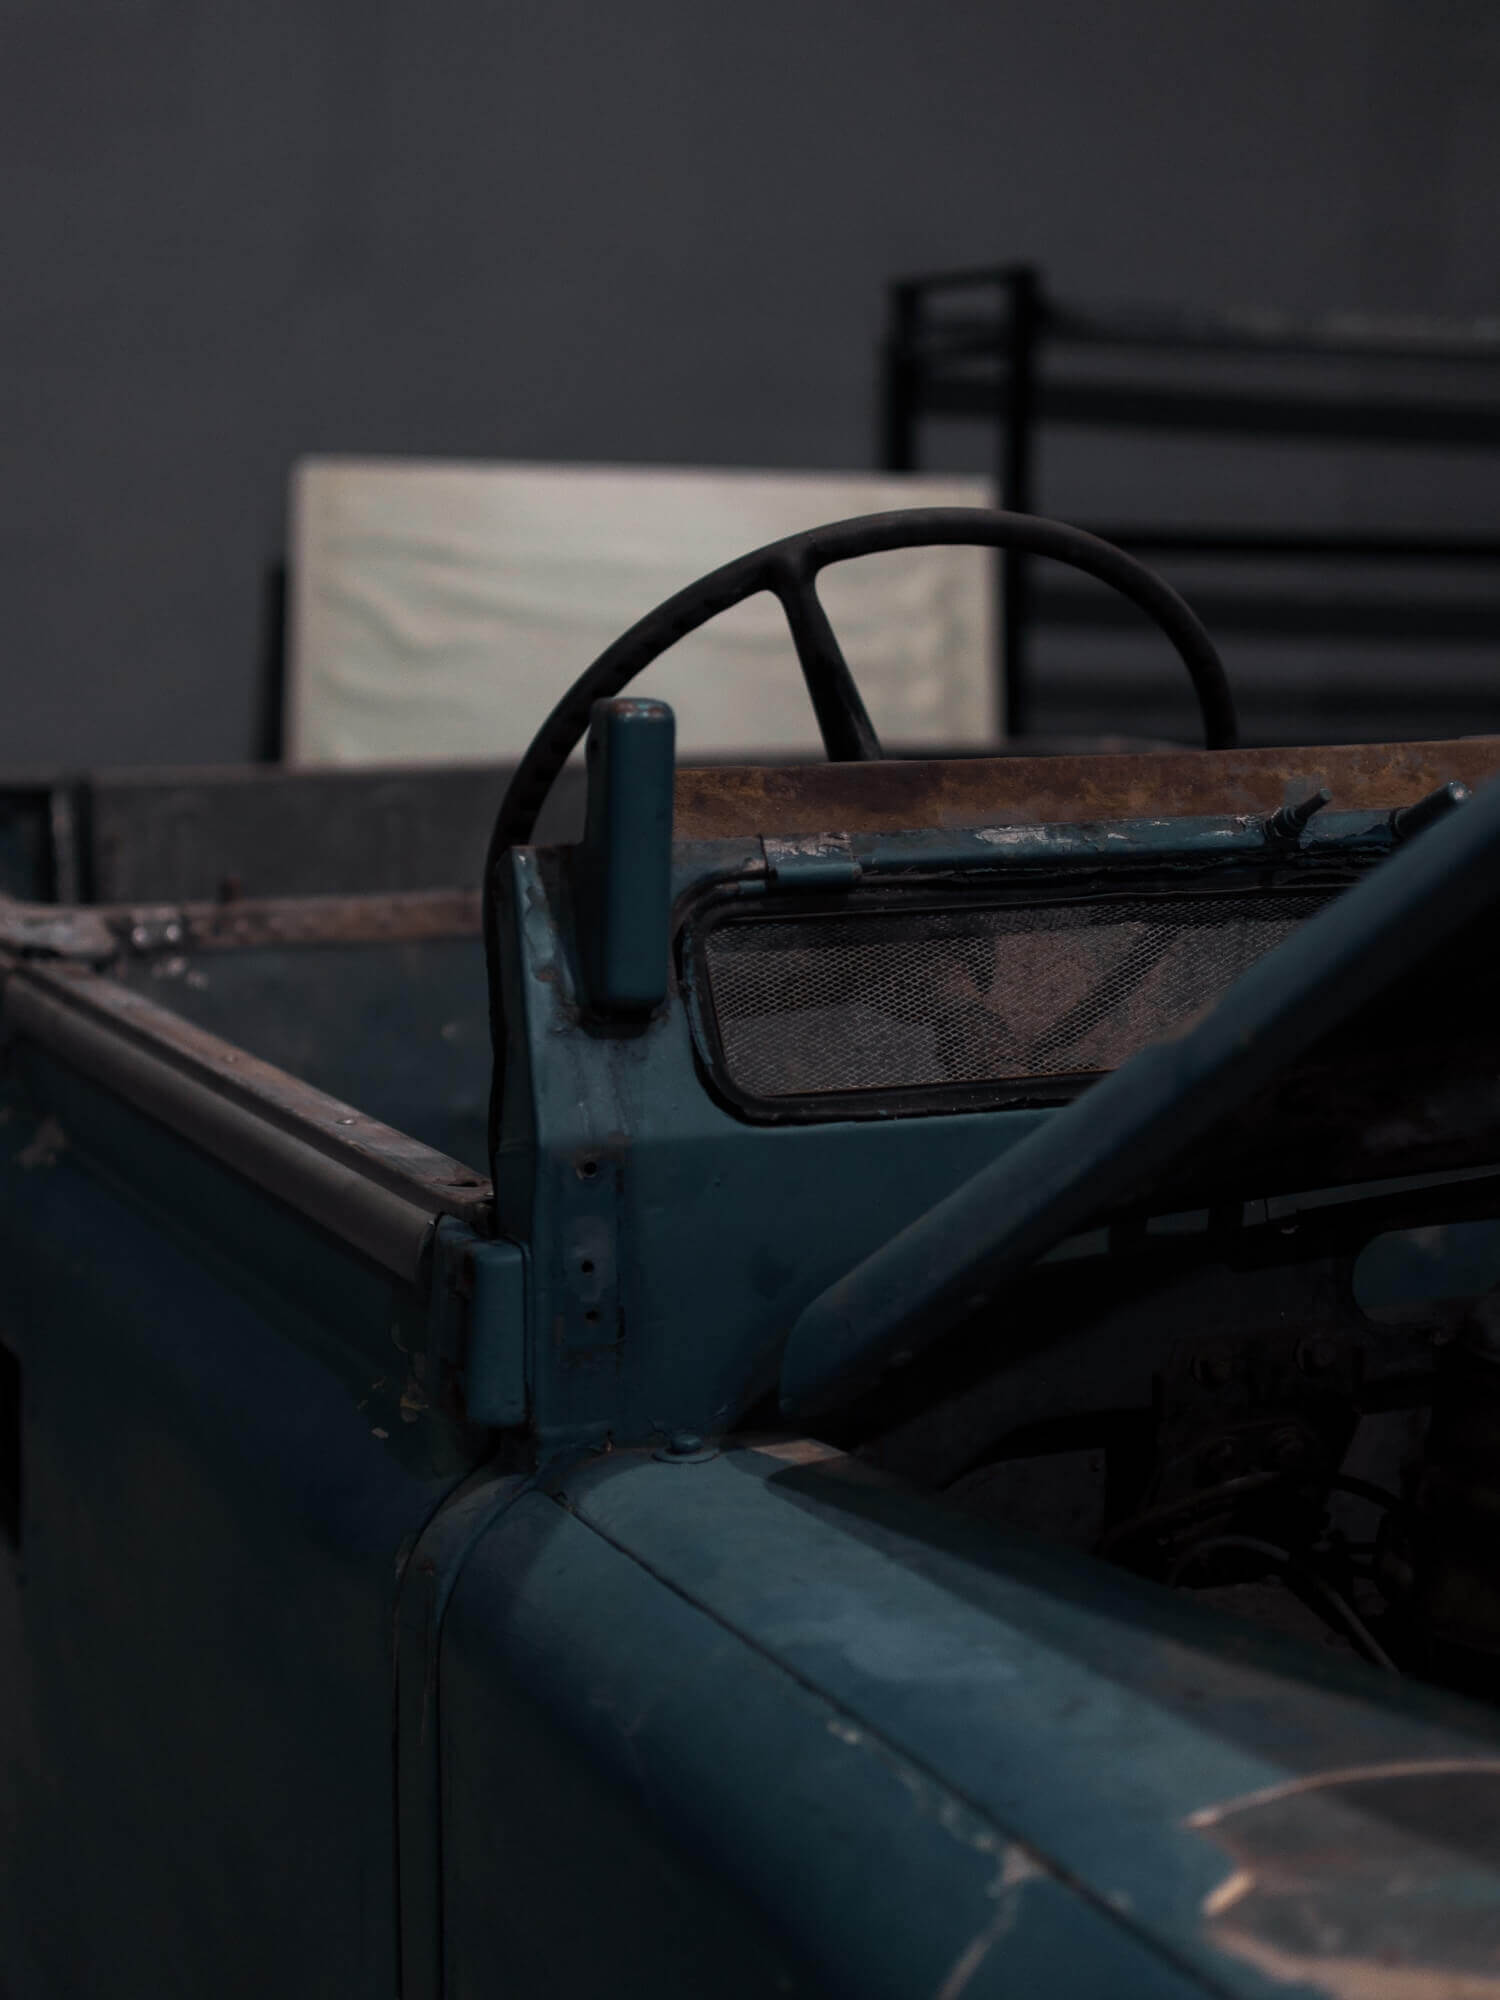
This abandoned car was calling me because it needed to be rescued.
I decided to buy this vehicle and to devote months of time for its complete restoration.


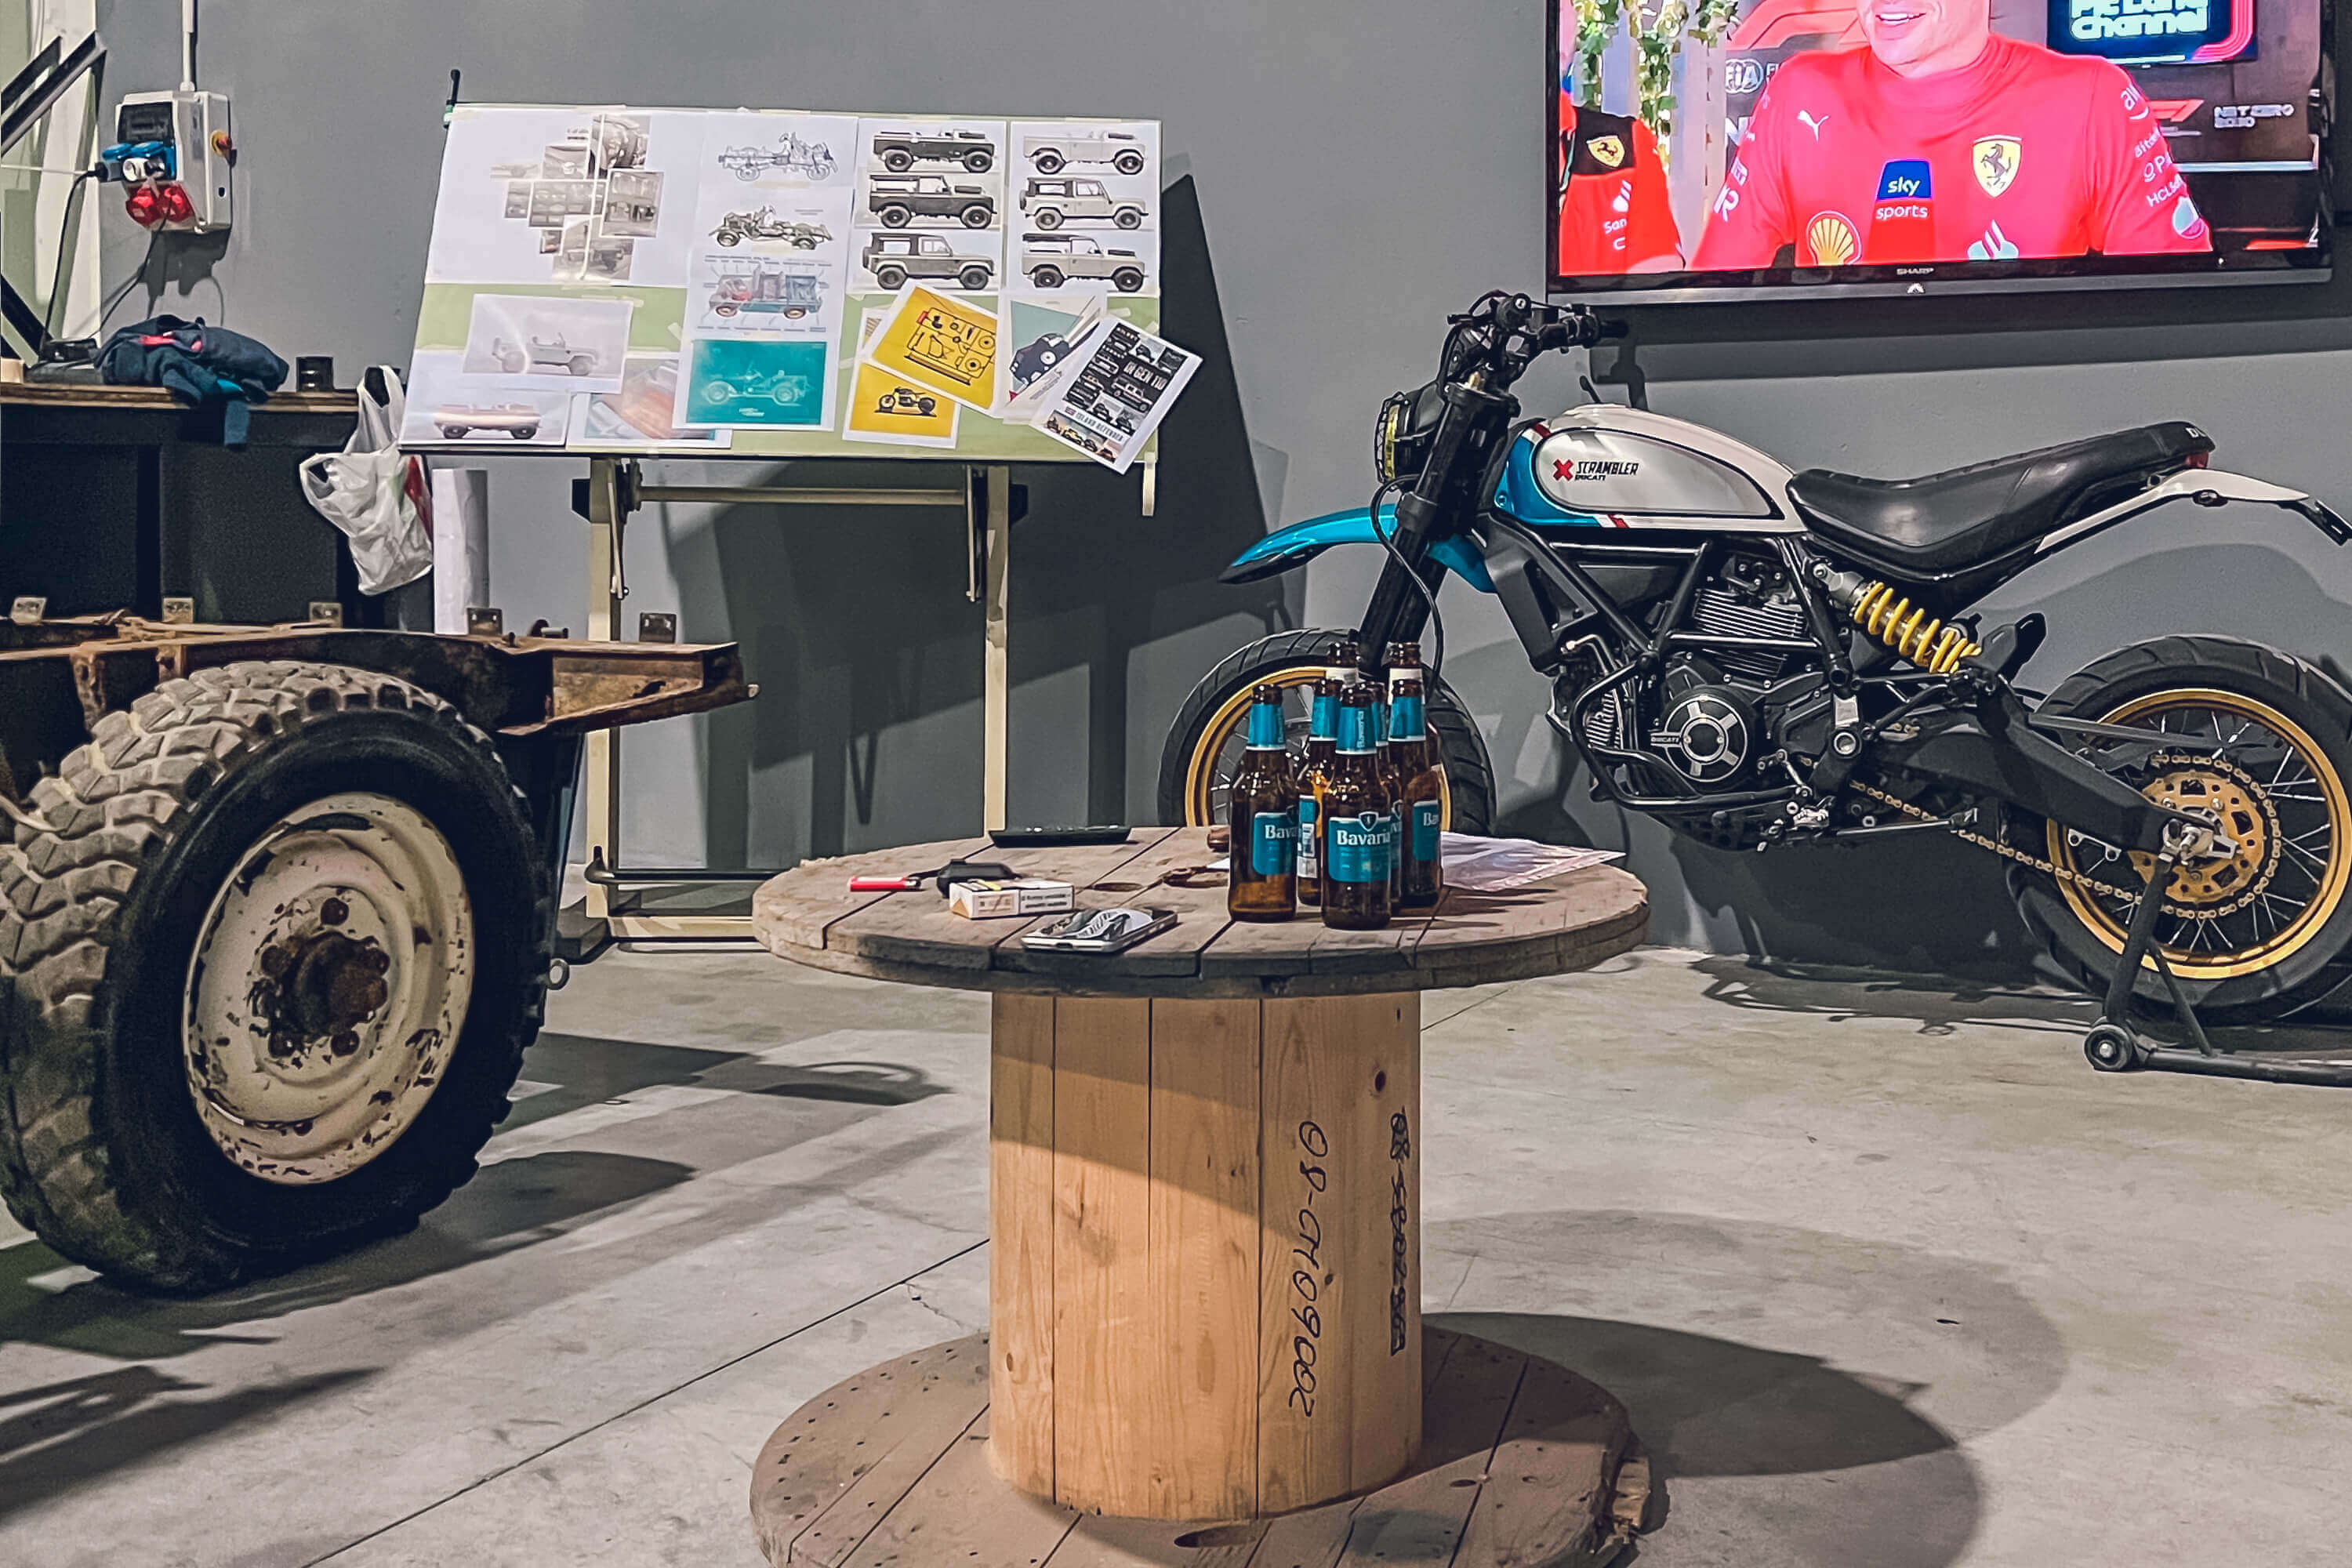
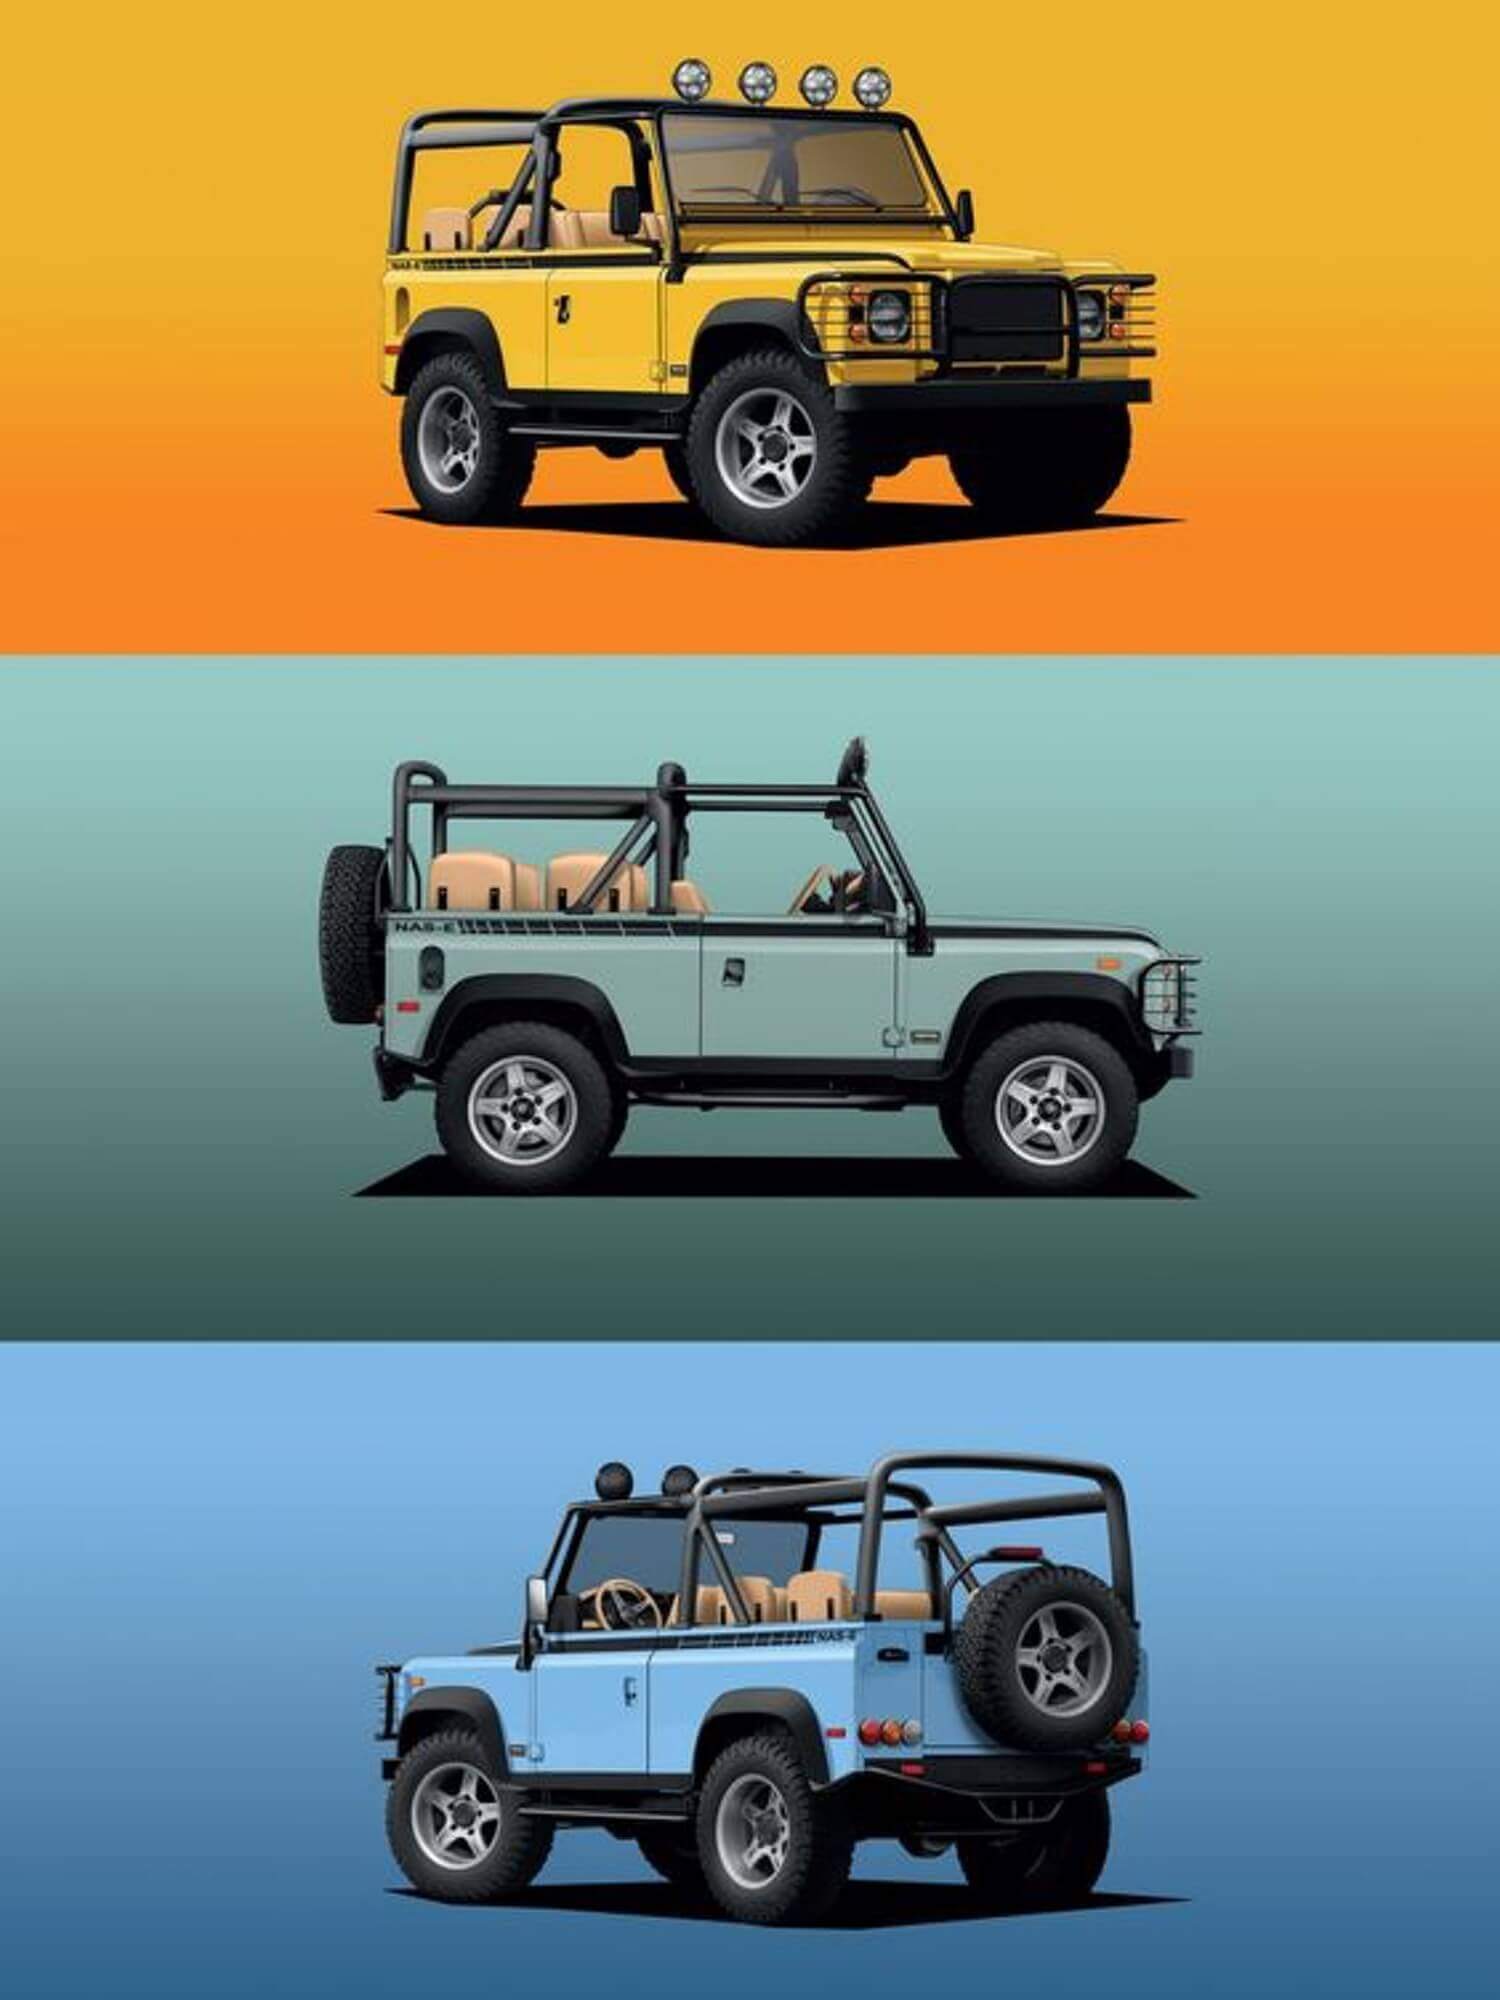
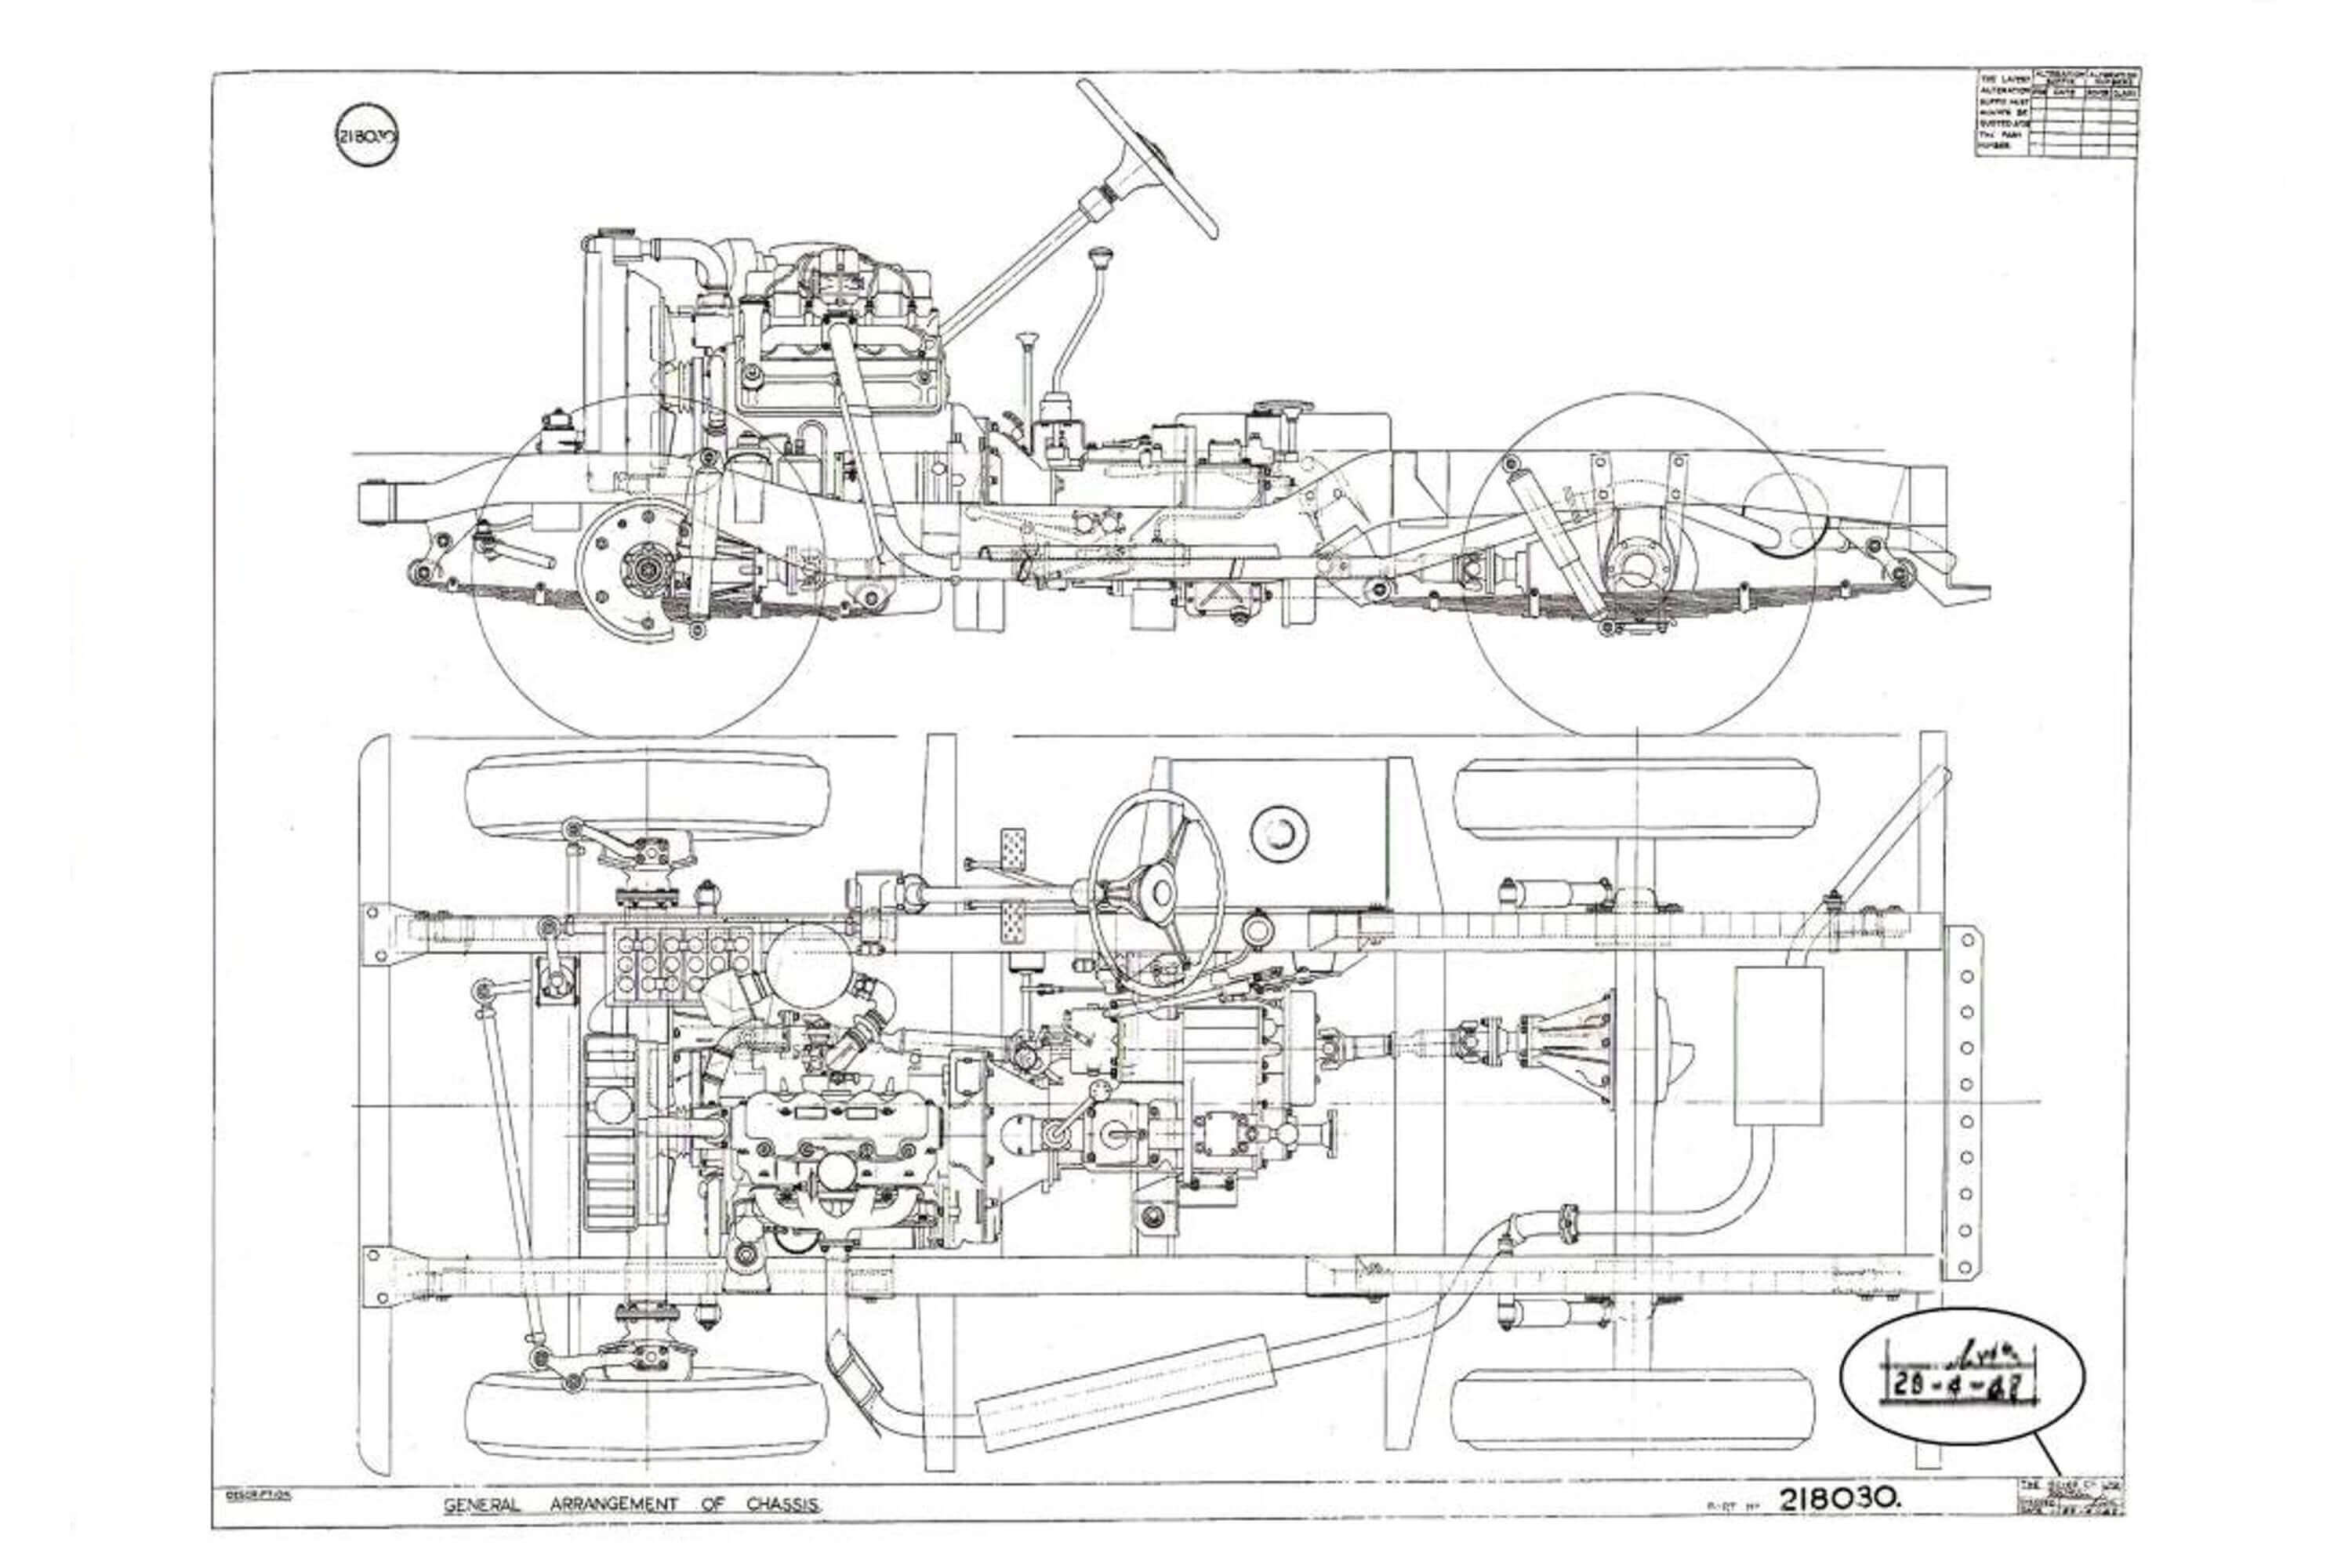
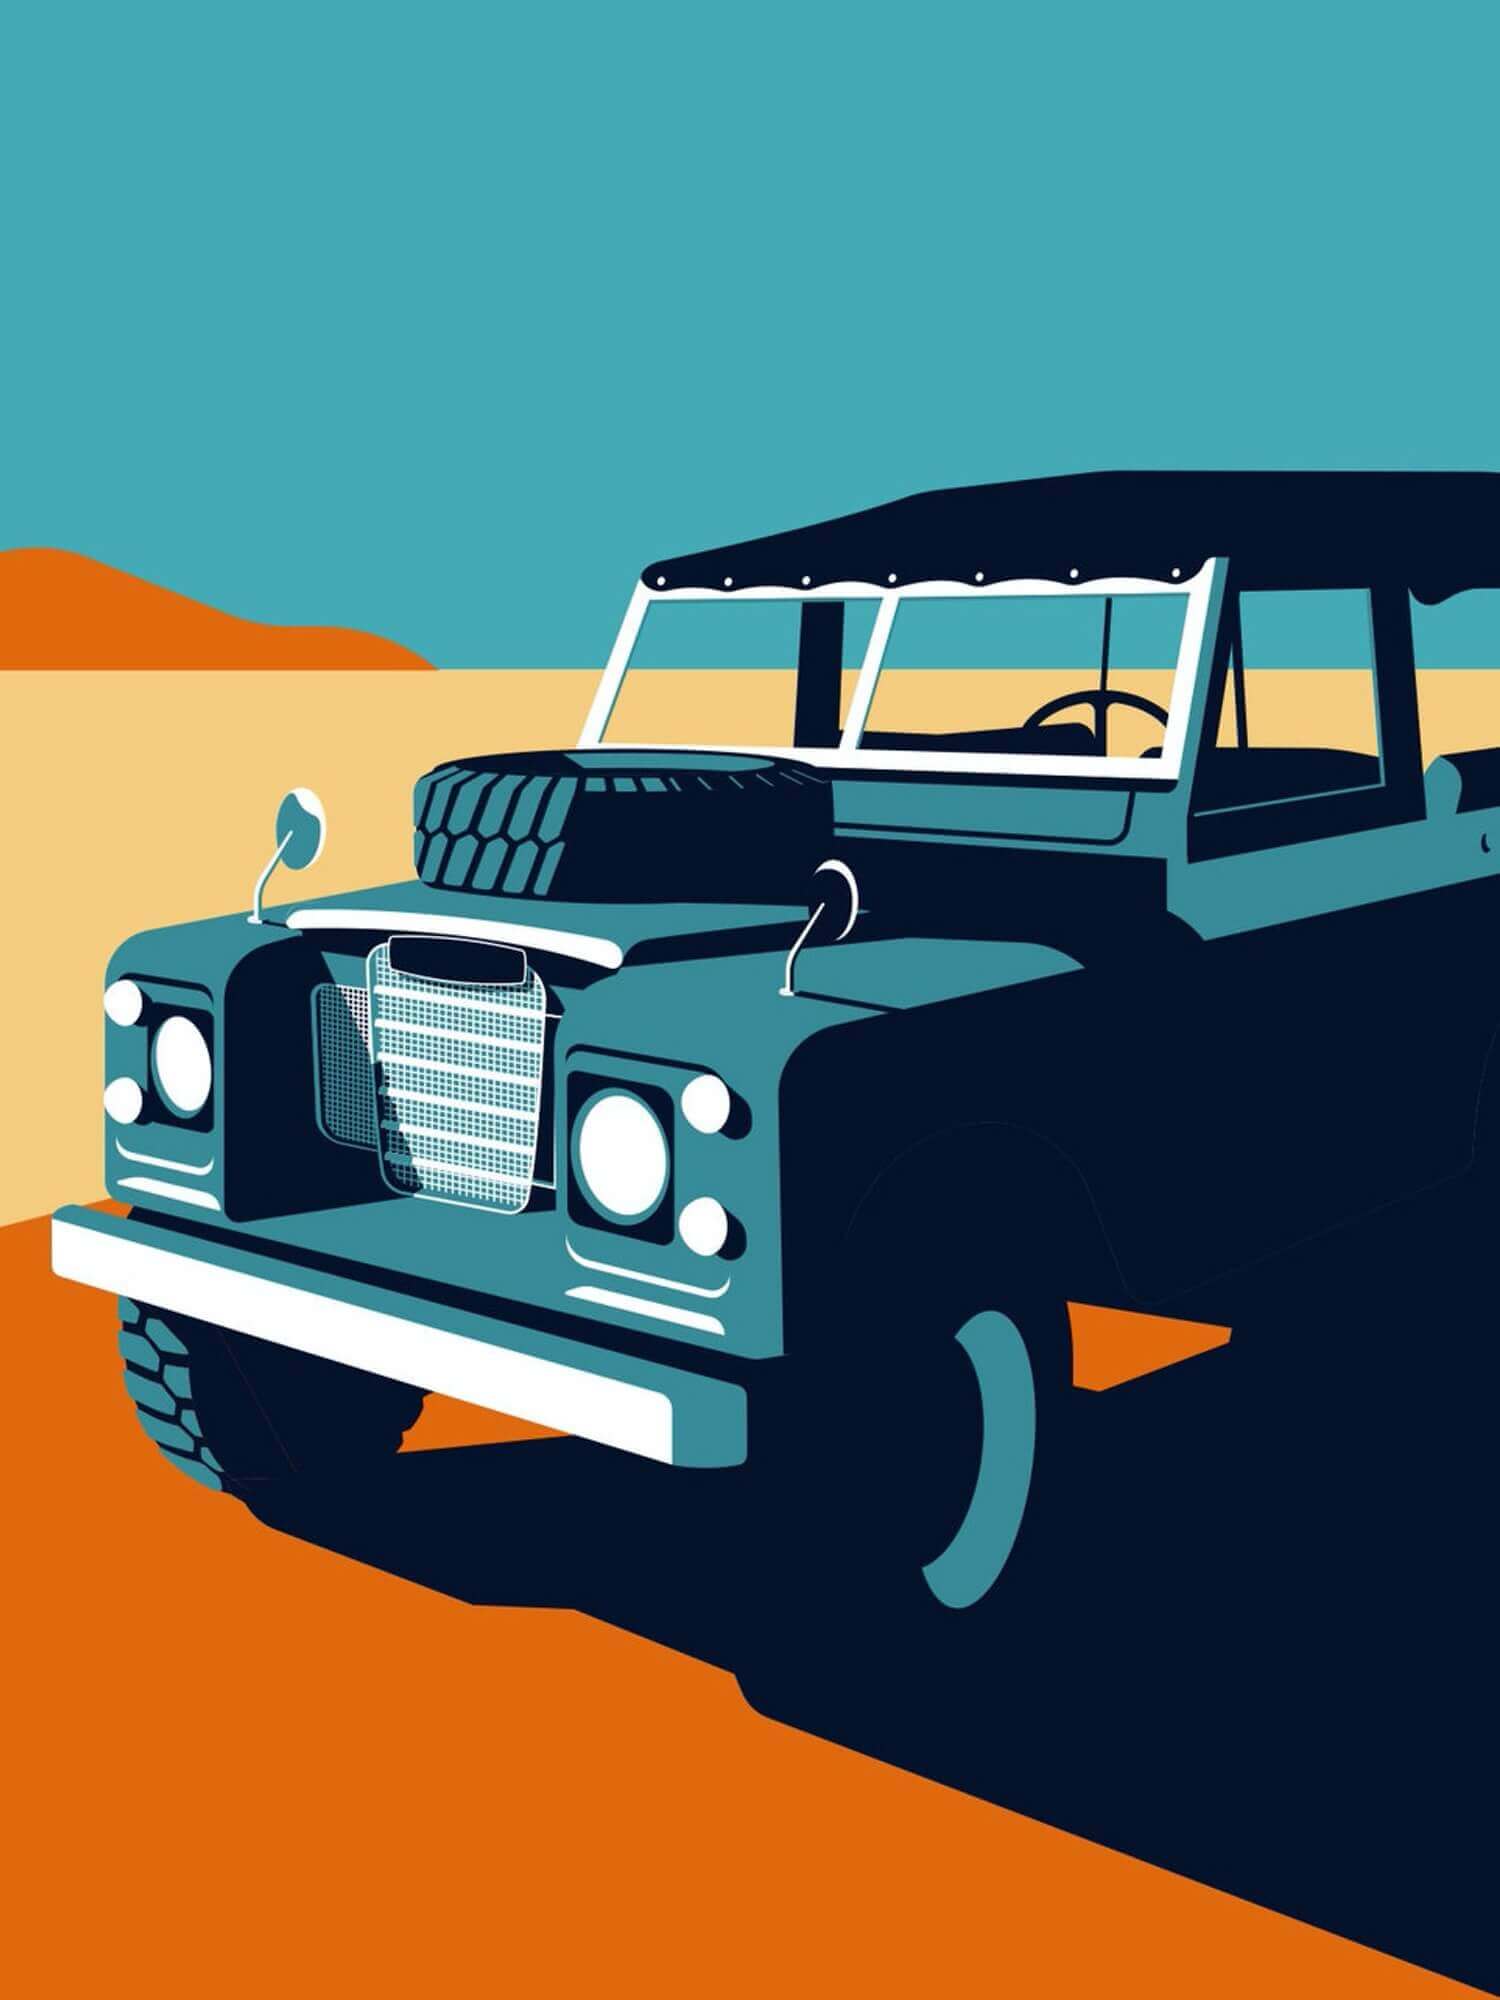
The big debate about this project was whether to do a full restoration or a restomod.
Considering this is our first important project, we wanted to follow the original setup of the car and make small upgrades to improve the efficencity without loosing the former design's autencity.

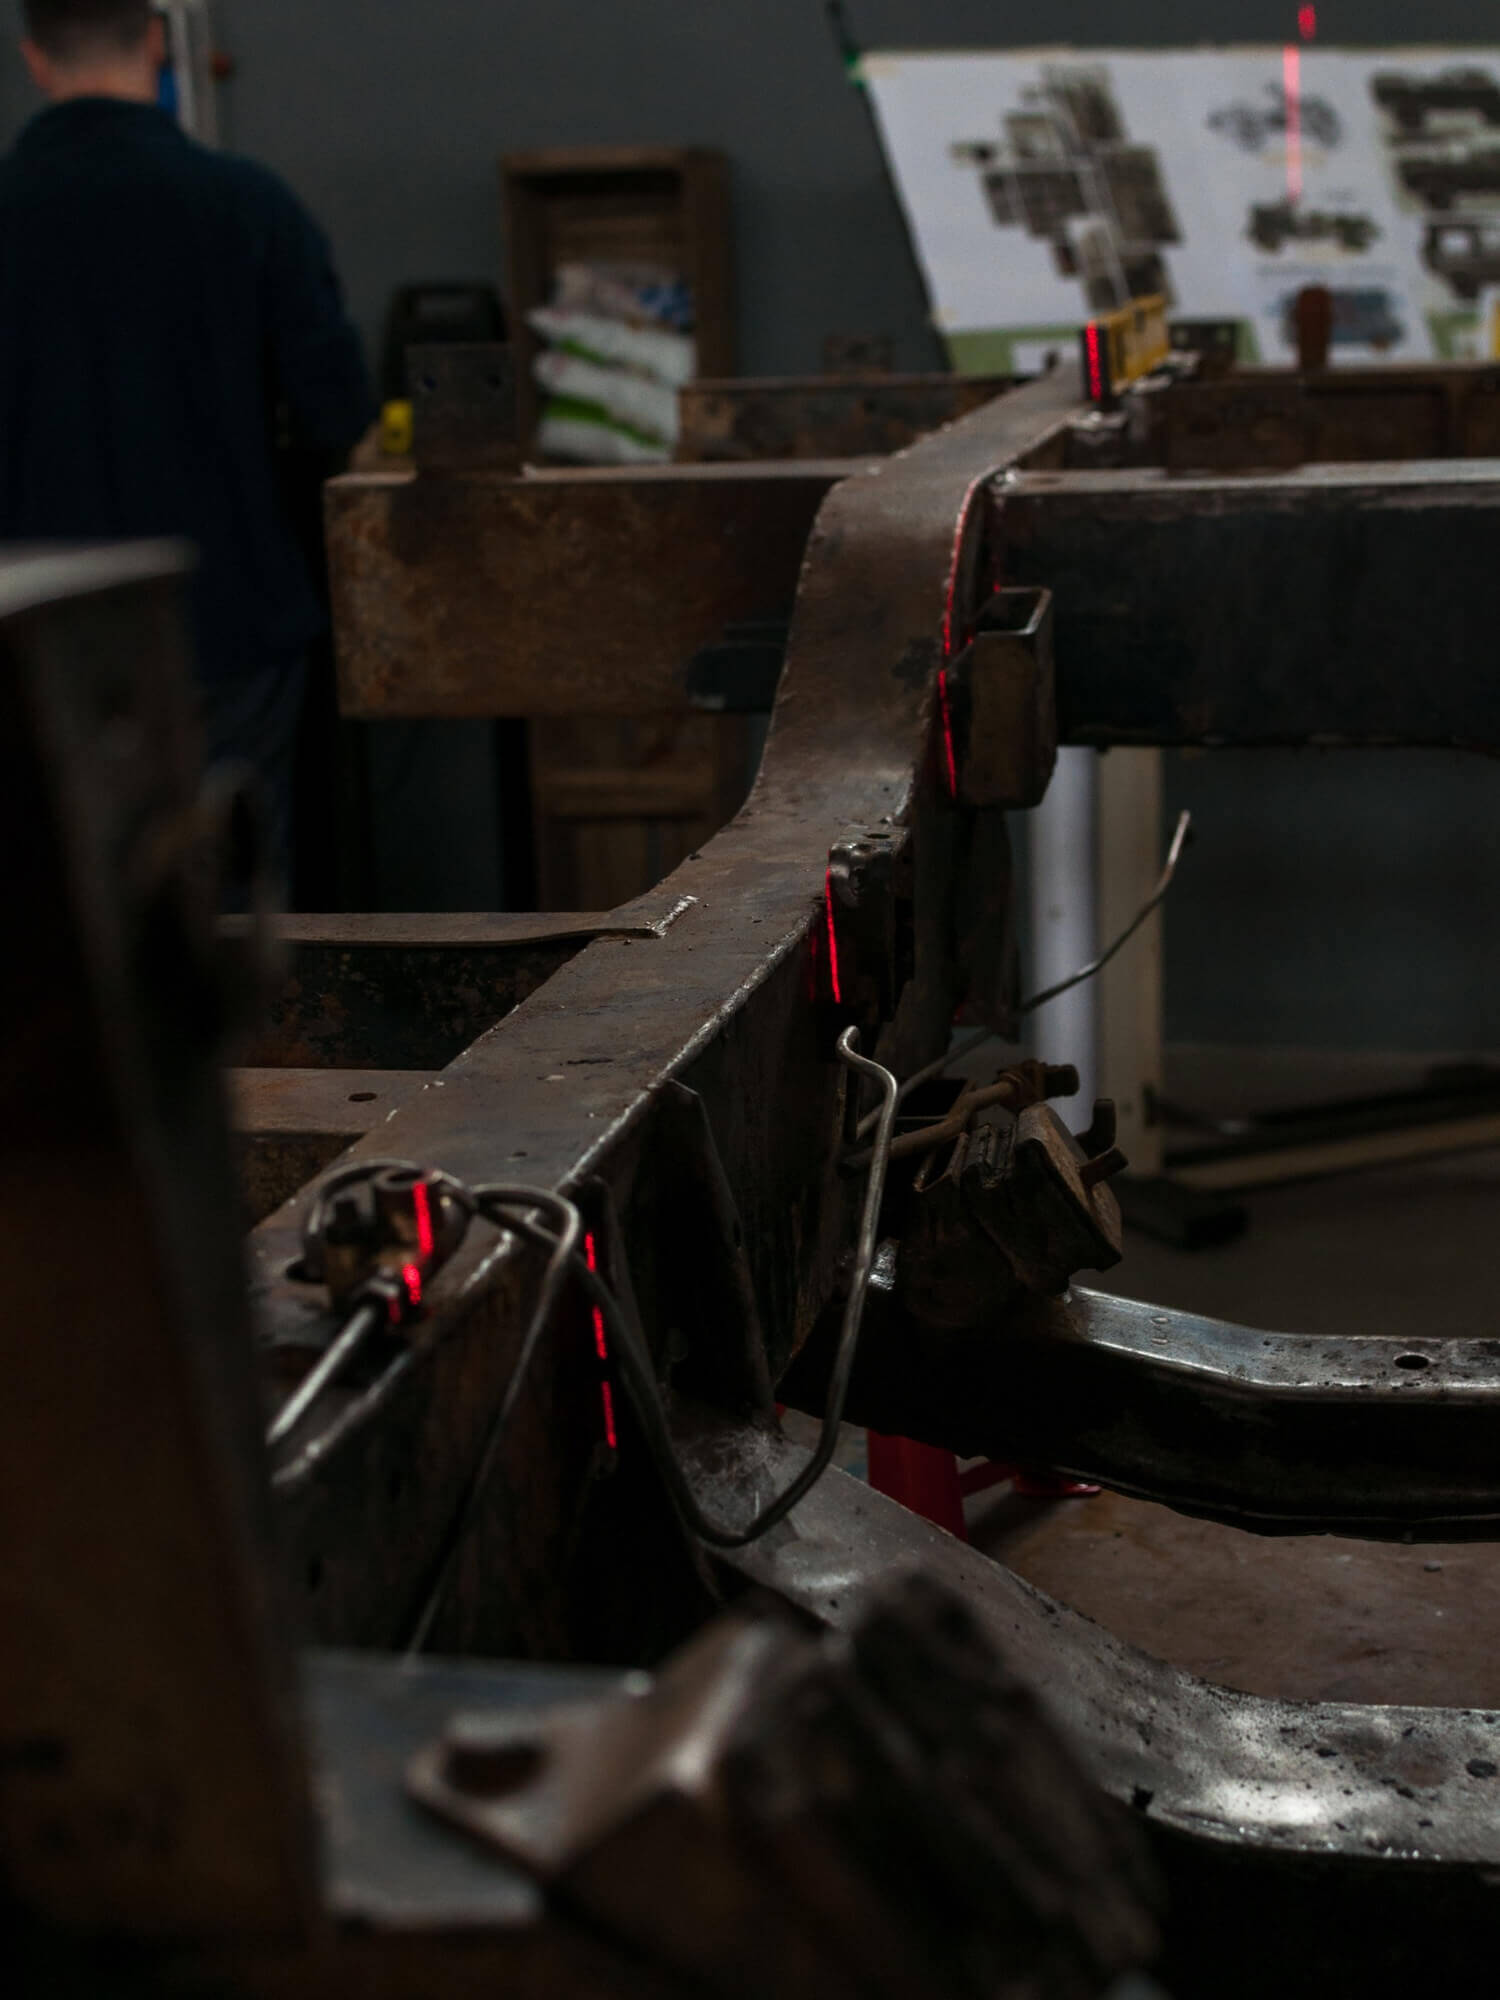
My father always told me that it takes the same time to do a good or a bad job.
Therefore, with this in mind we decided to disassembly every single screw, bracket and make it RIGHT.
The working hours were over 80's after disassembly.. and we were just getting started.

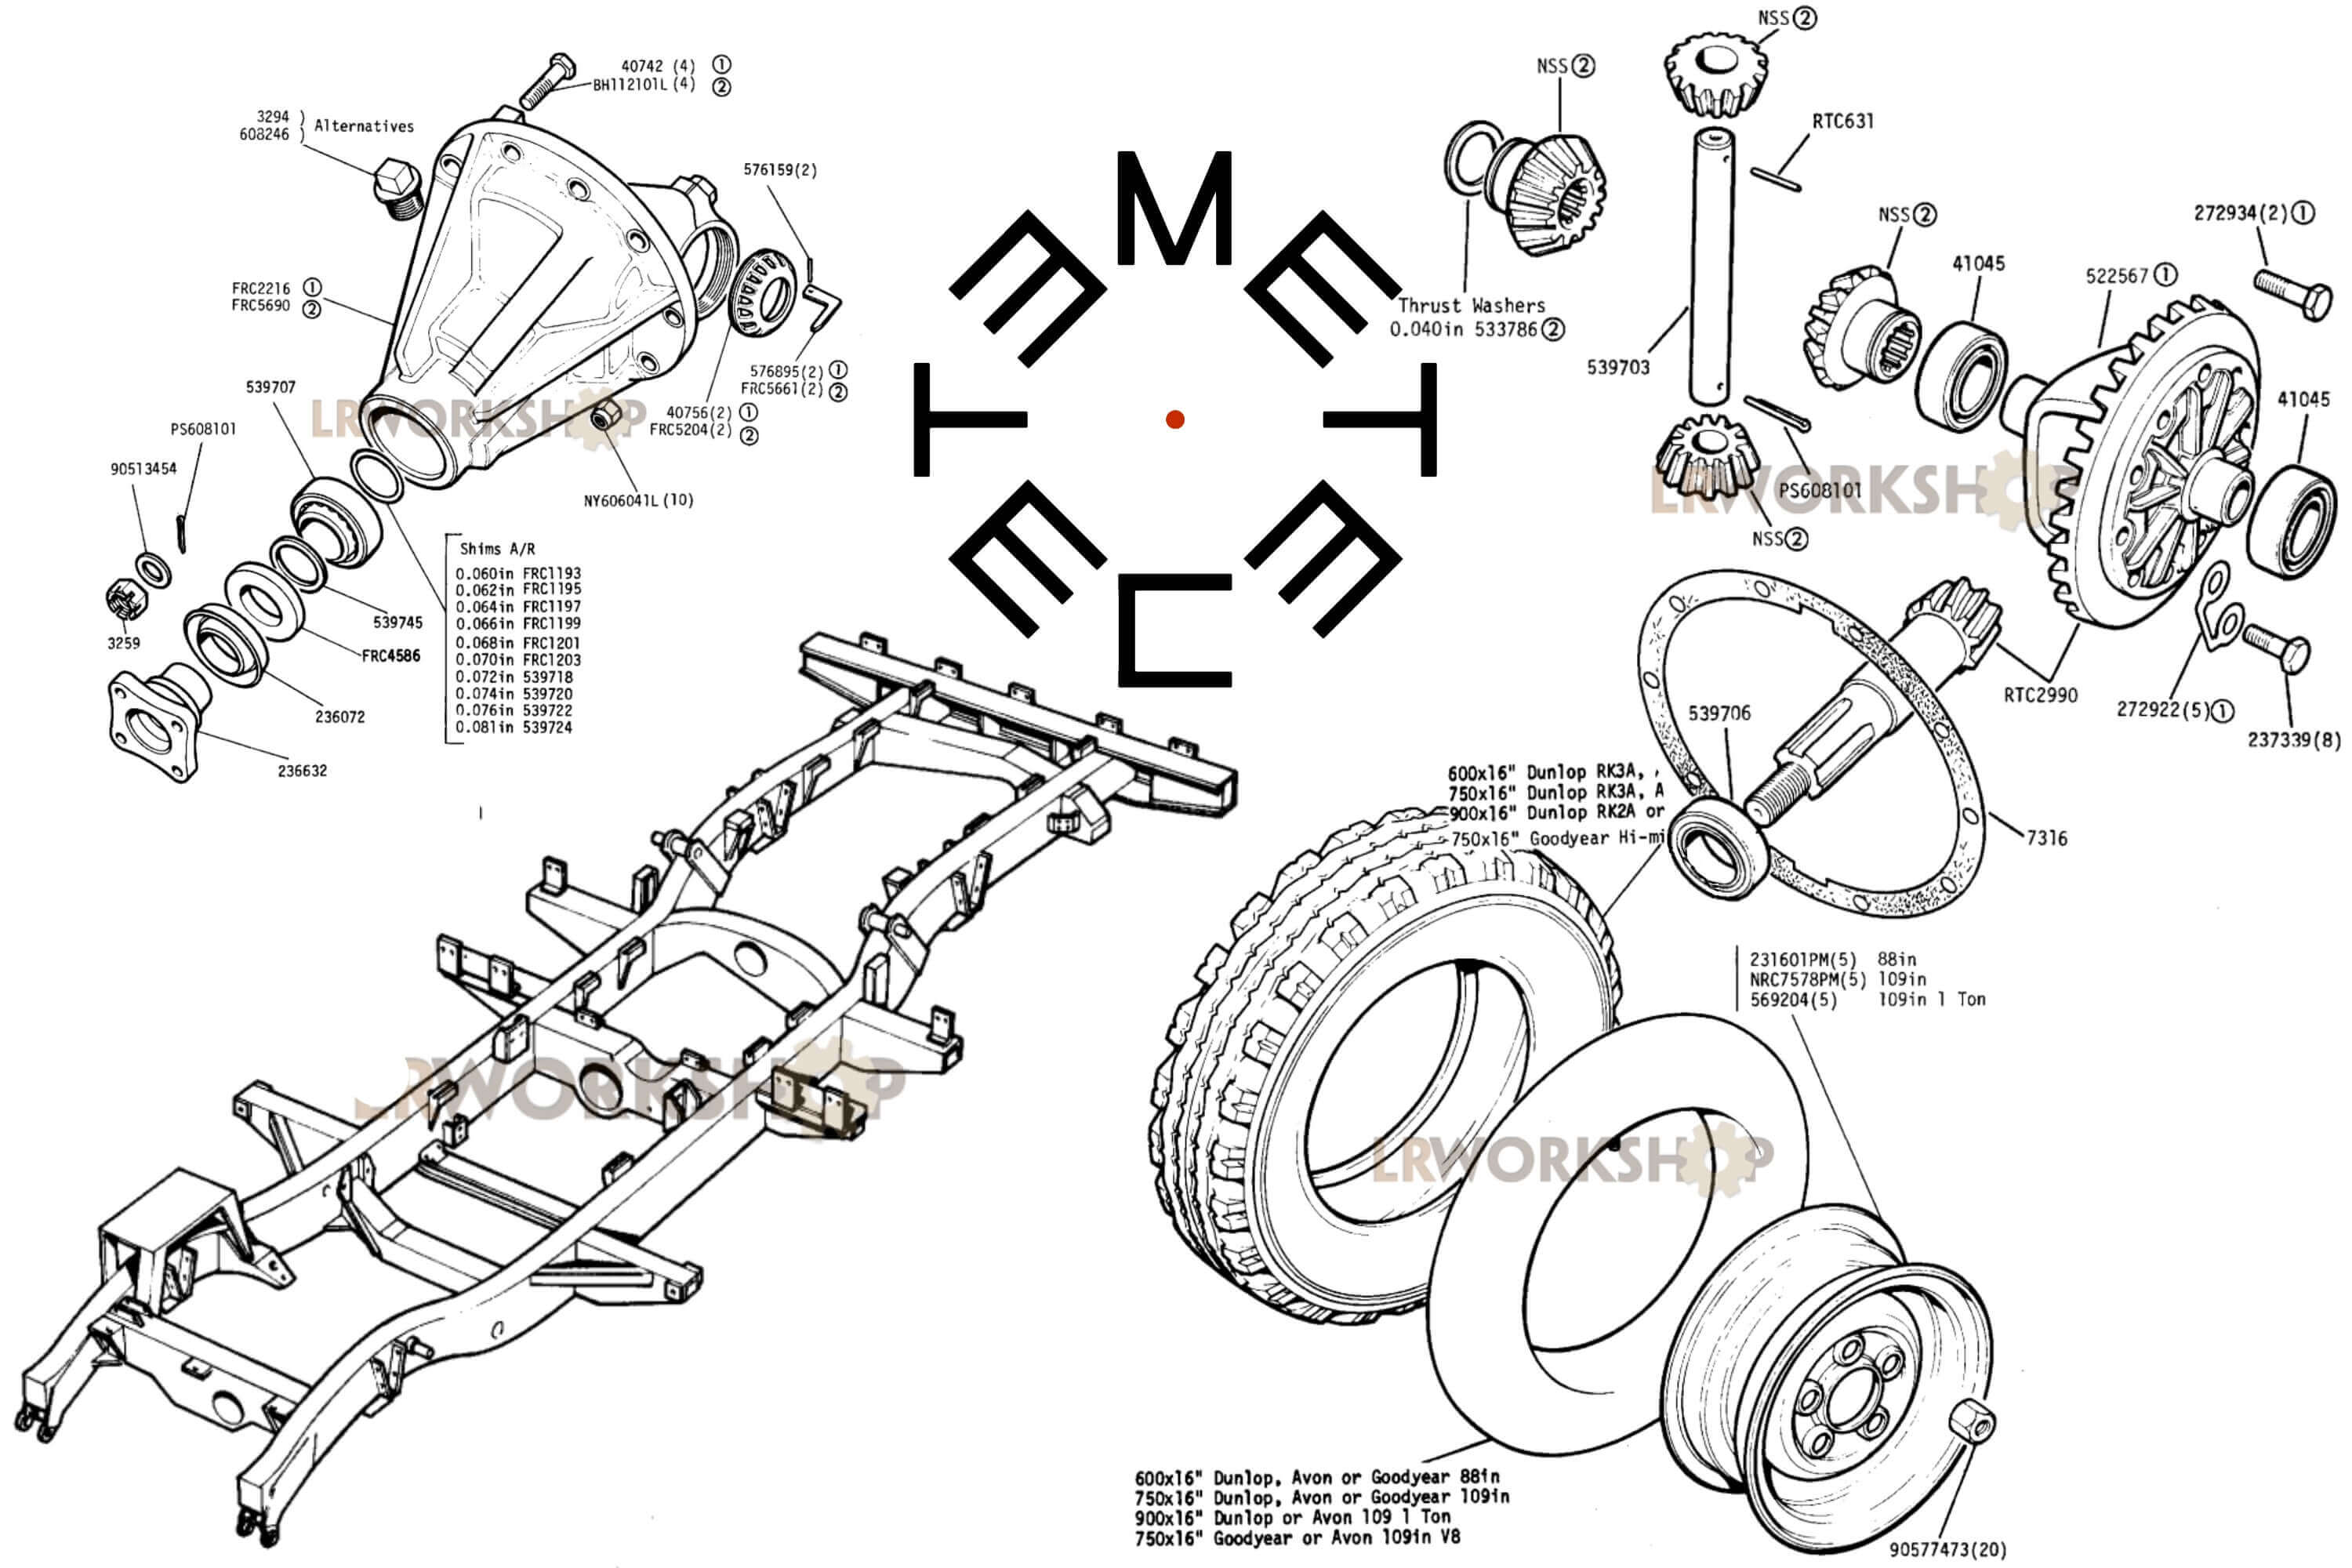
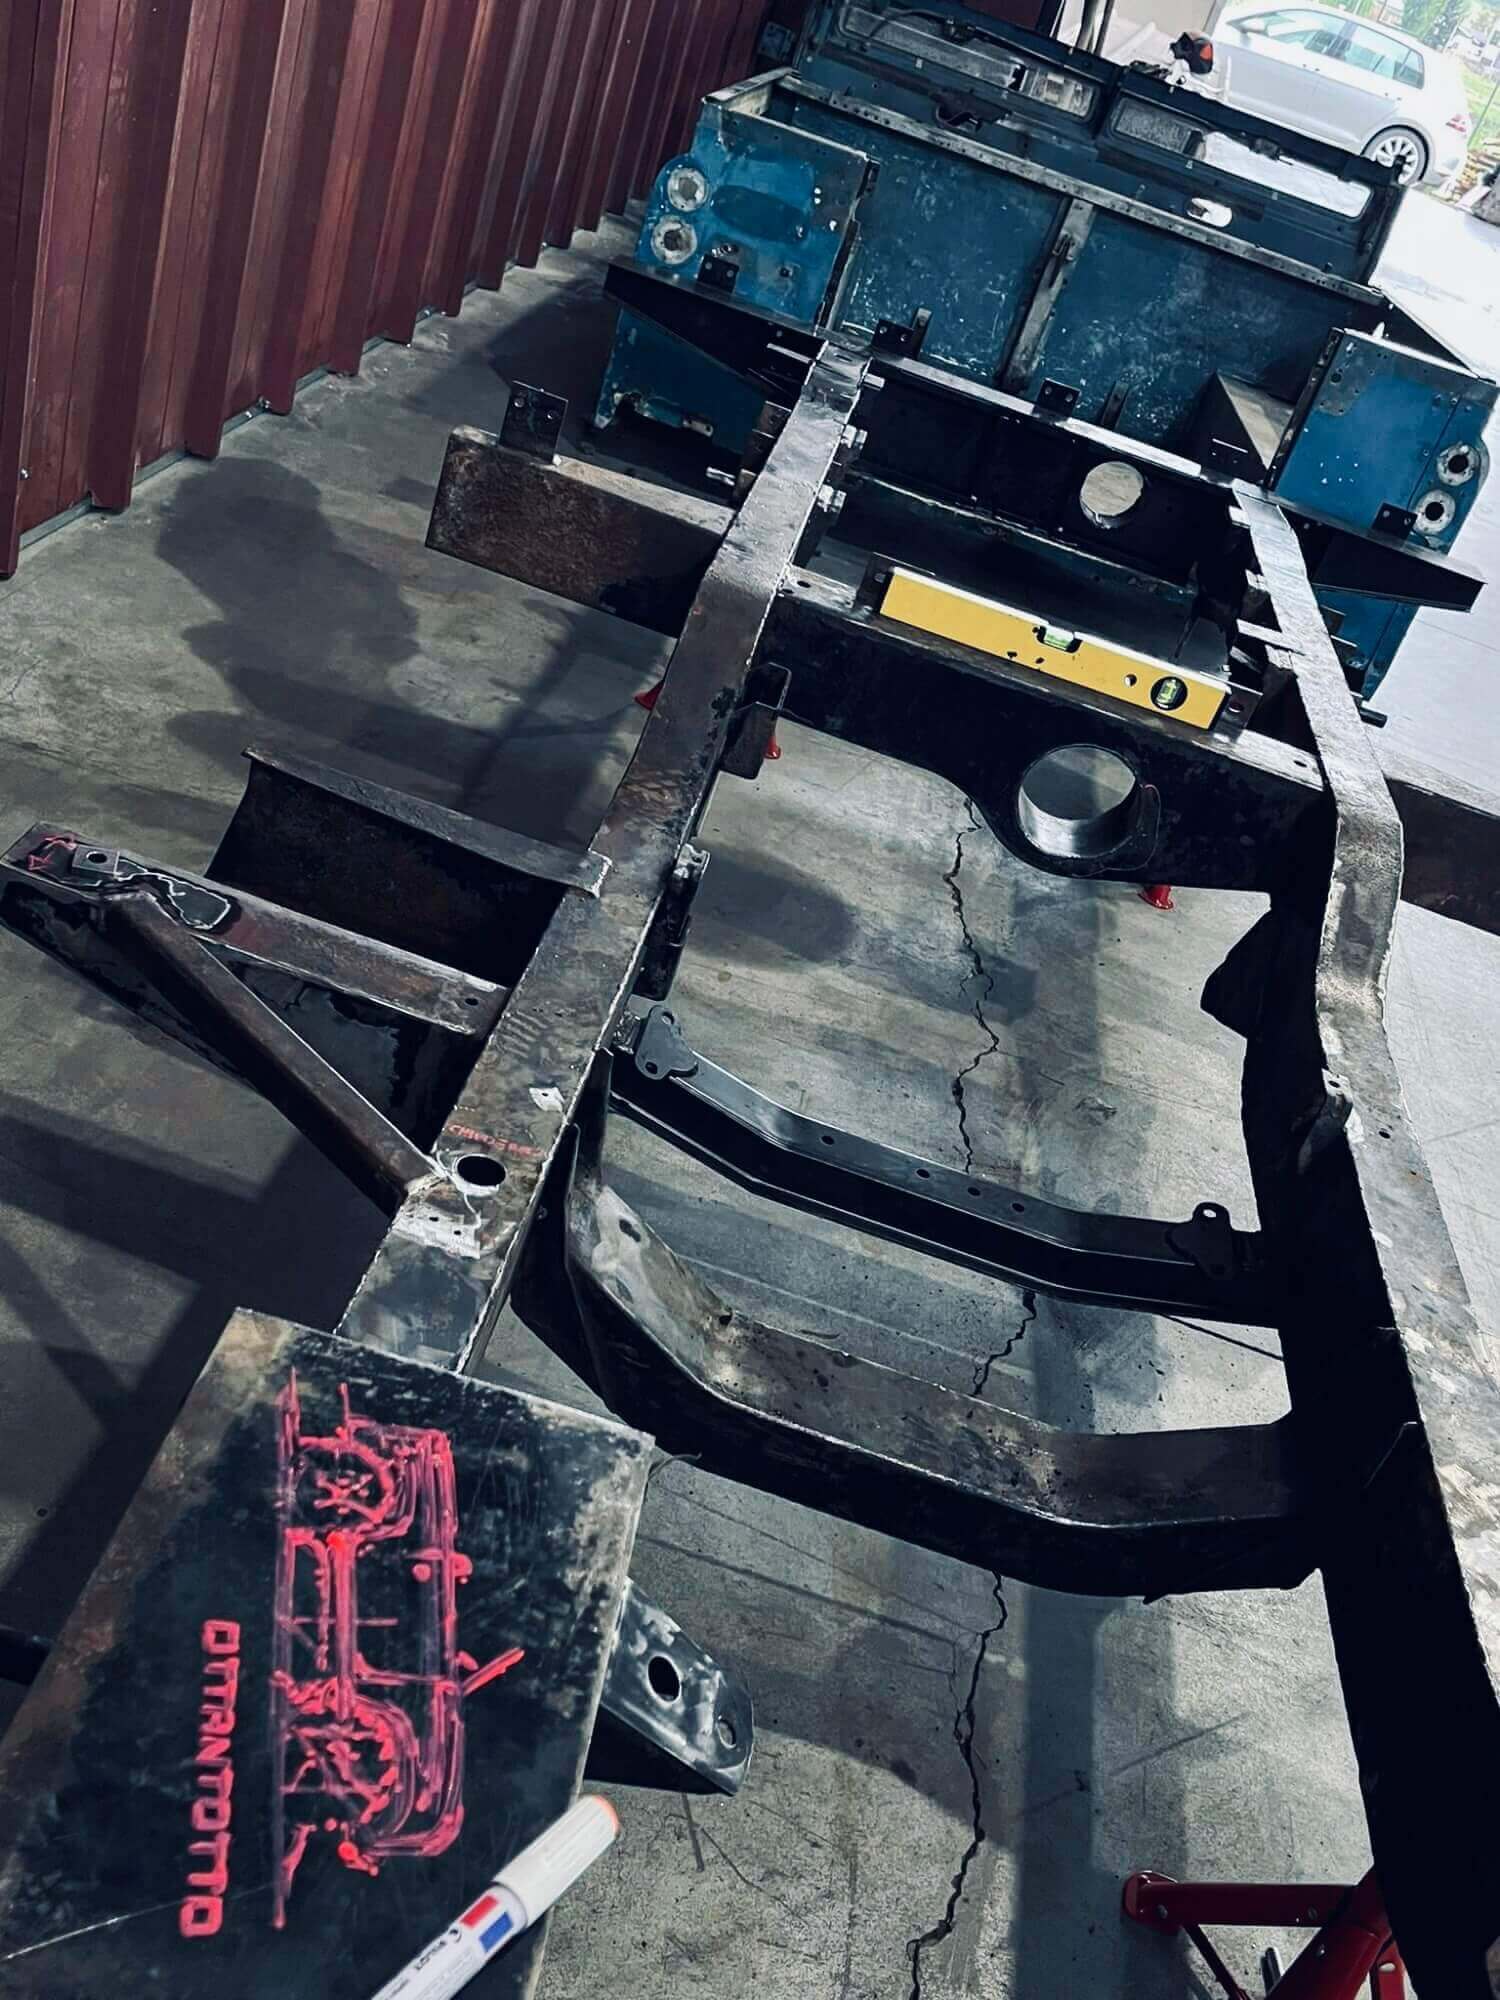
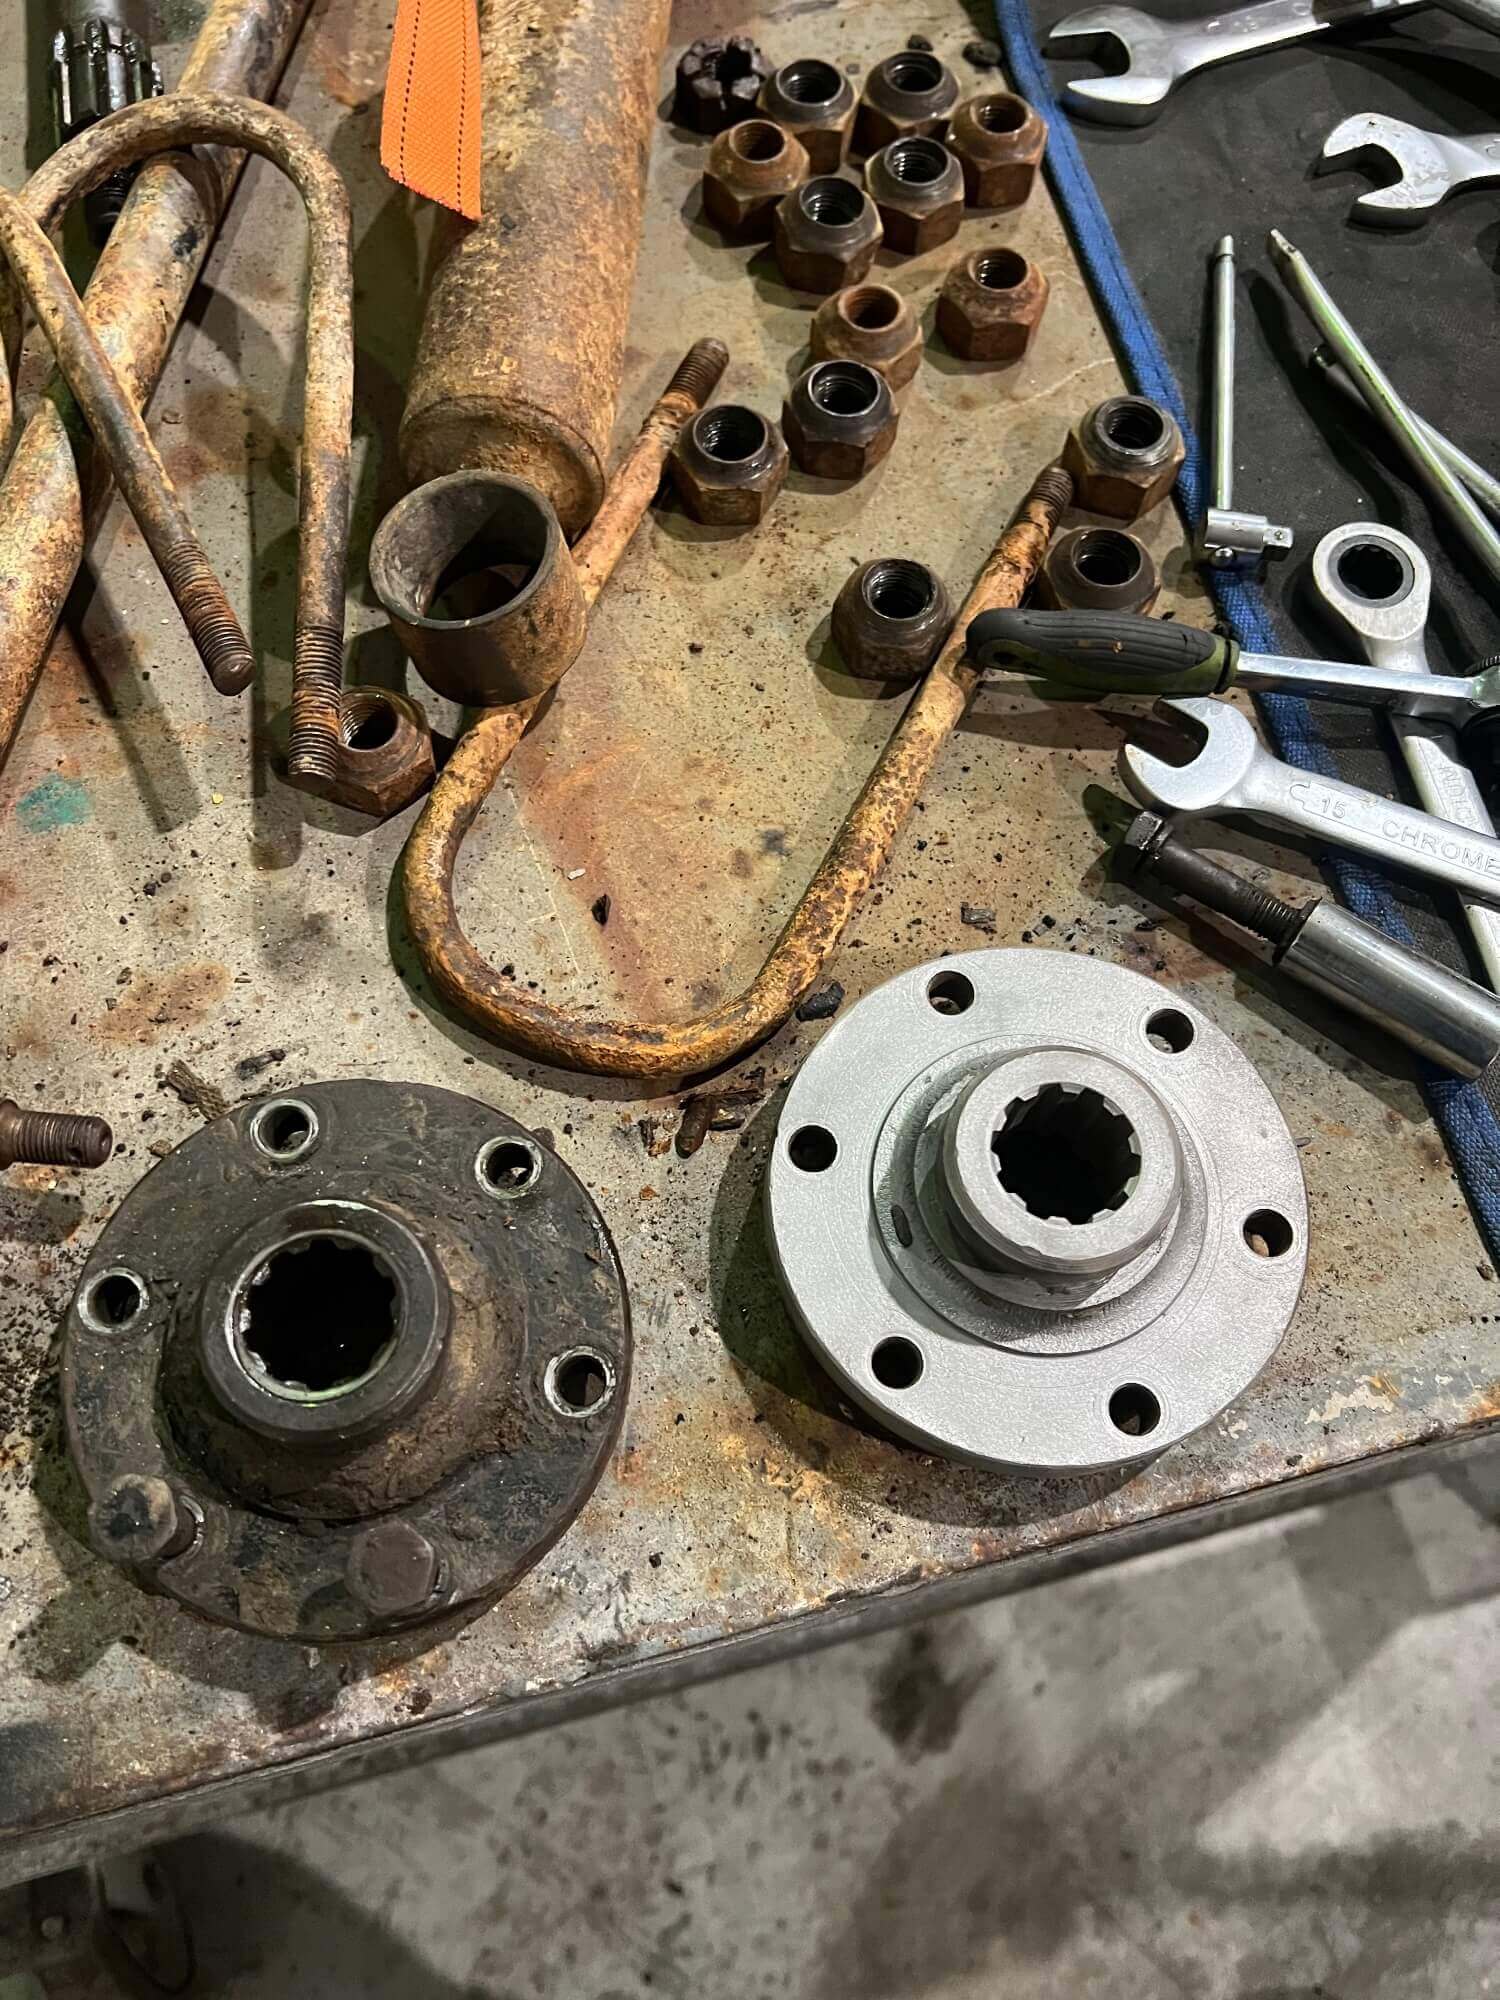
when you want to renovate an object, you start with the best hypotheses of restoration and conservation..
but let’s be clear, a car thar has spent more than 50 years in the countyside in the mud, had very little to preserve.
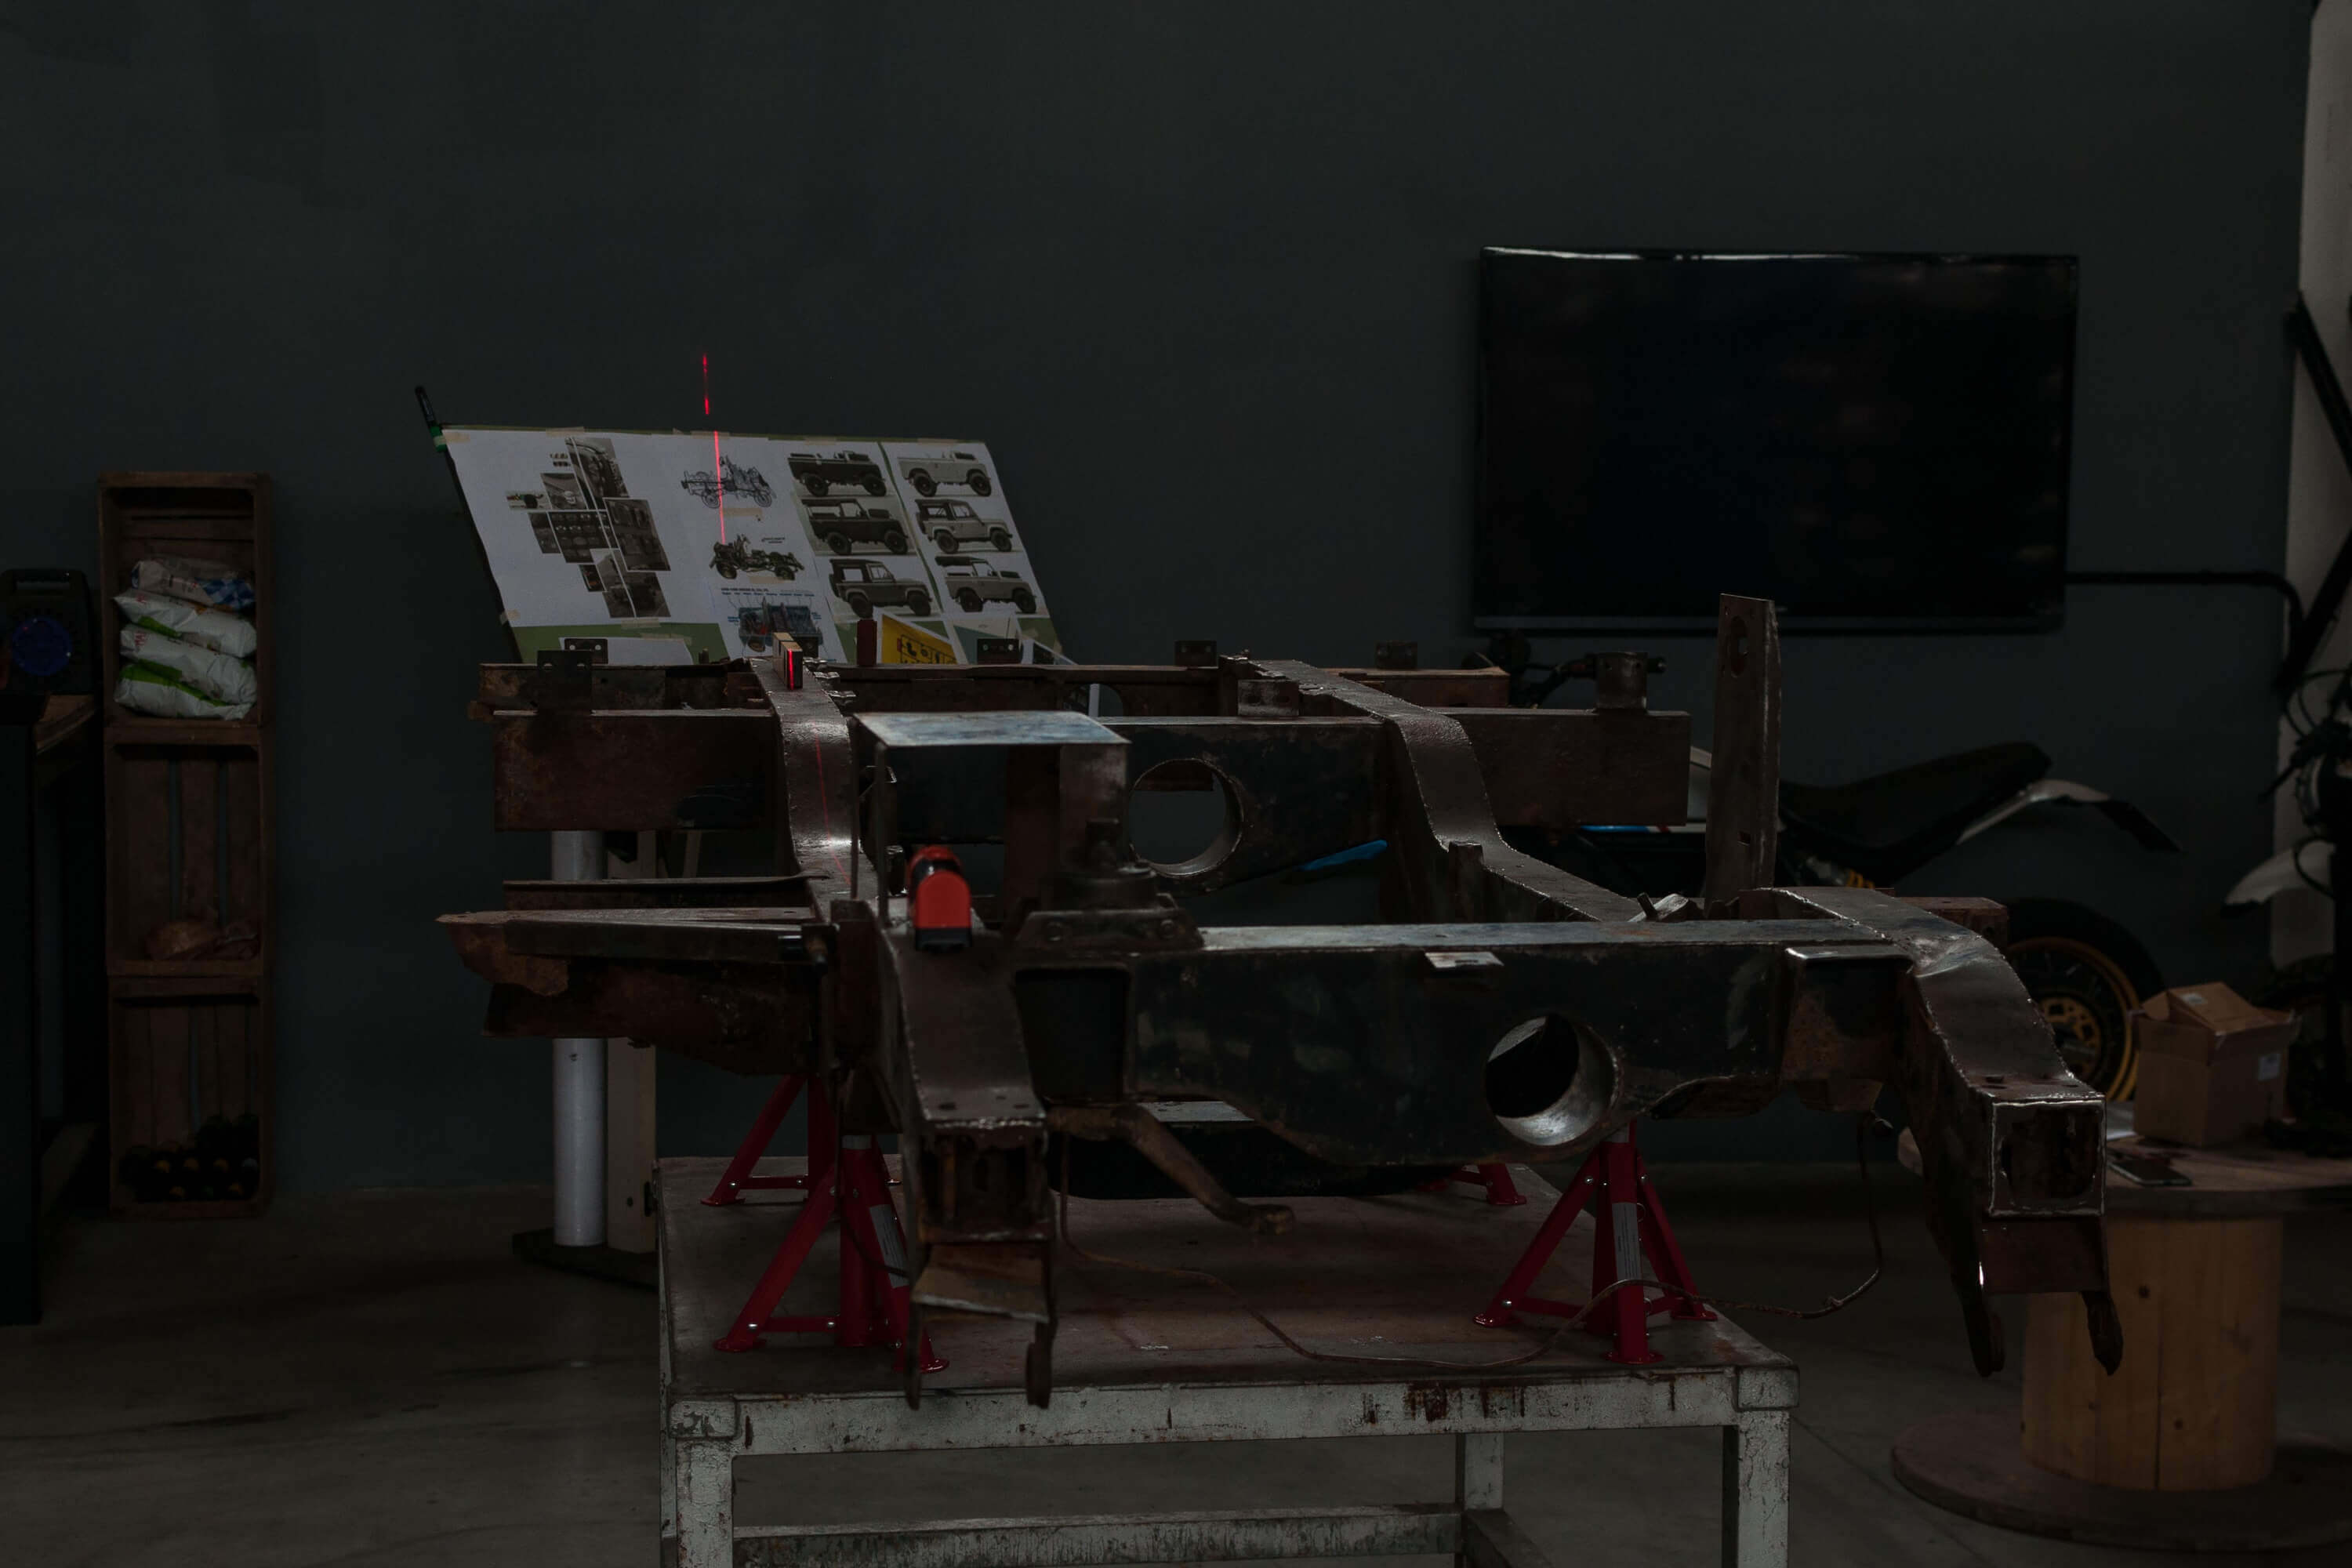
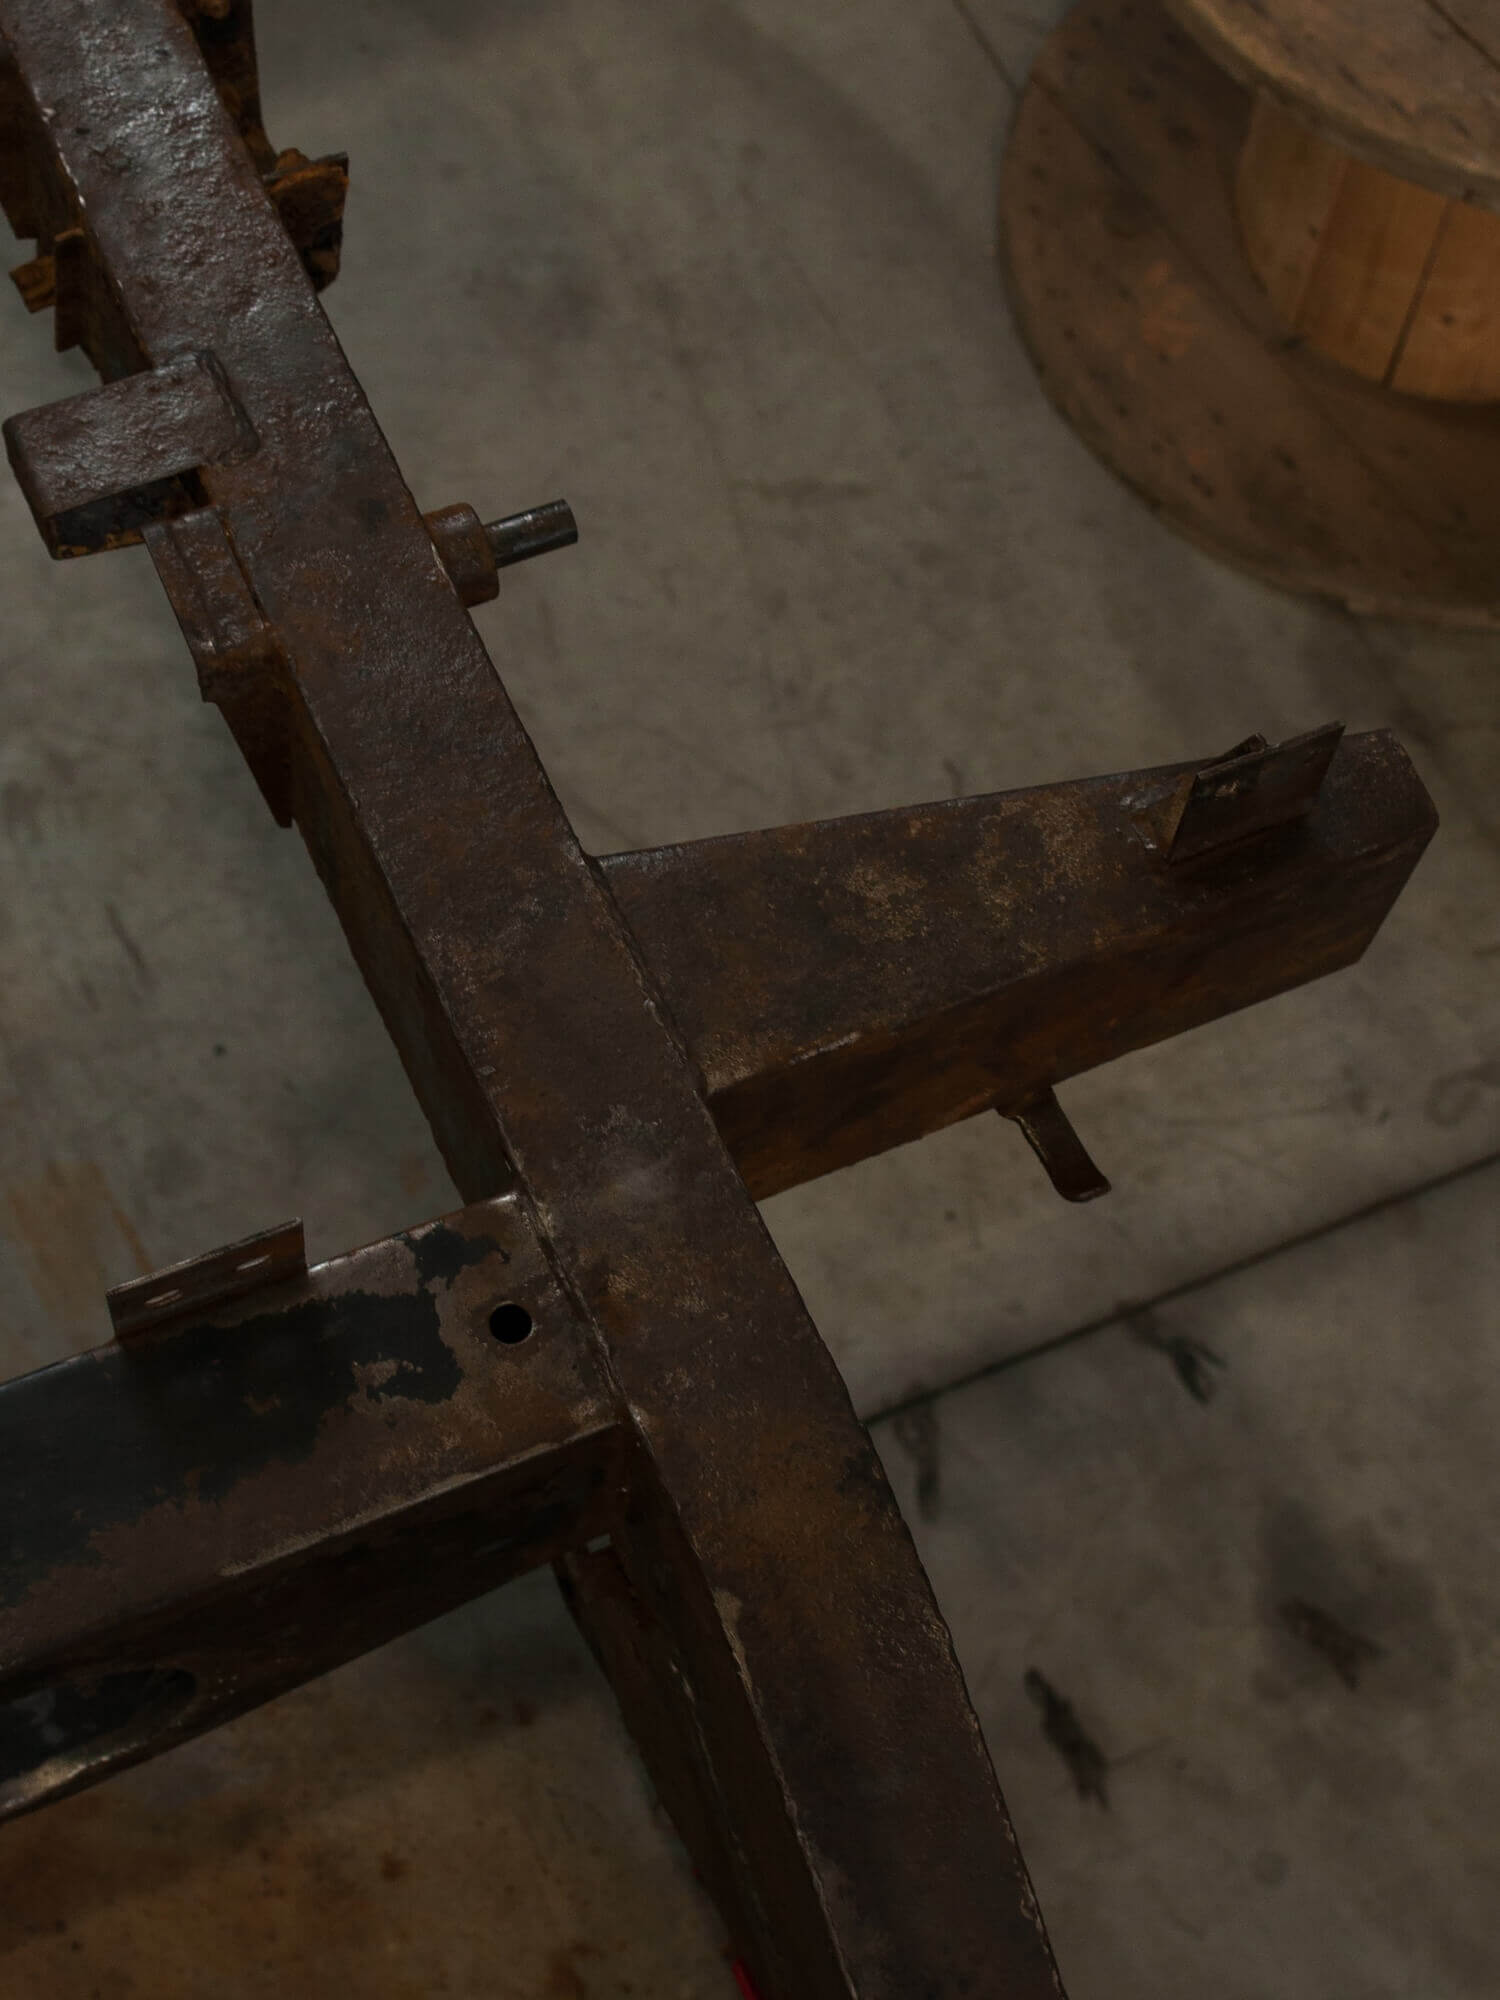
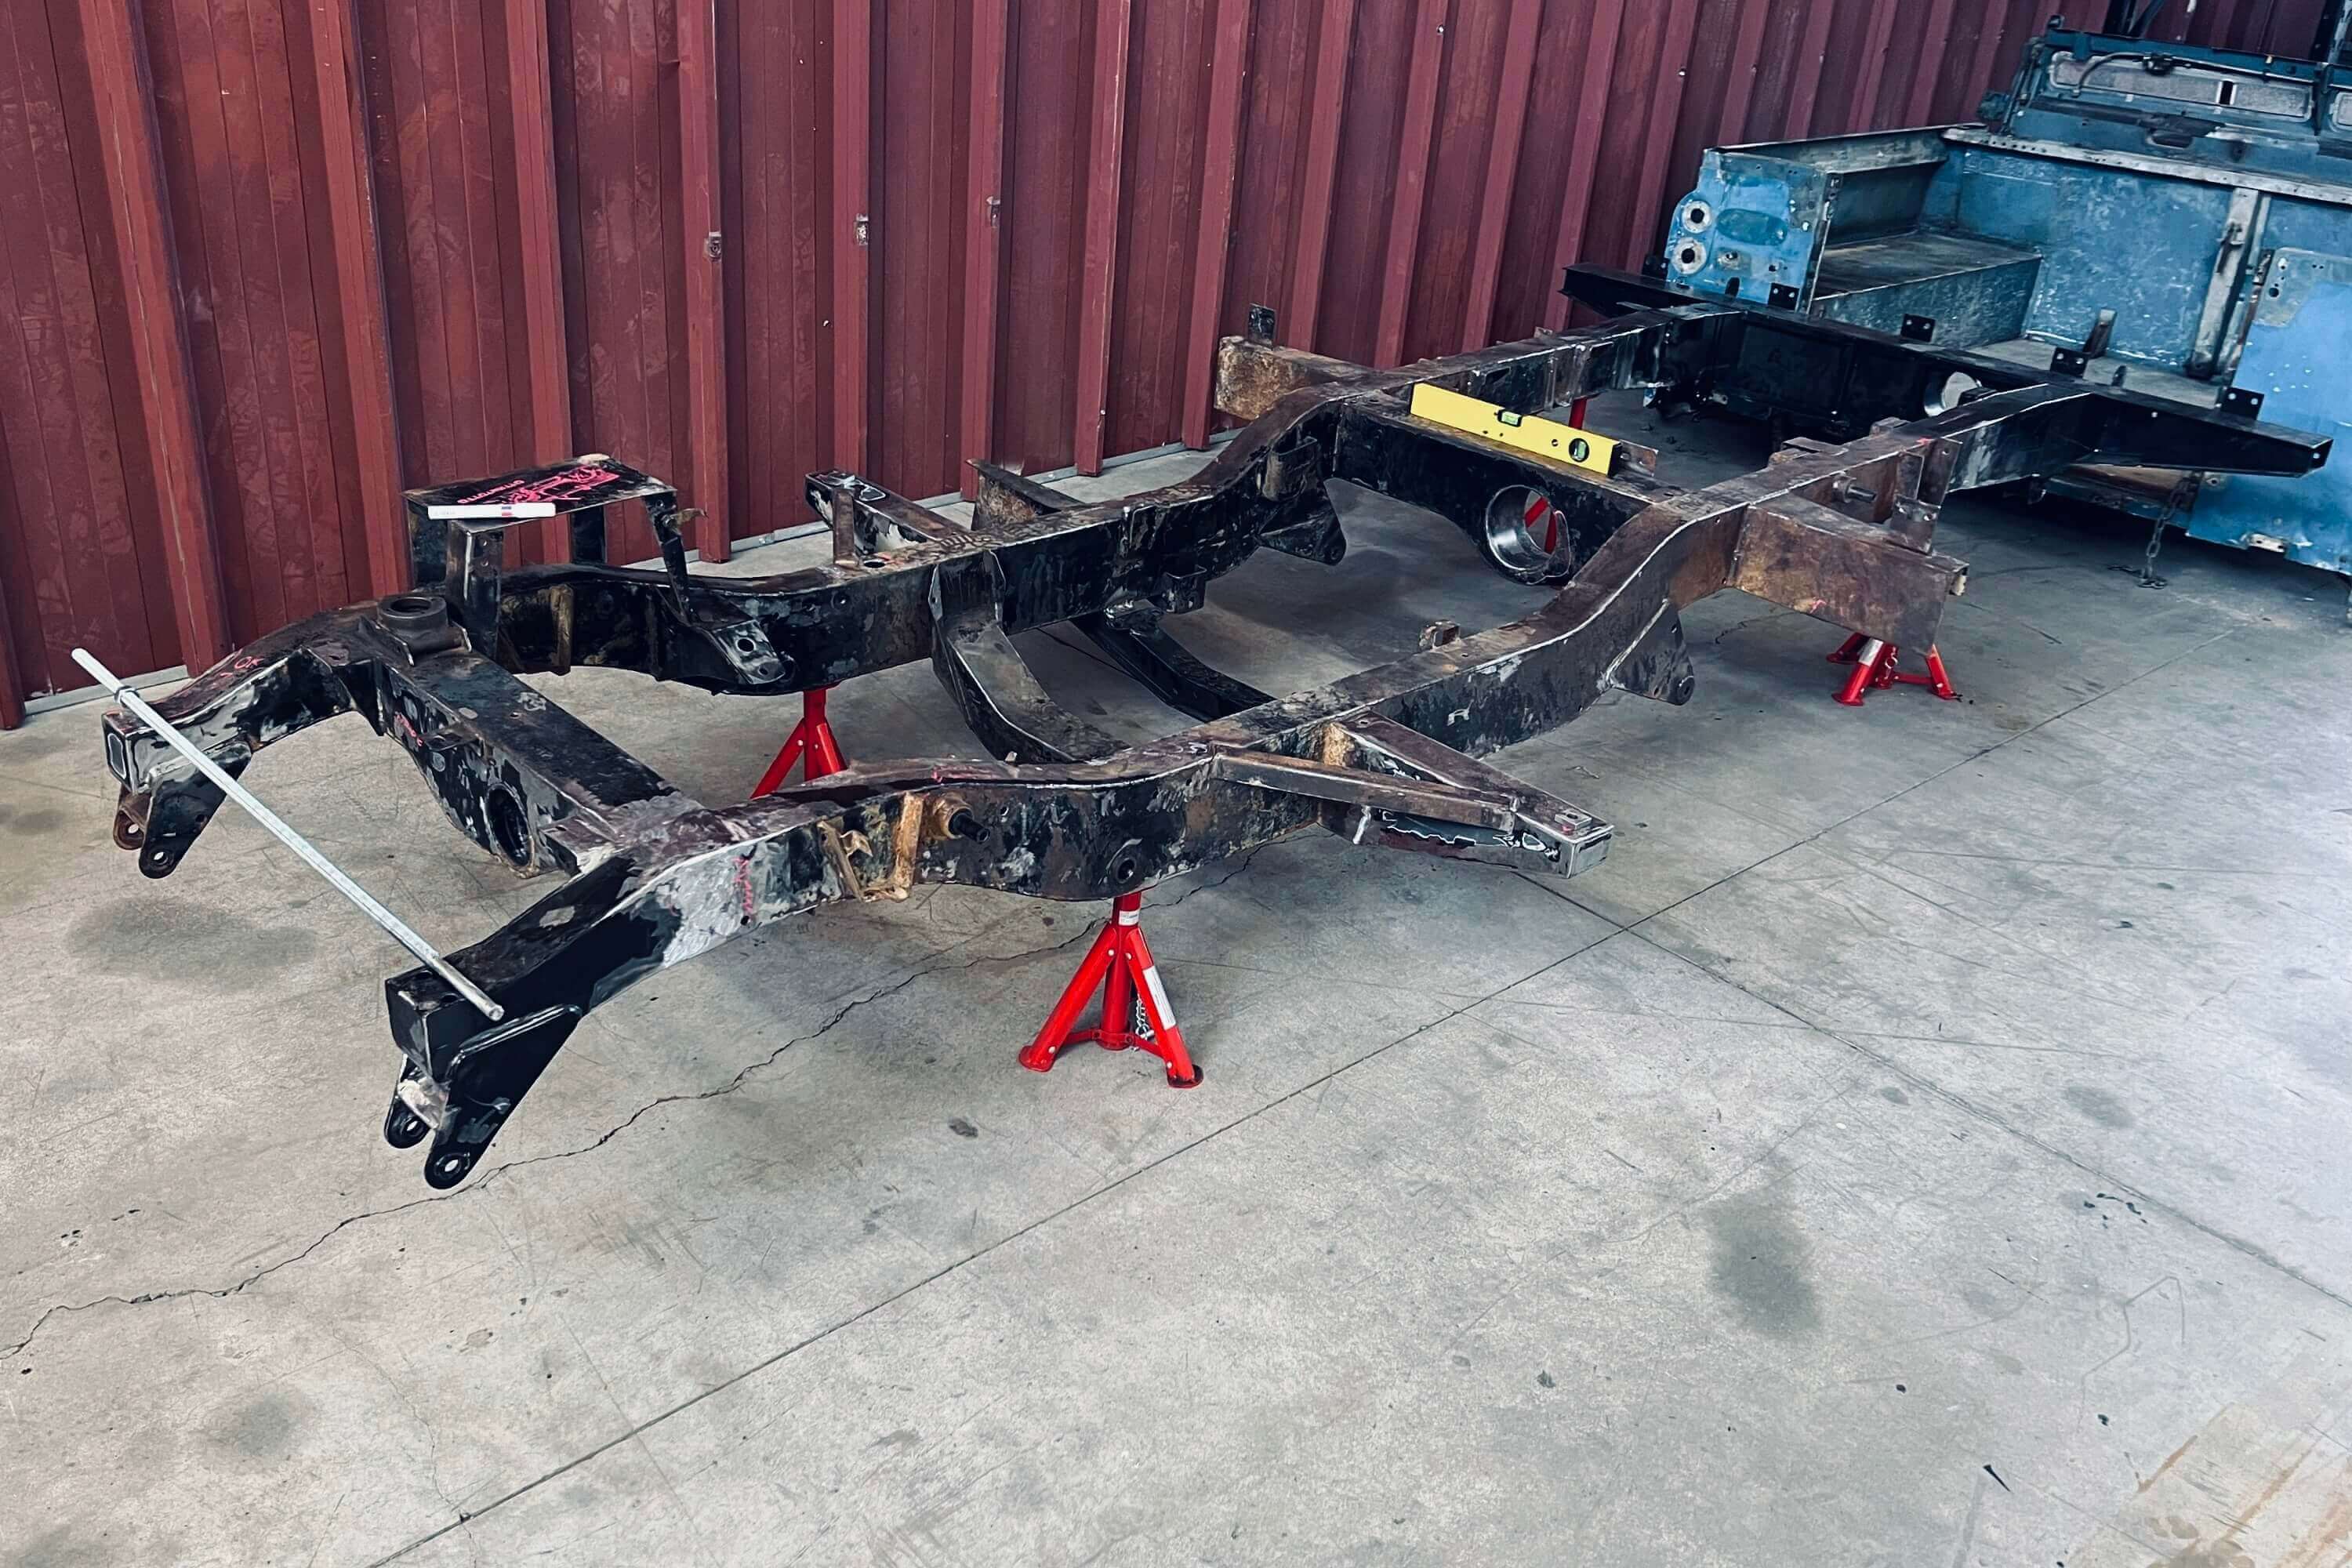
Thankfully, we found chassis in good condition, some parts have been replaced and rewelded in their place.

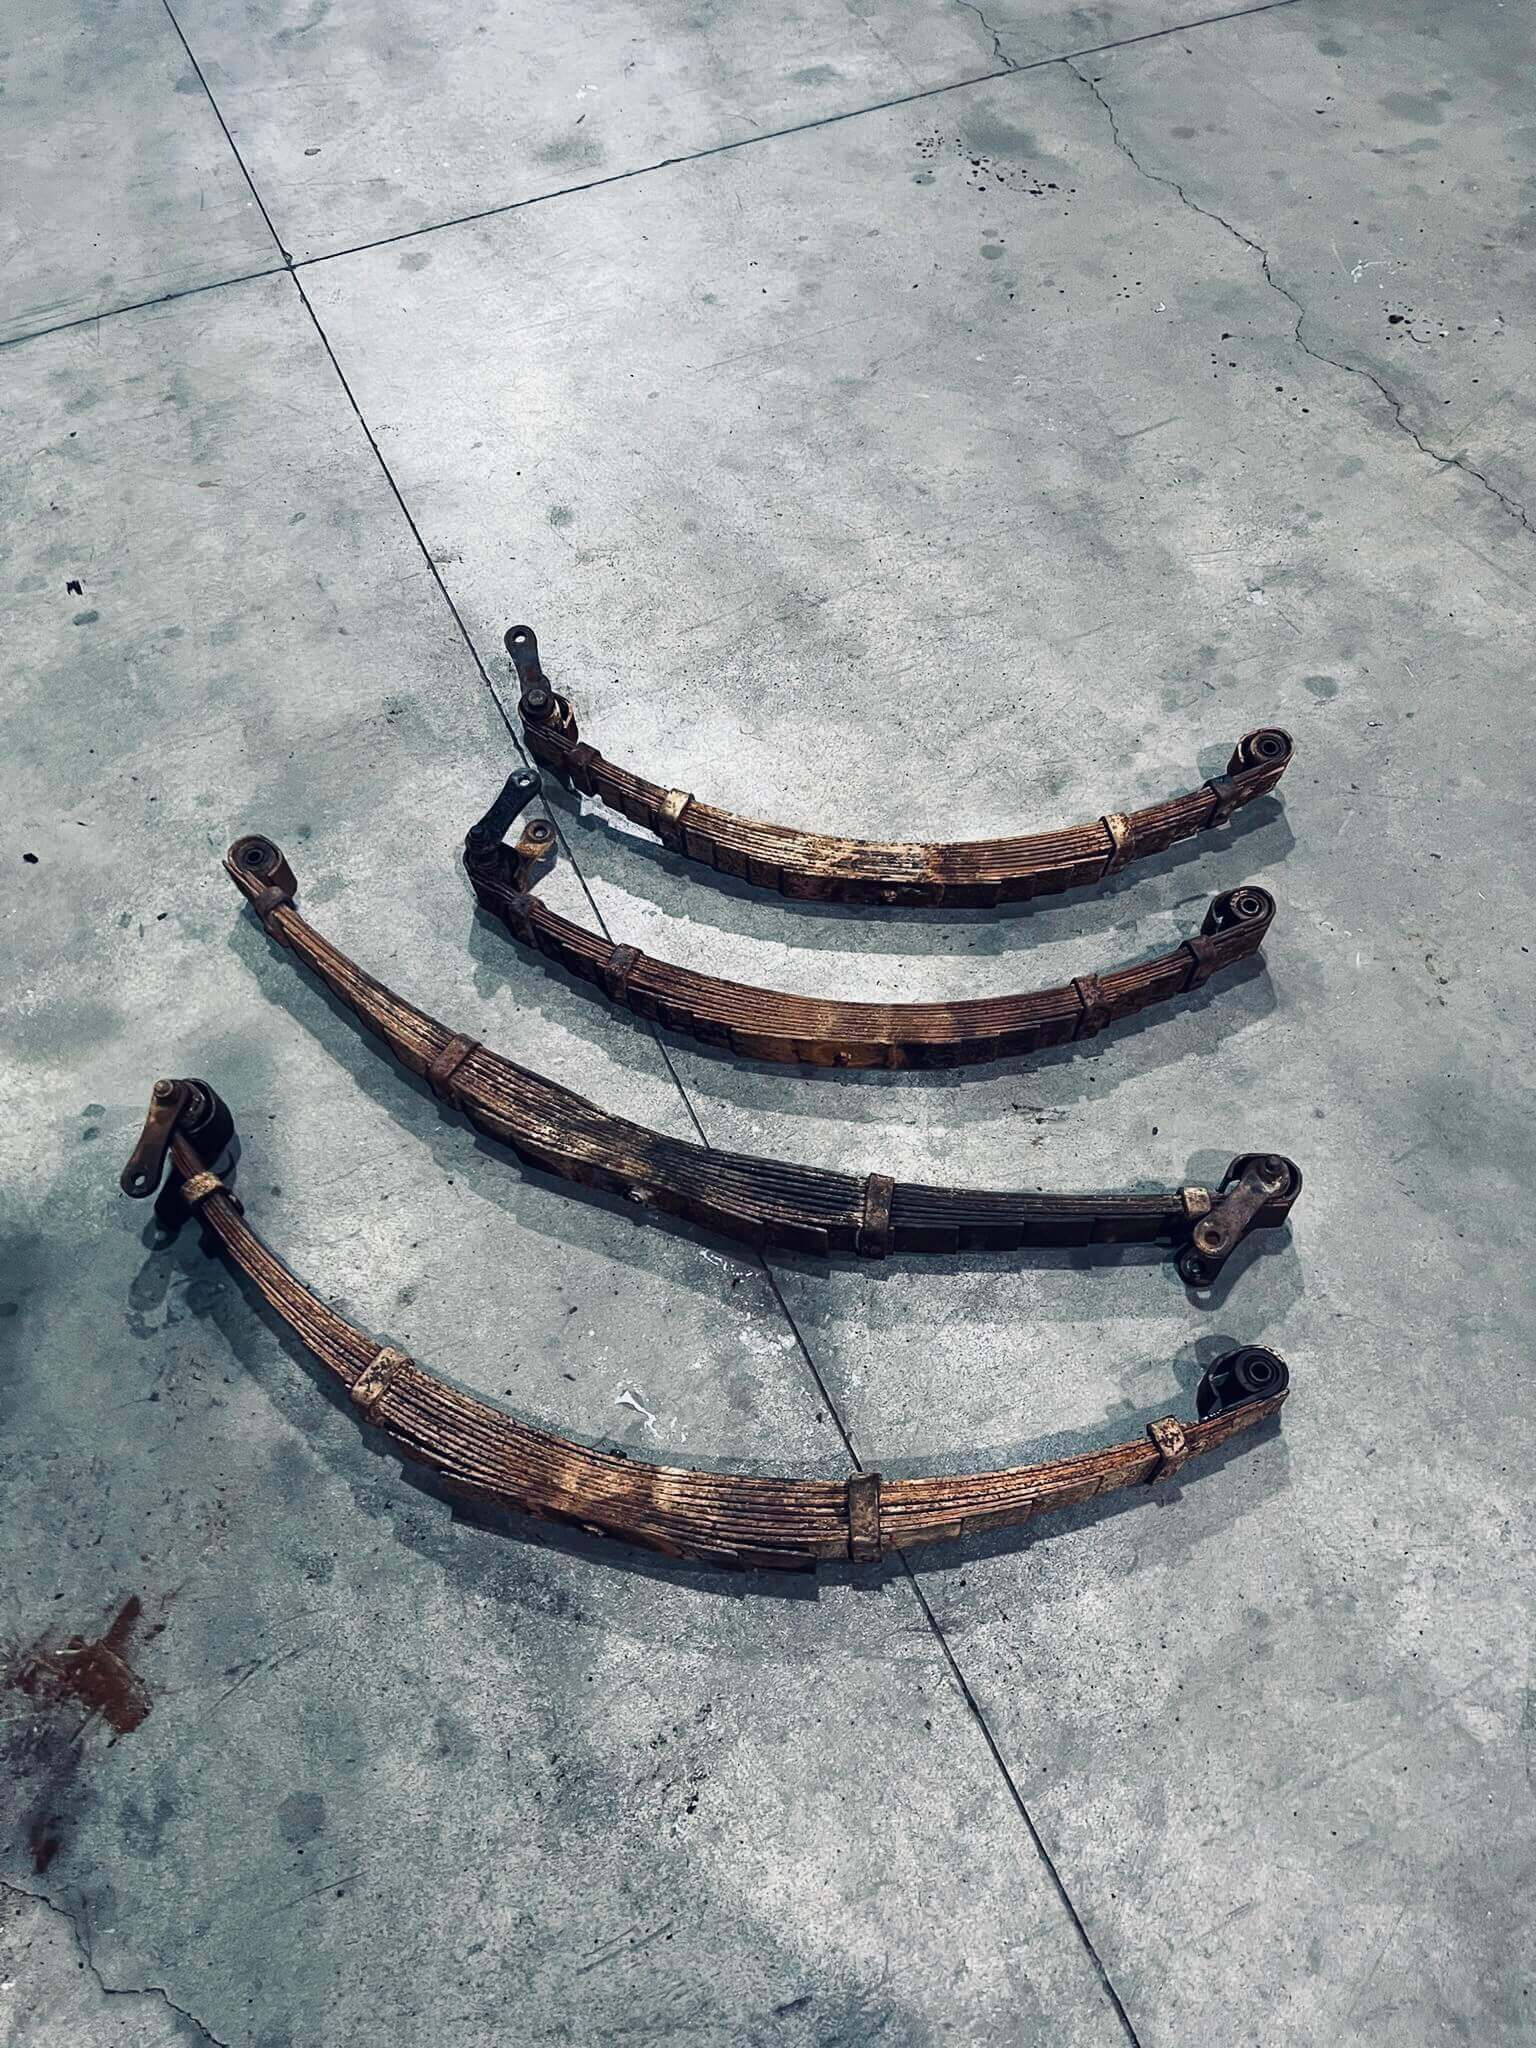
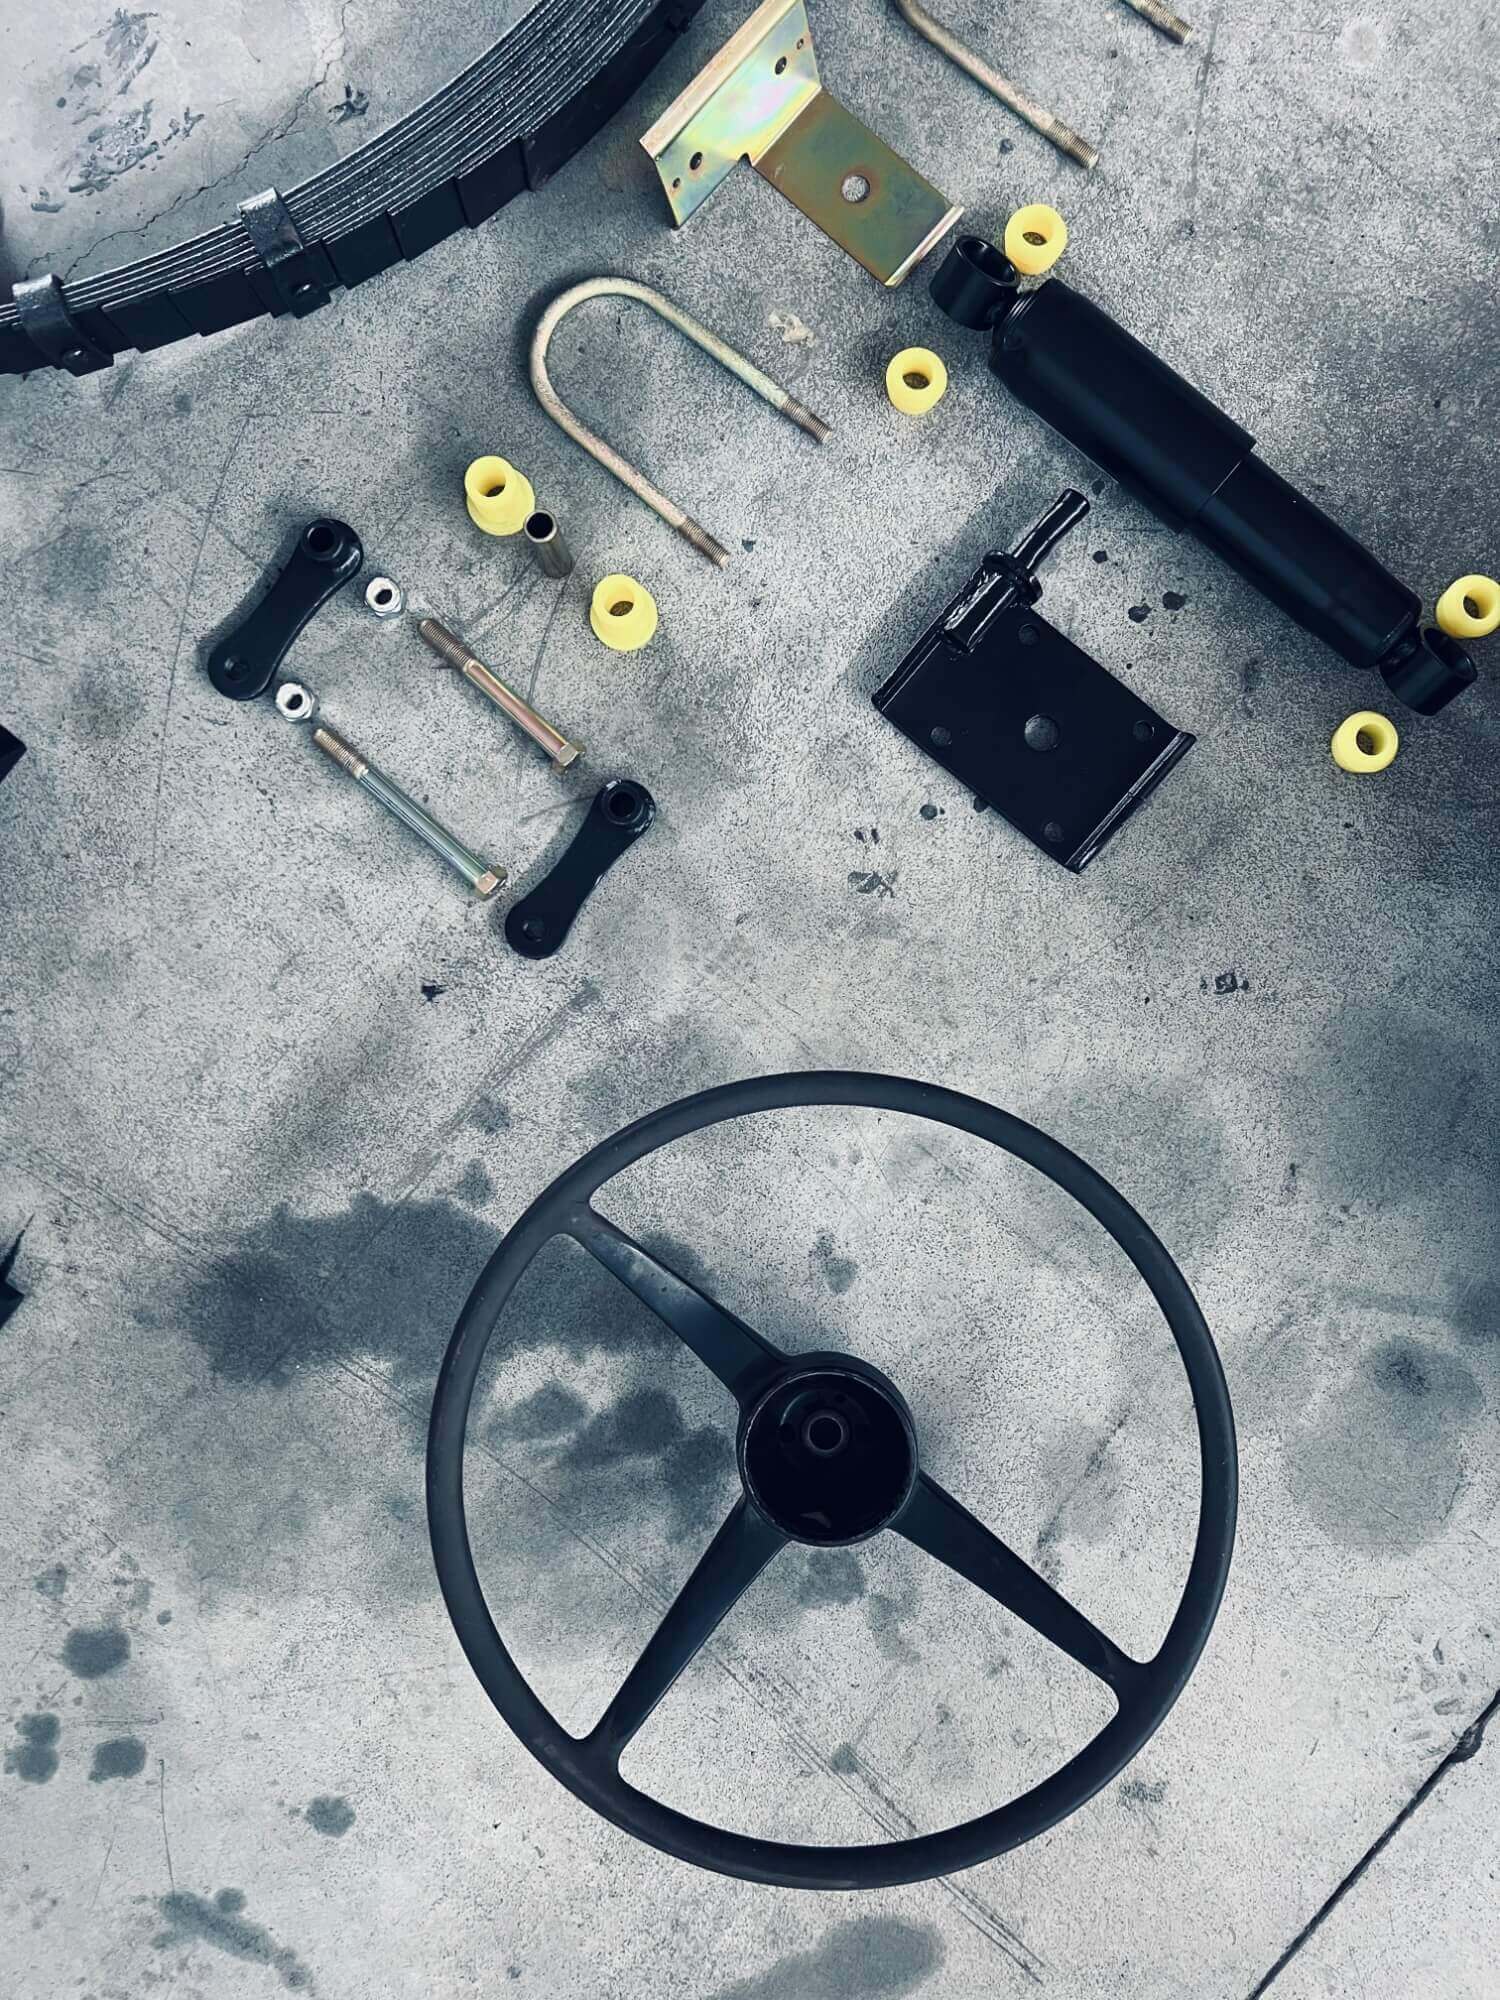
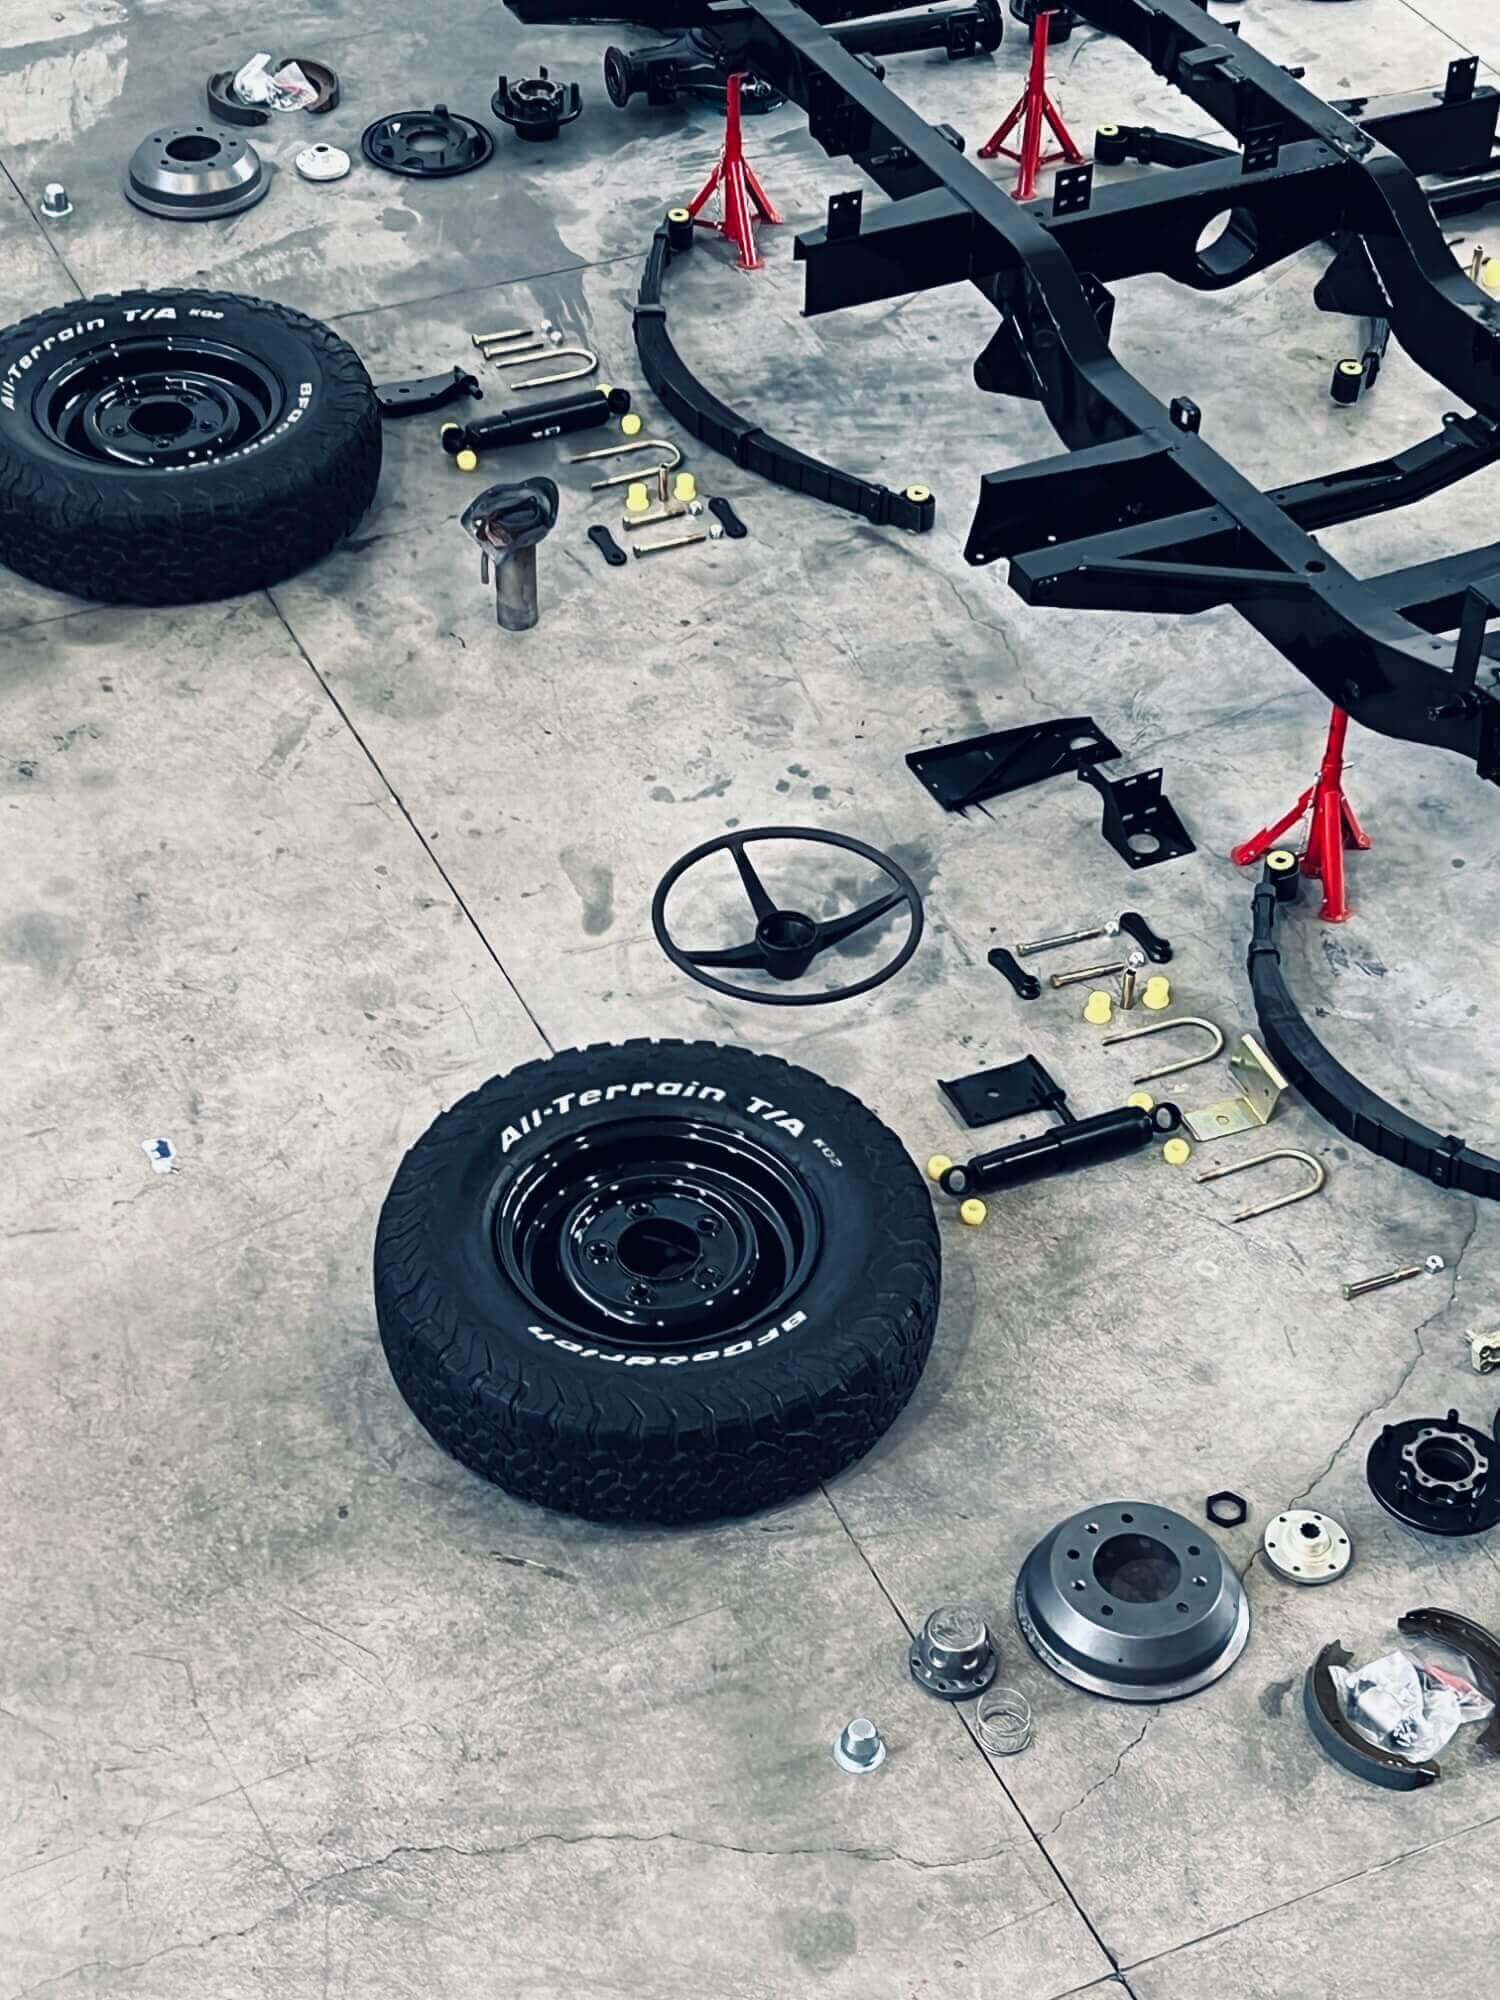
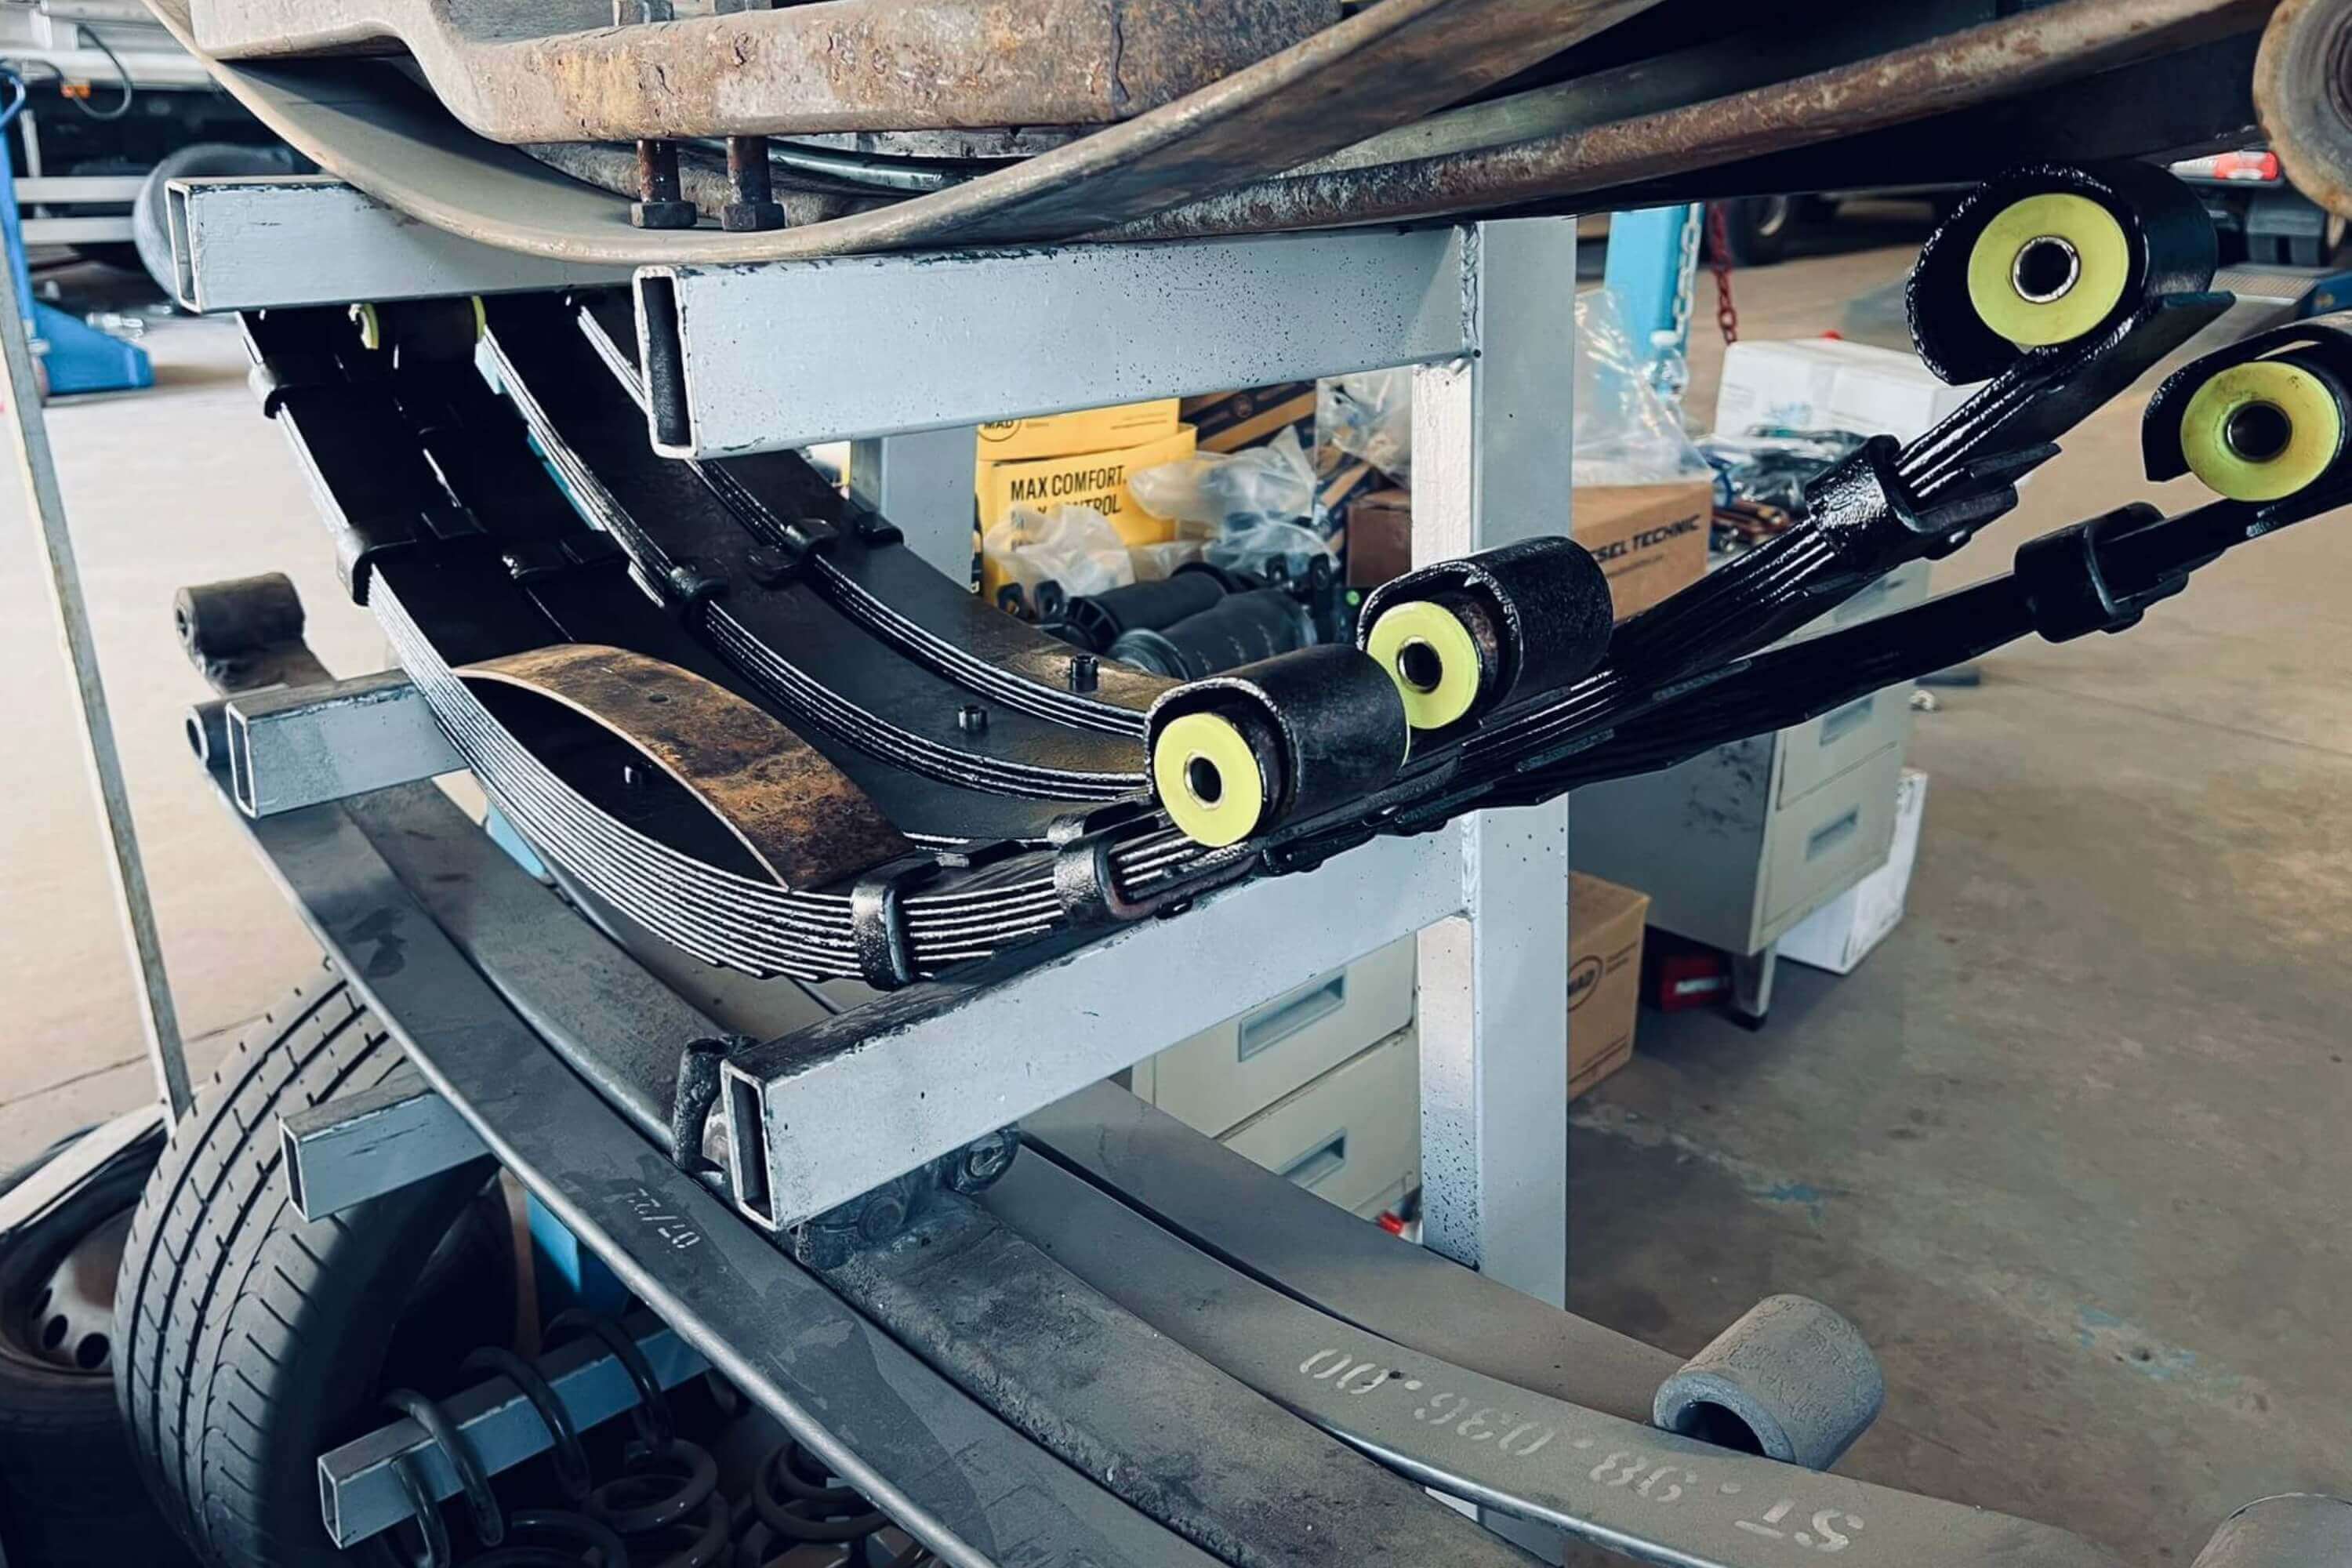
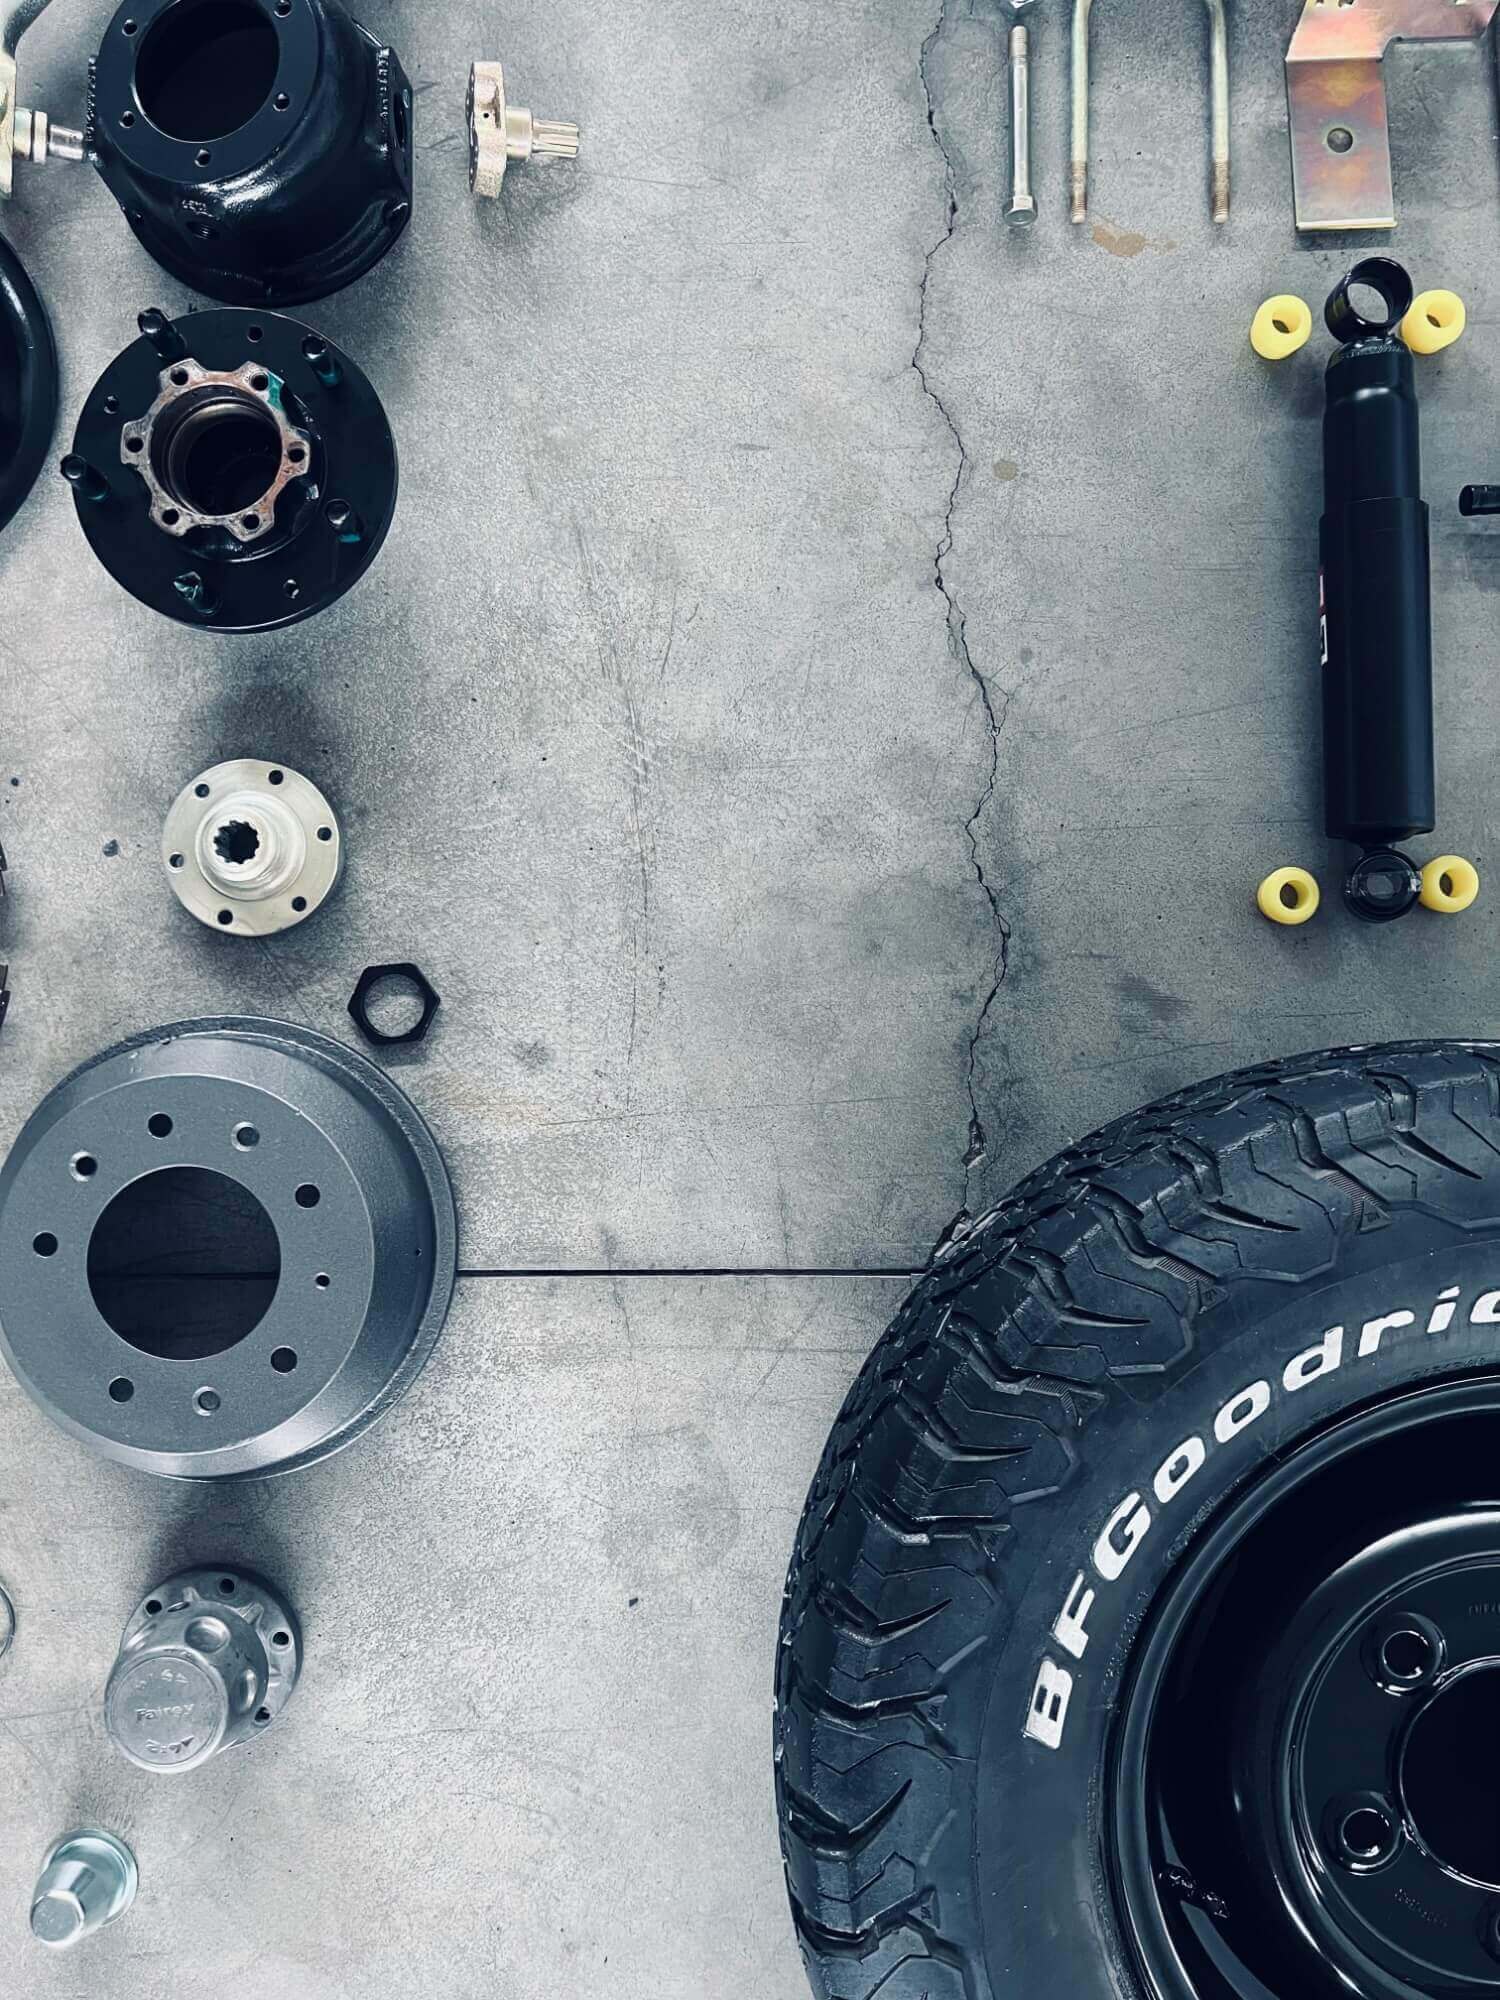
Our mission, we have focused on rebuilng a vehicle that can spend another 100 years on the road (and why not even off road).
We decided to replace the points where the chassis weakened more easily with better performing and thicker metals and better heat treatments.
We added small drain holes, where water and mud deposists could be created.
We tresated the frame inch by inch and eventually add a sandblast, a cataphoresis coating and a powder paint.
The bust have been replaced with polyurethane and the old absorbers with brand new ones to improve the stability.

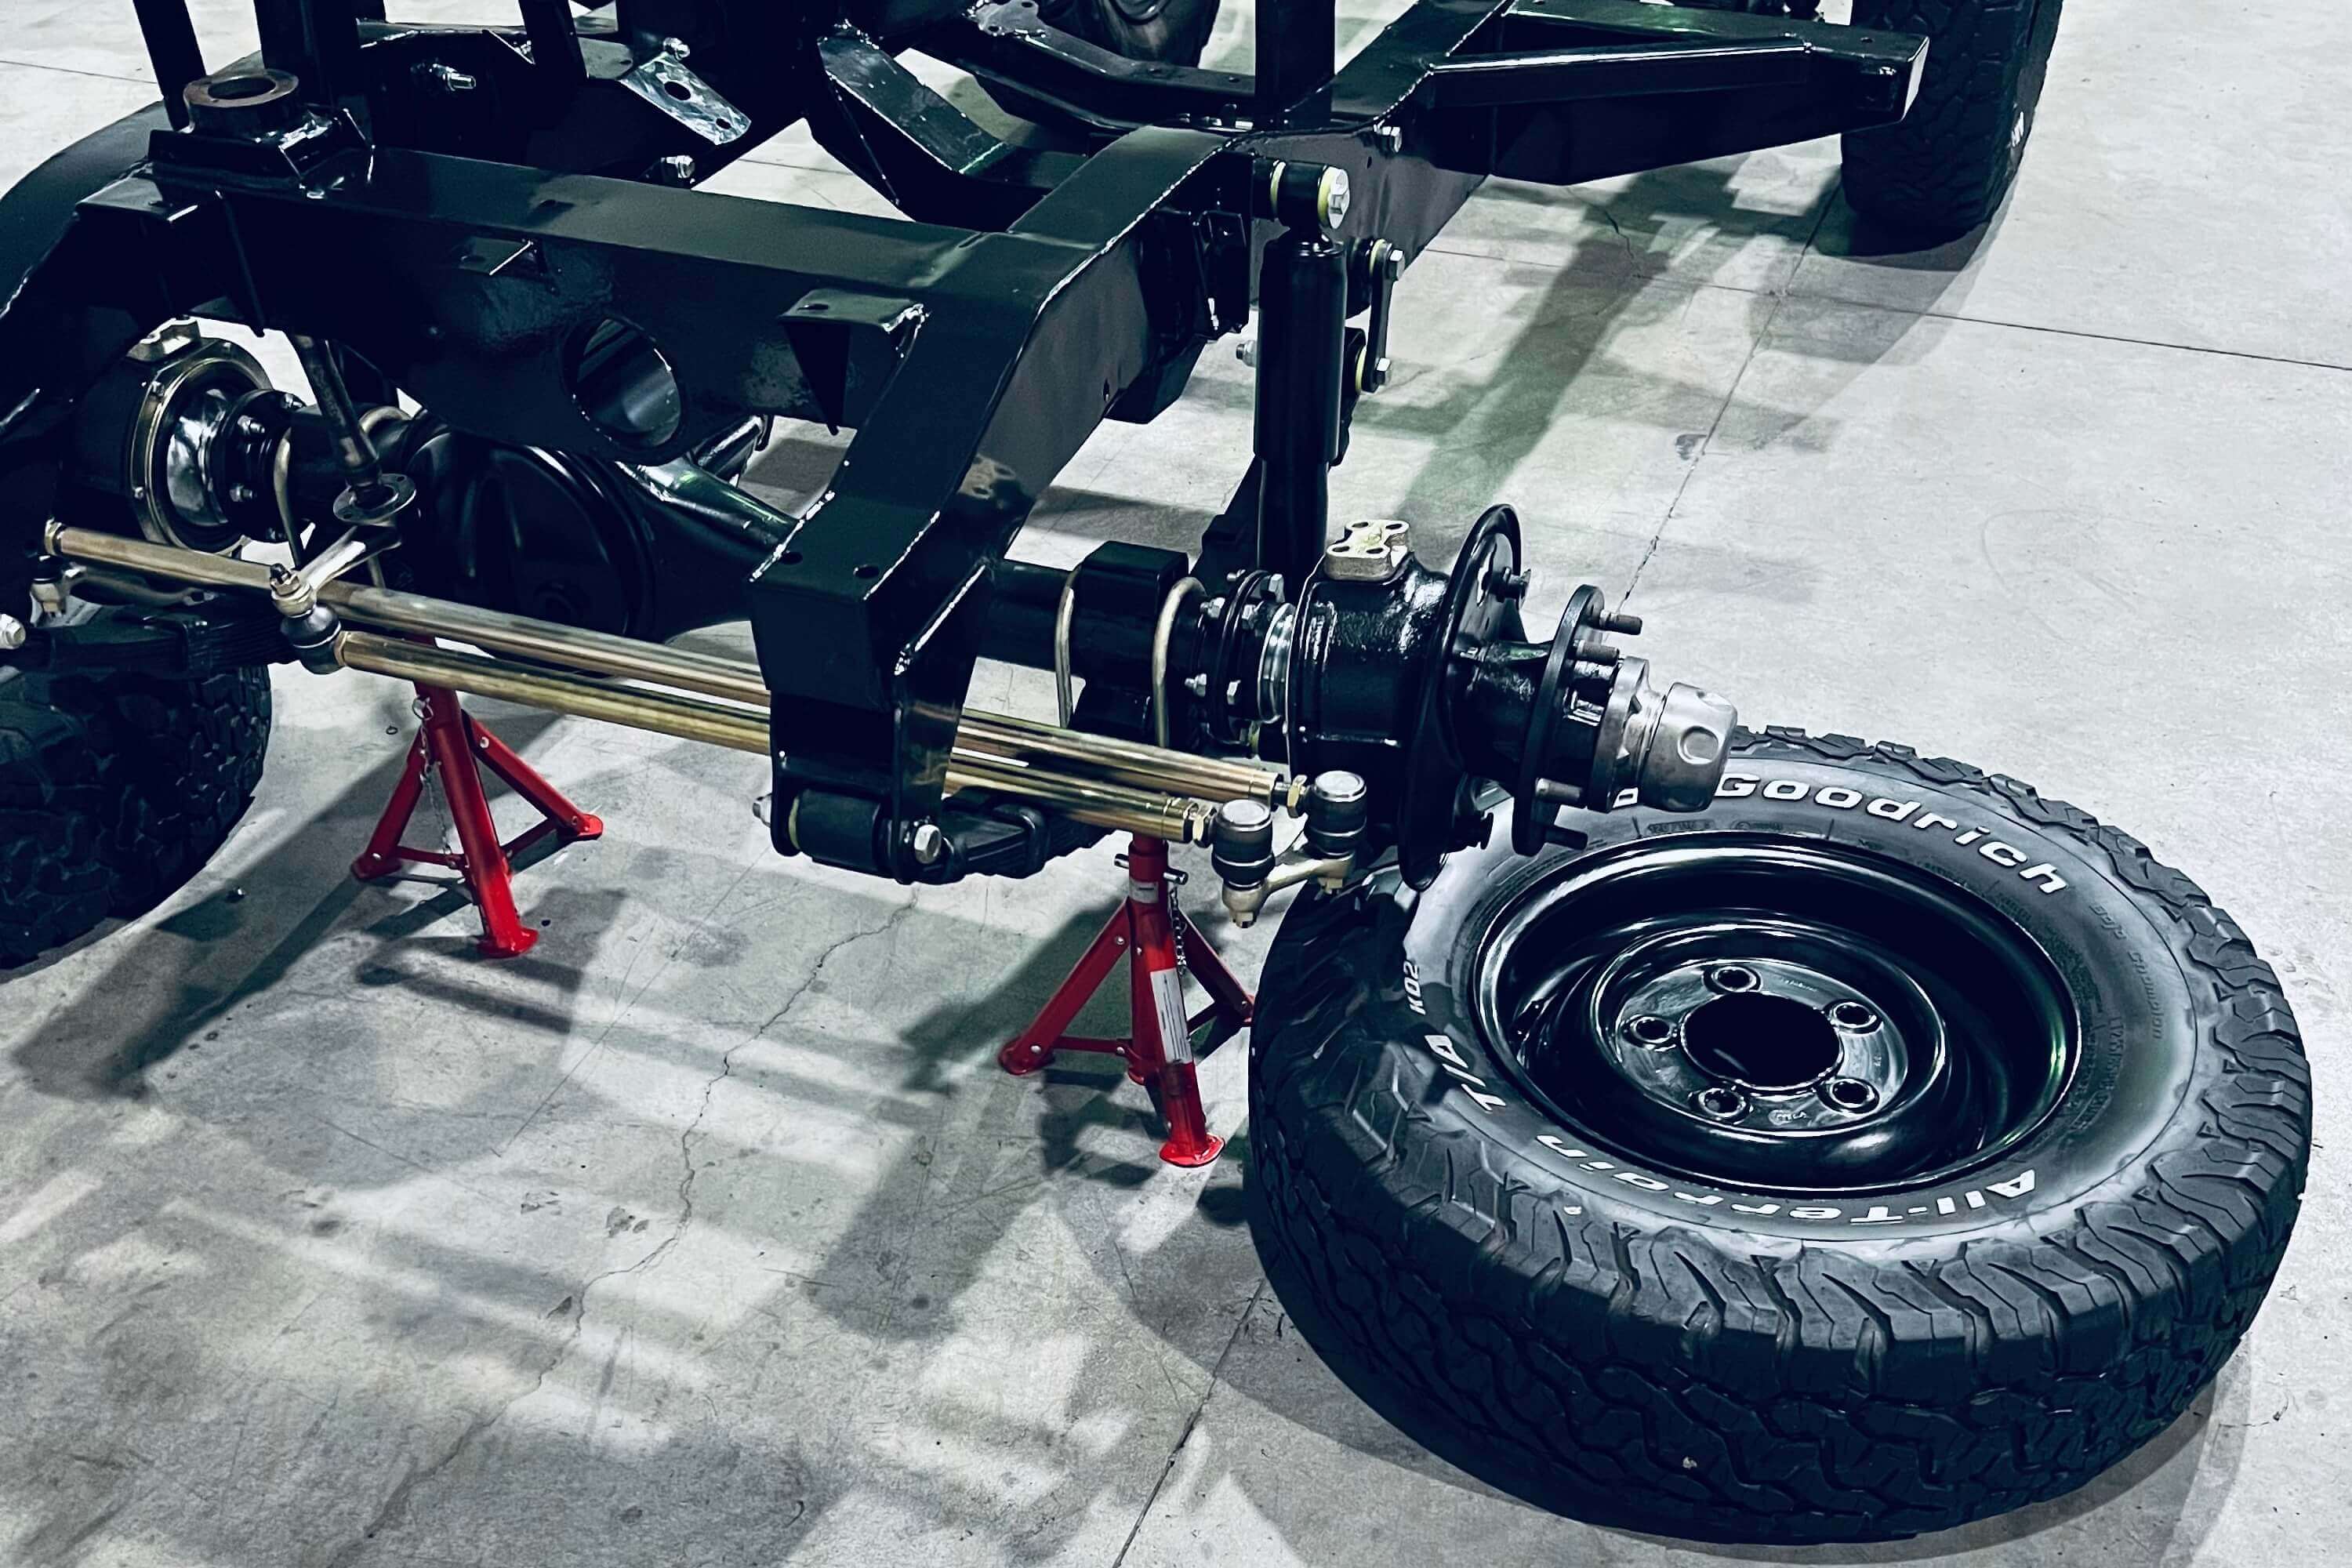
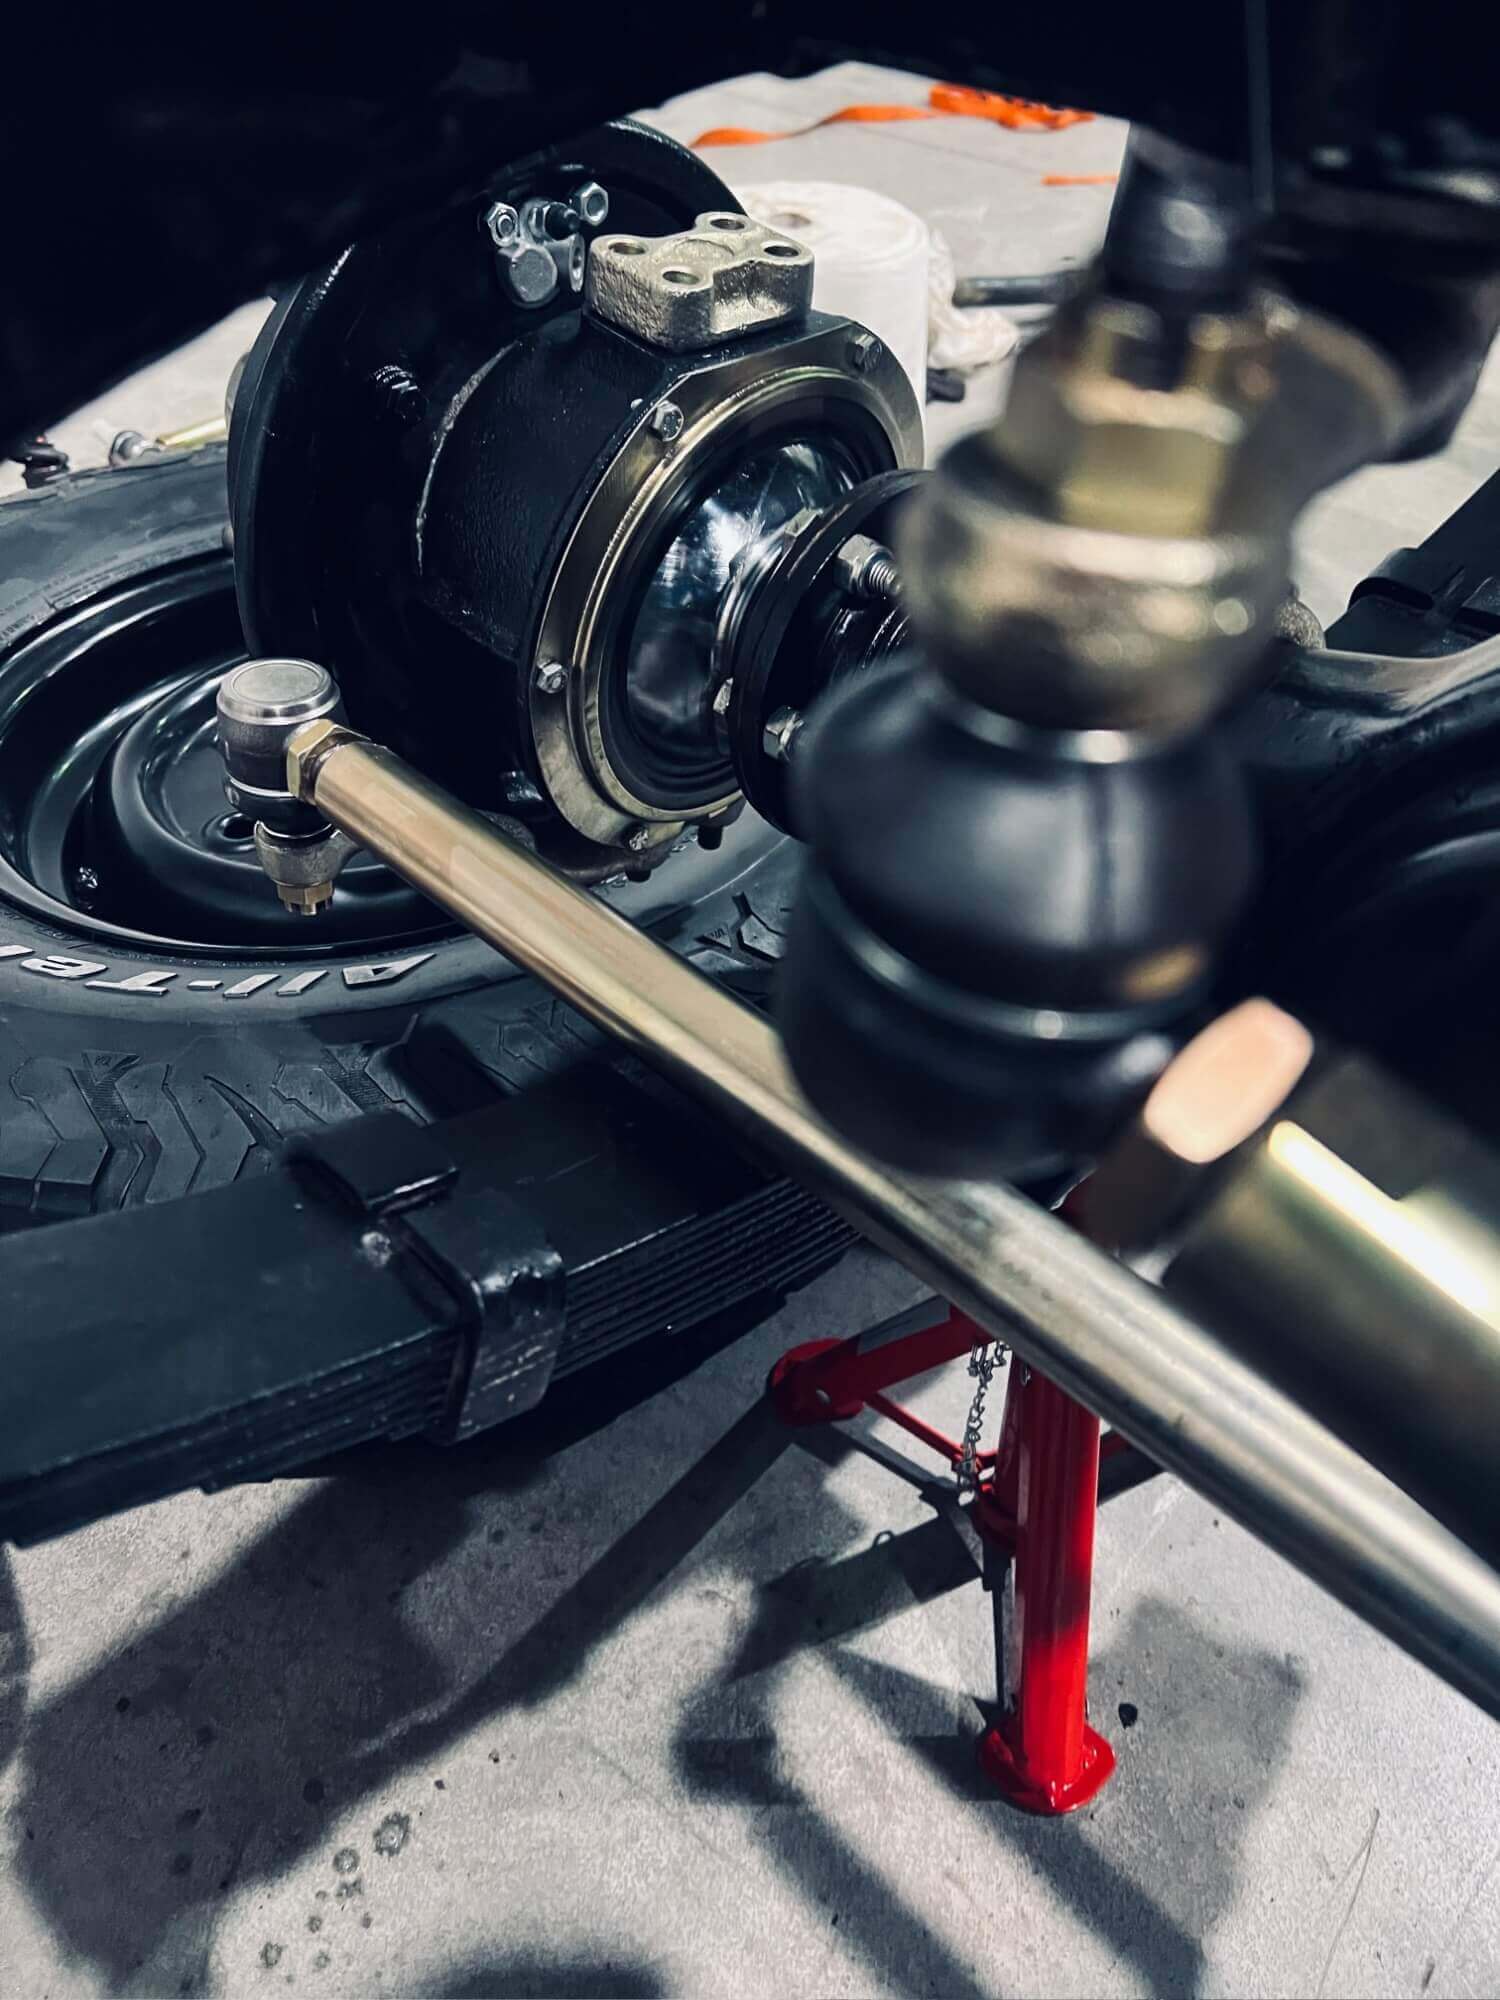
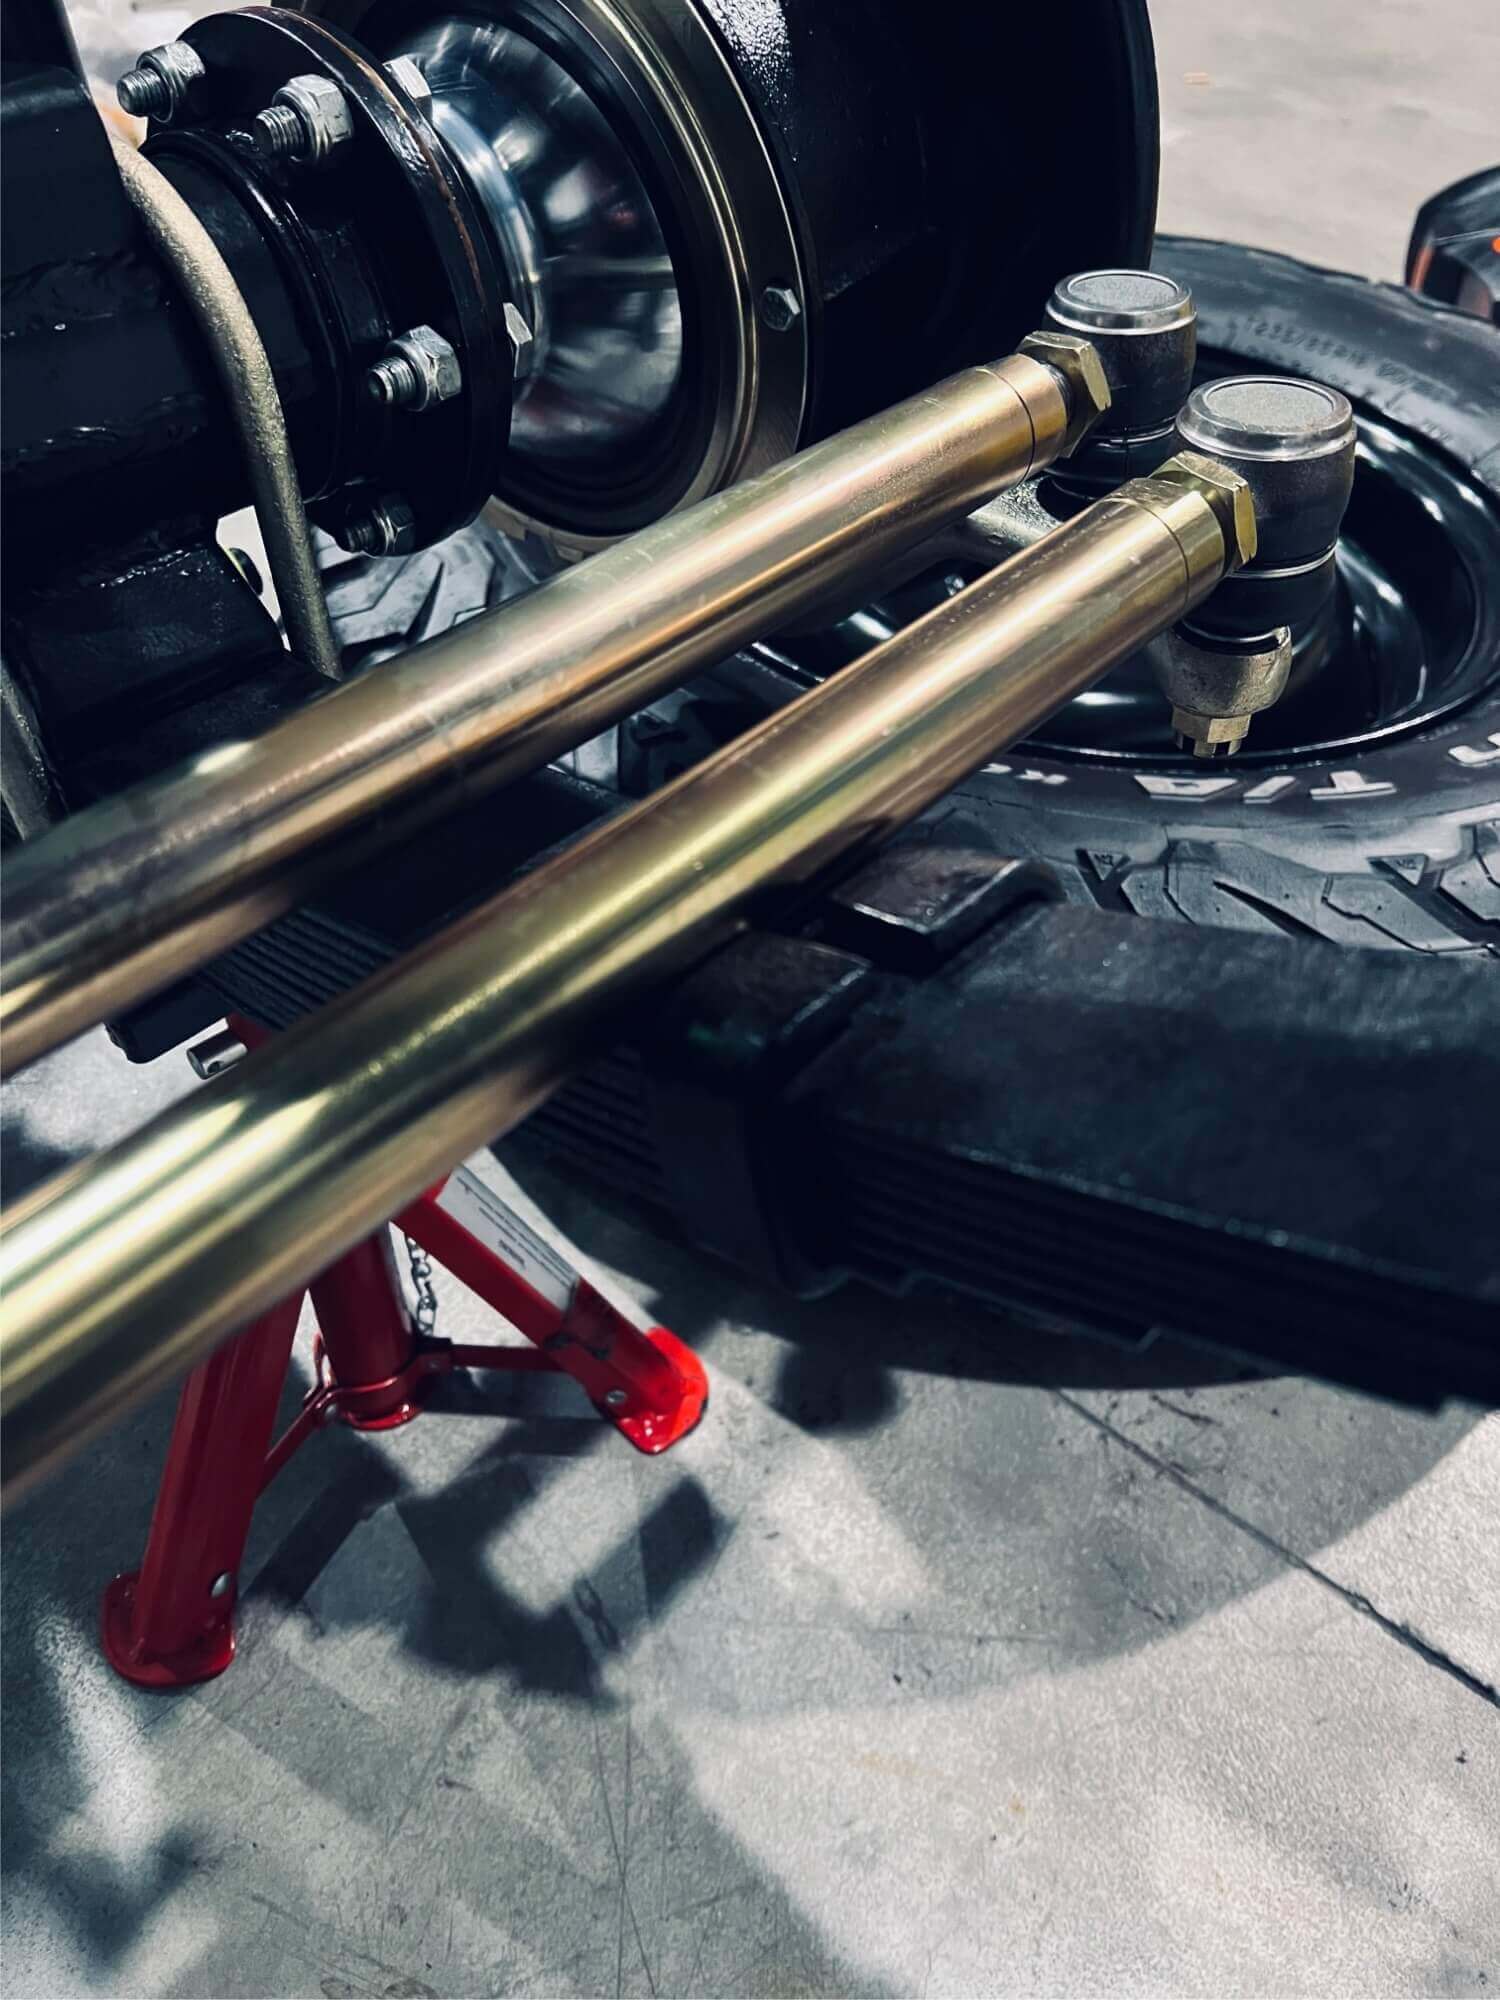
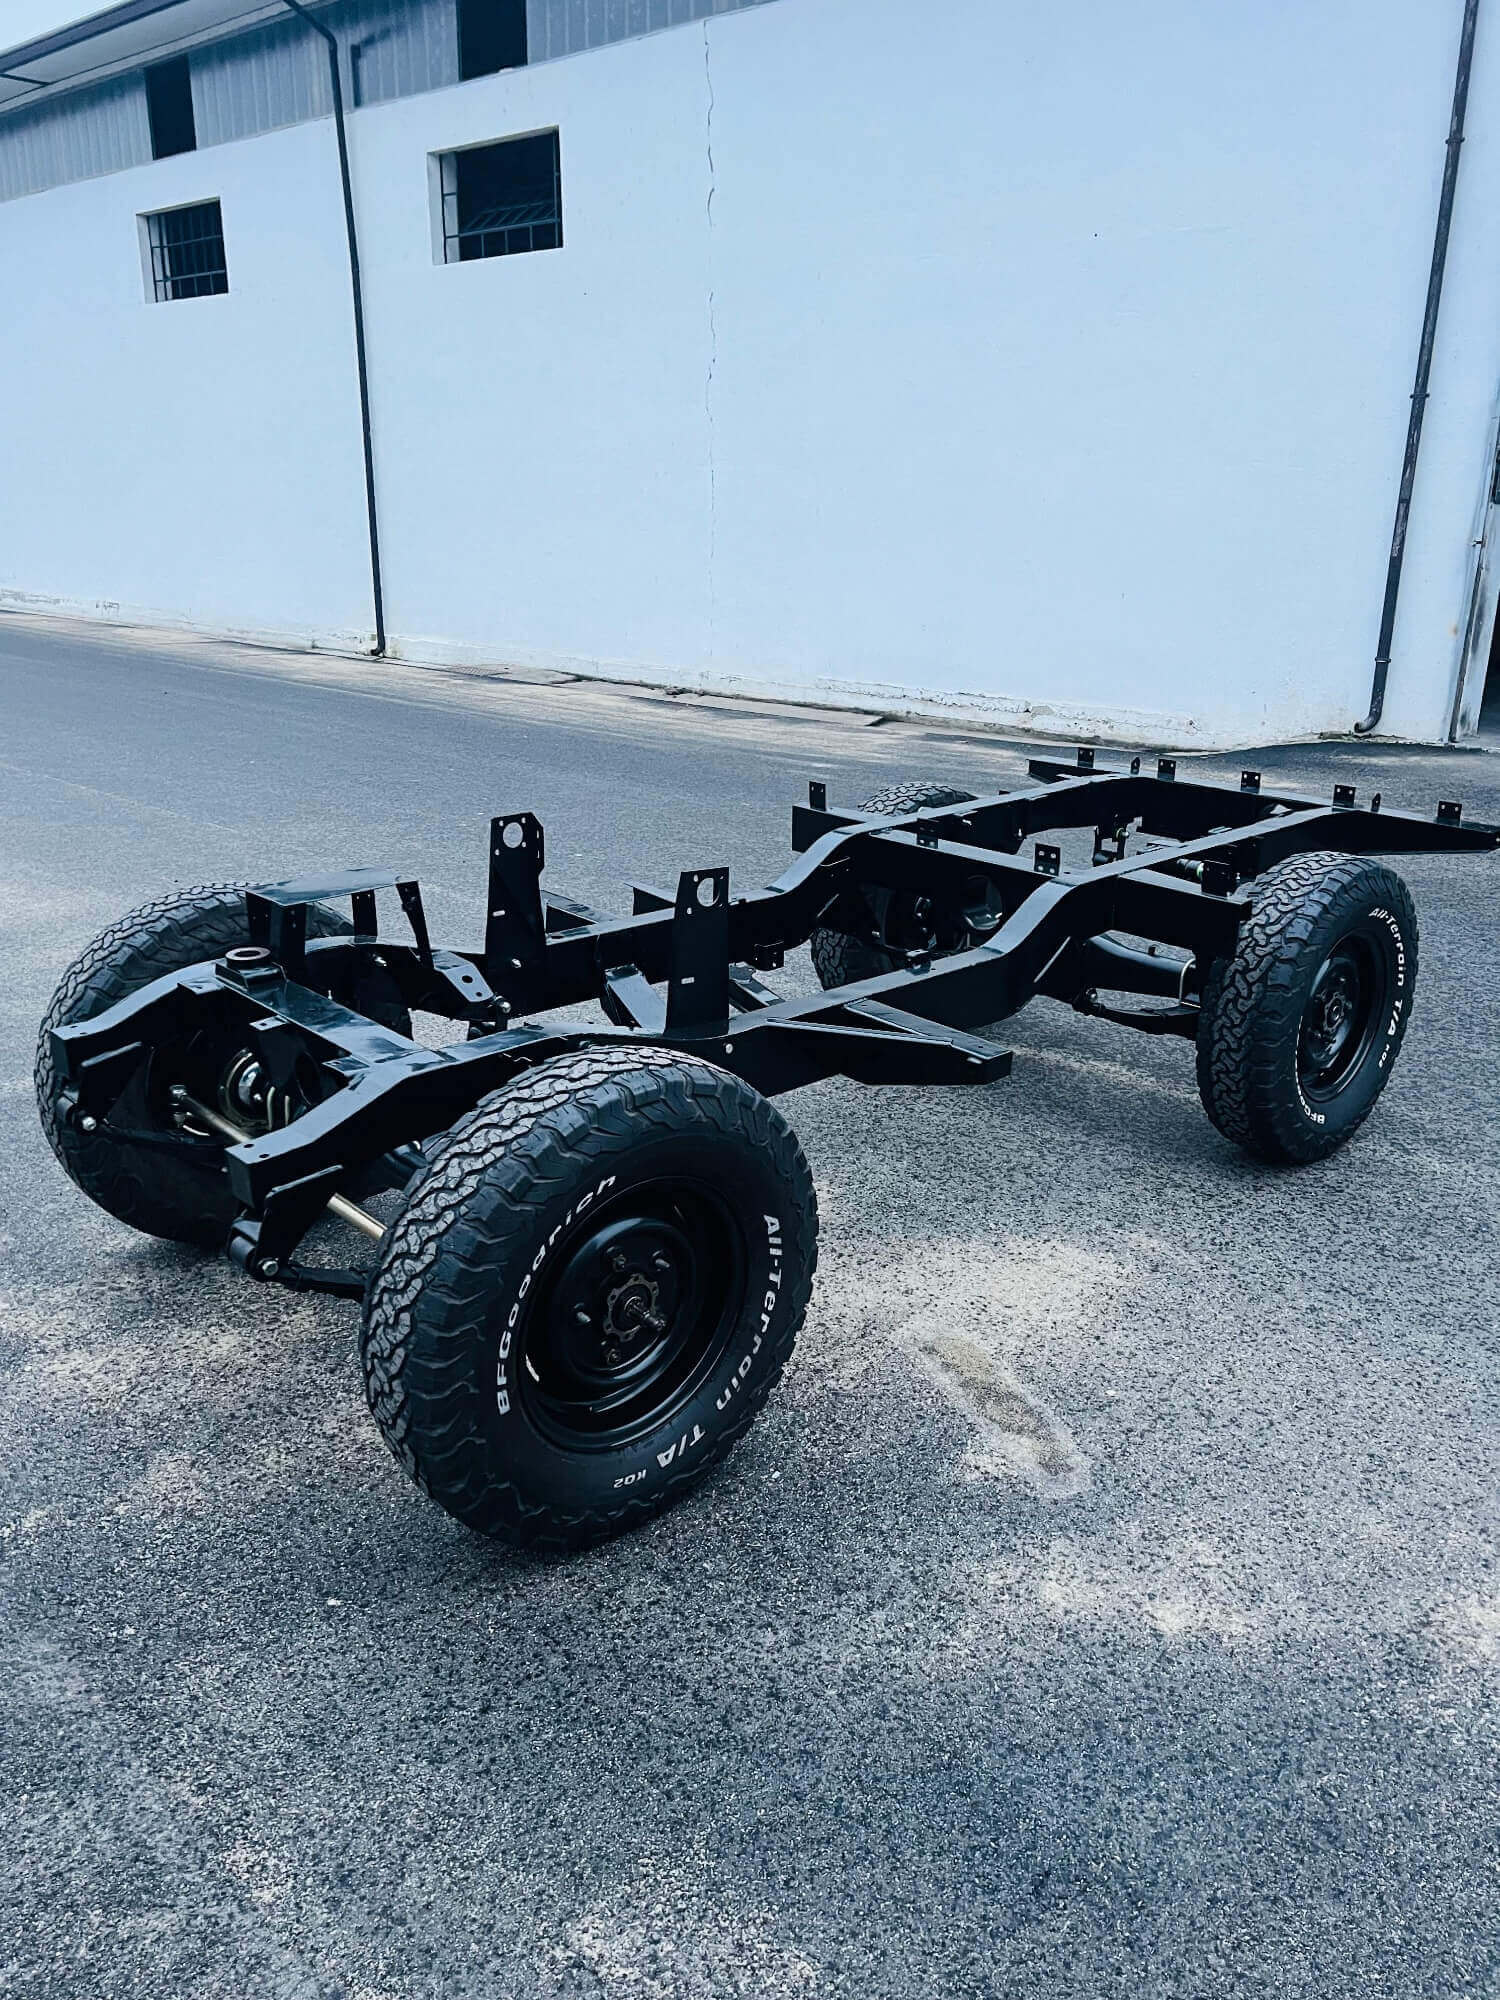
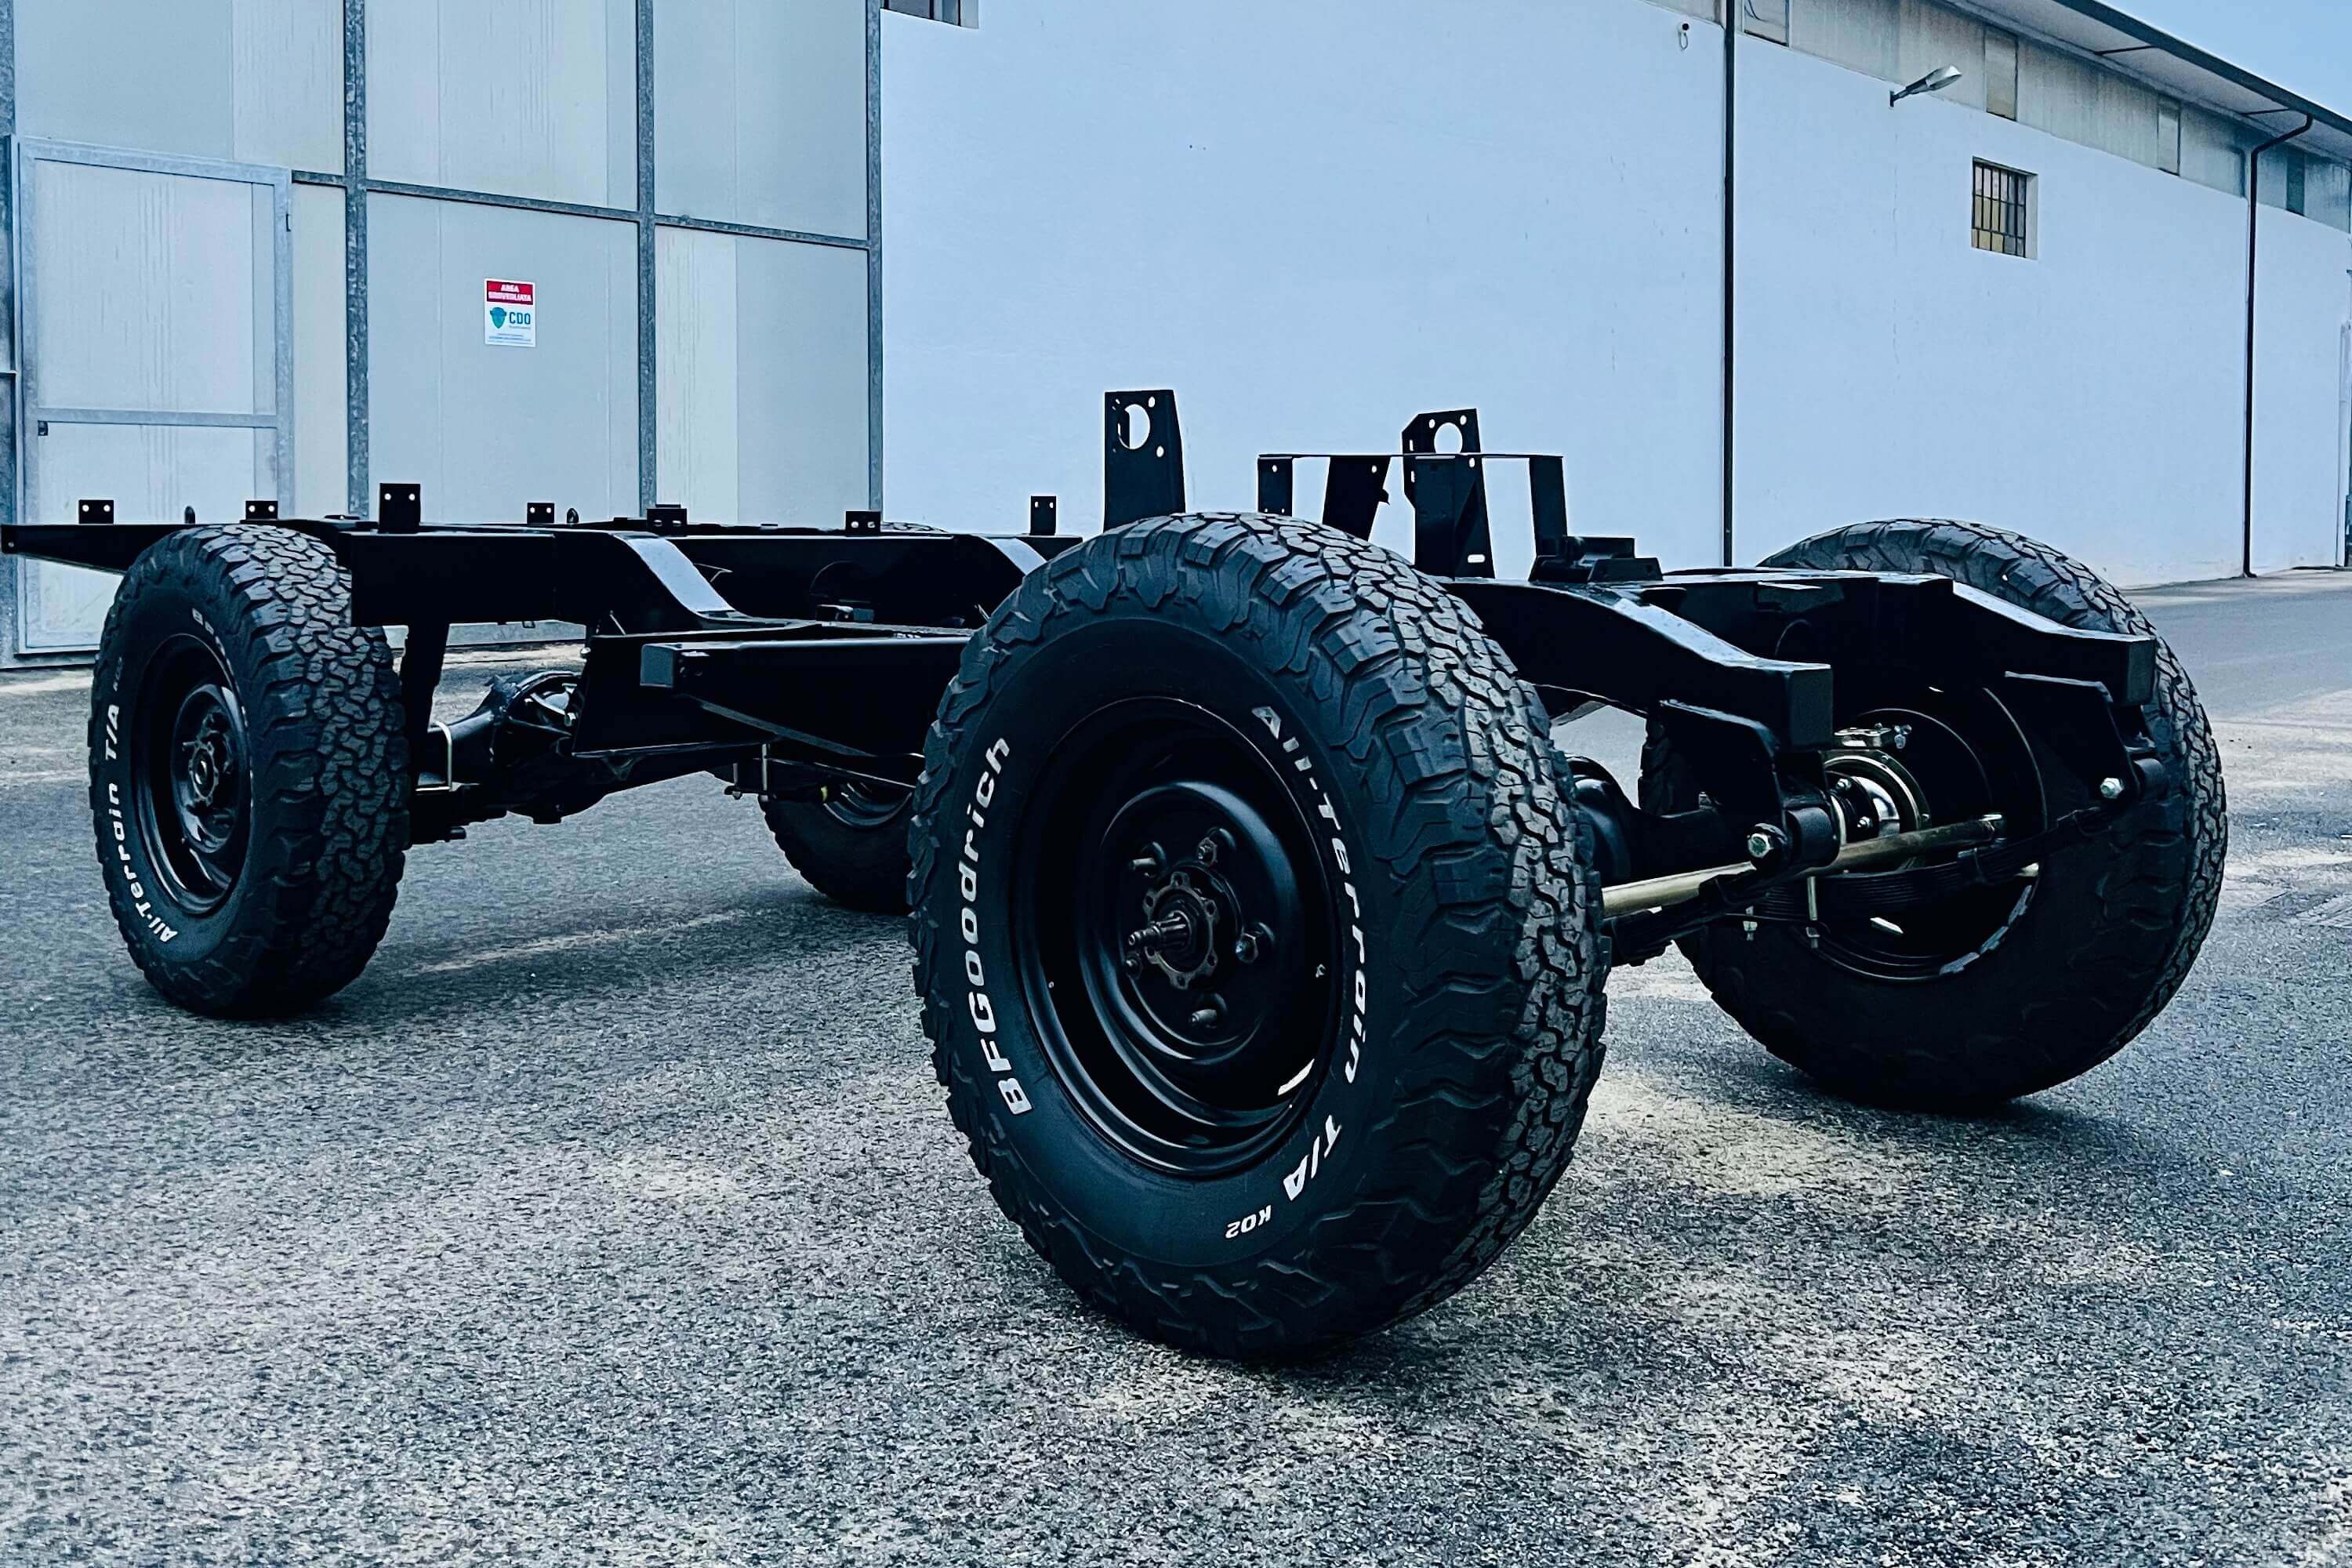
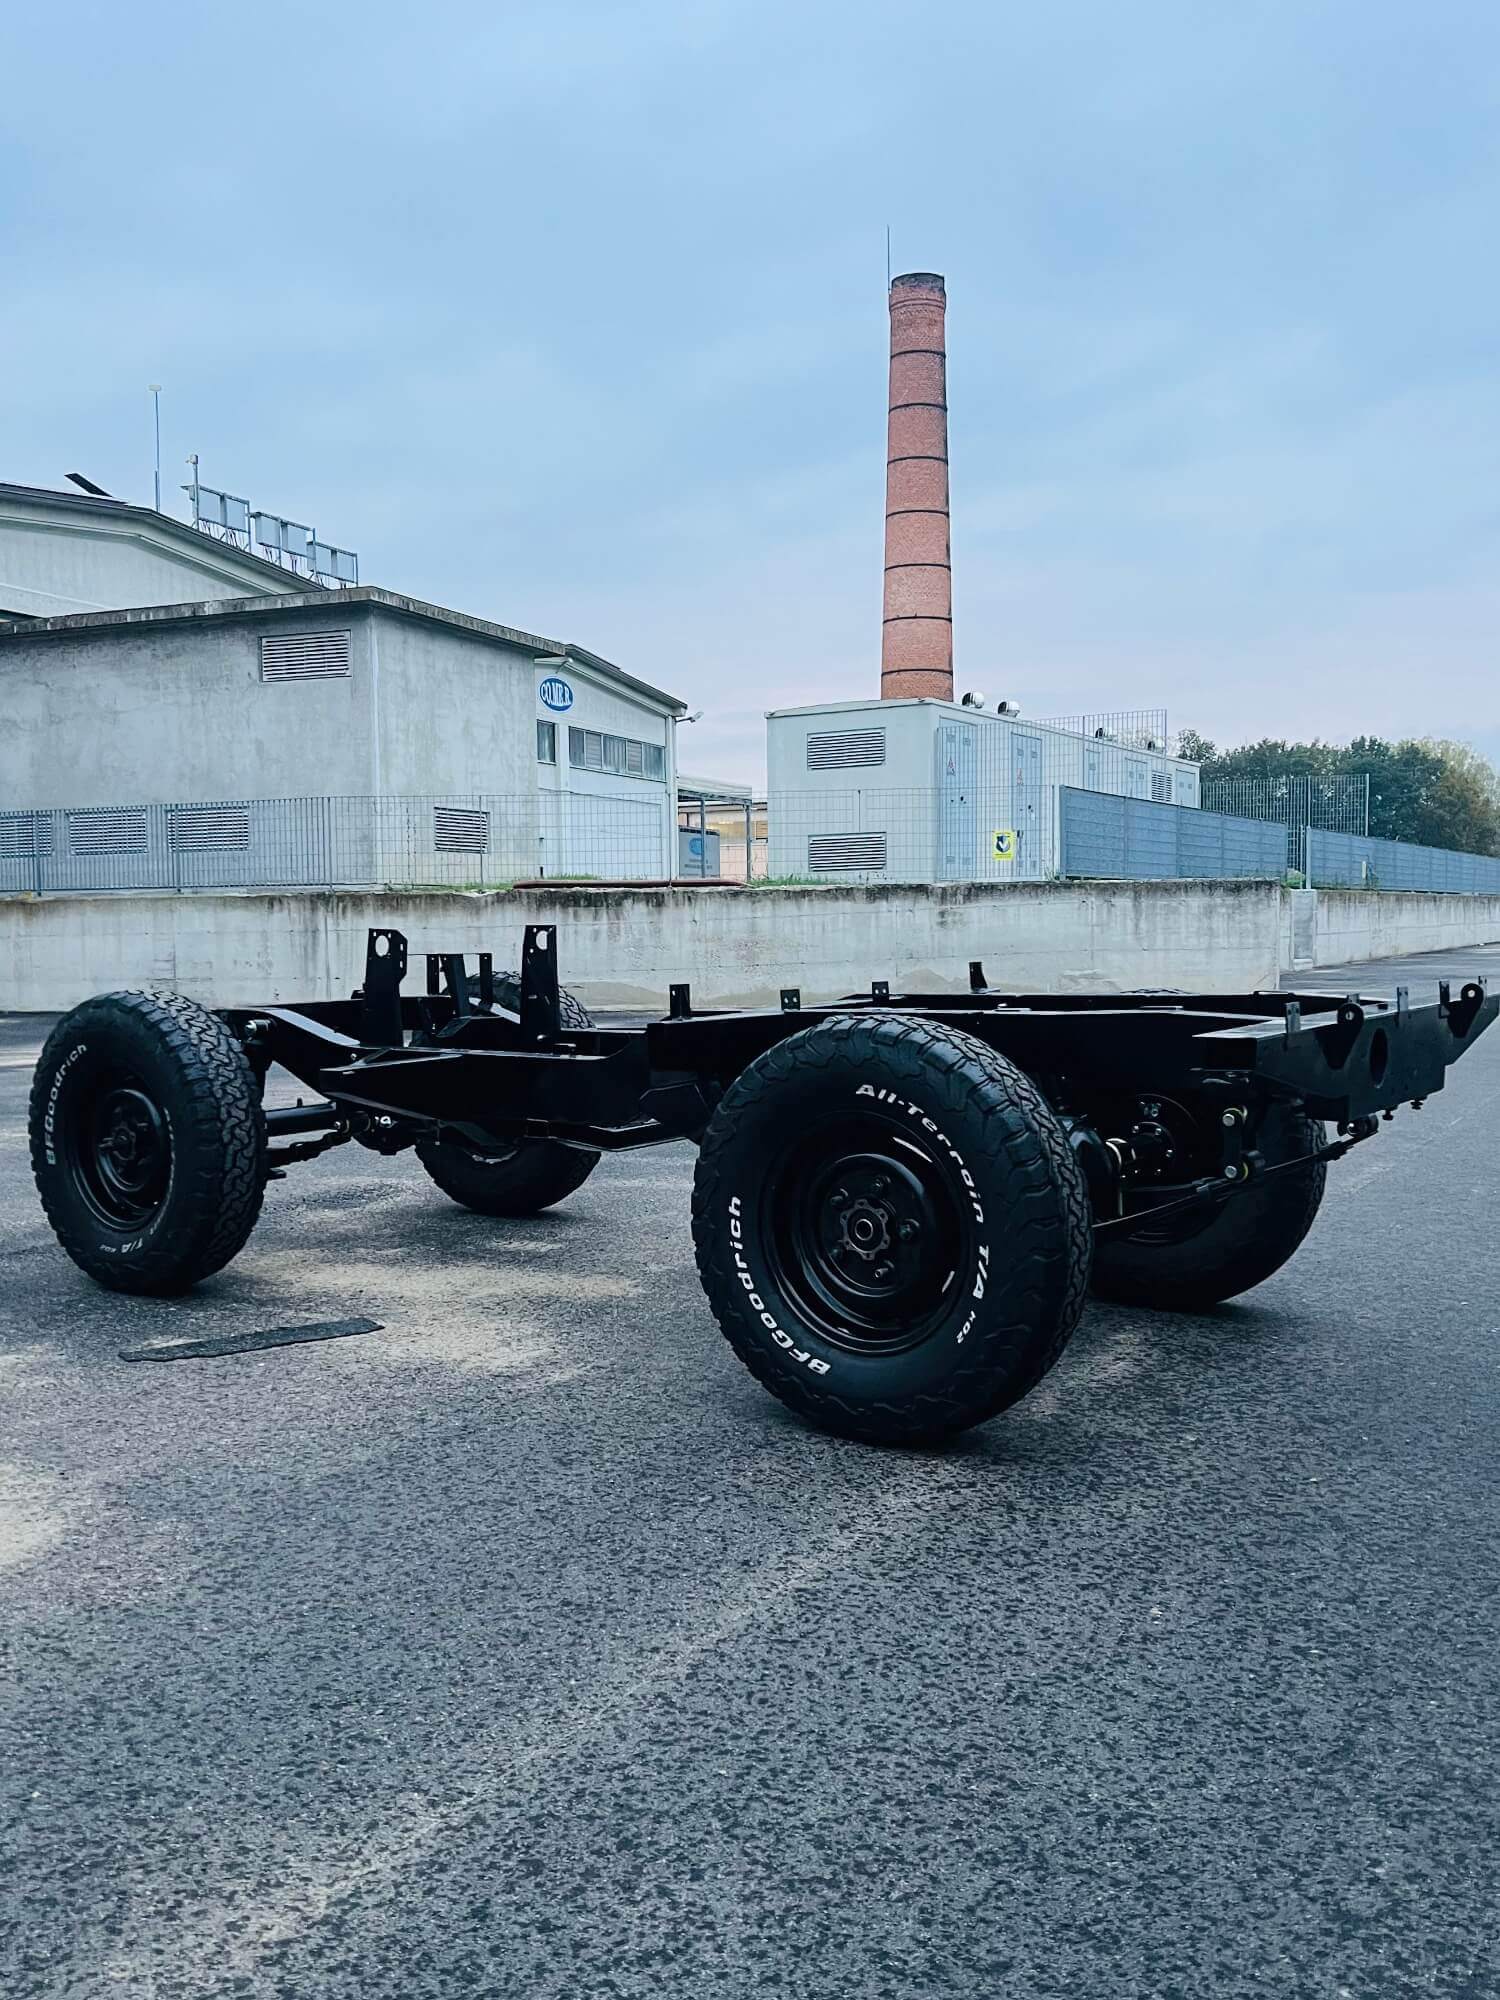
We decided to revise all the mechanical components of this car because many parts were refitted or non-original due to time and interventions by different owners.
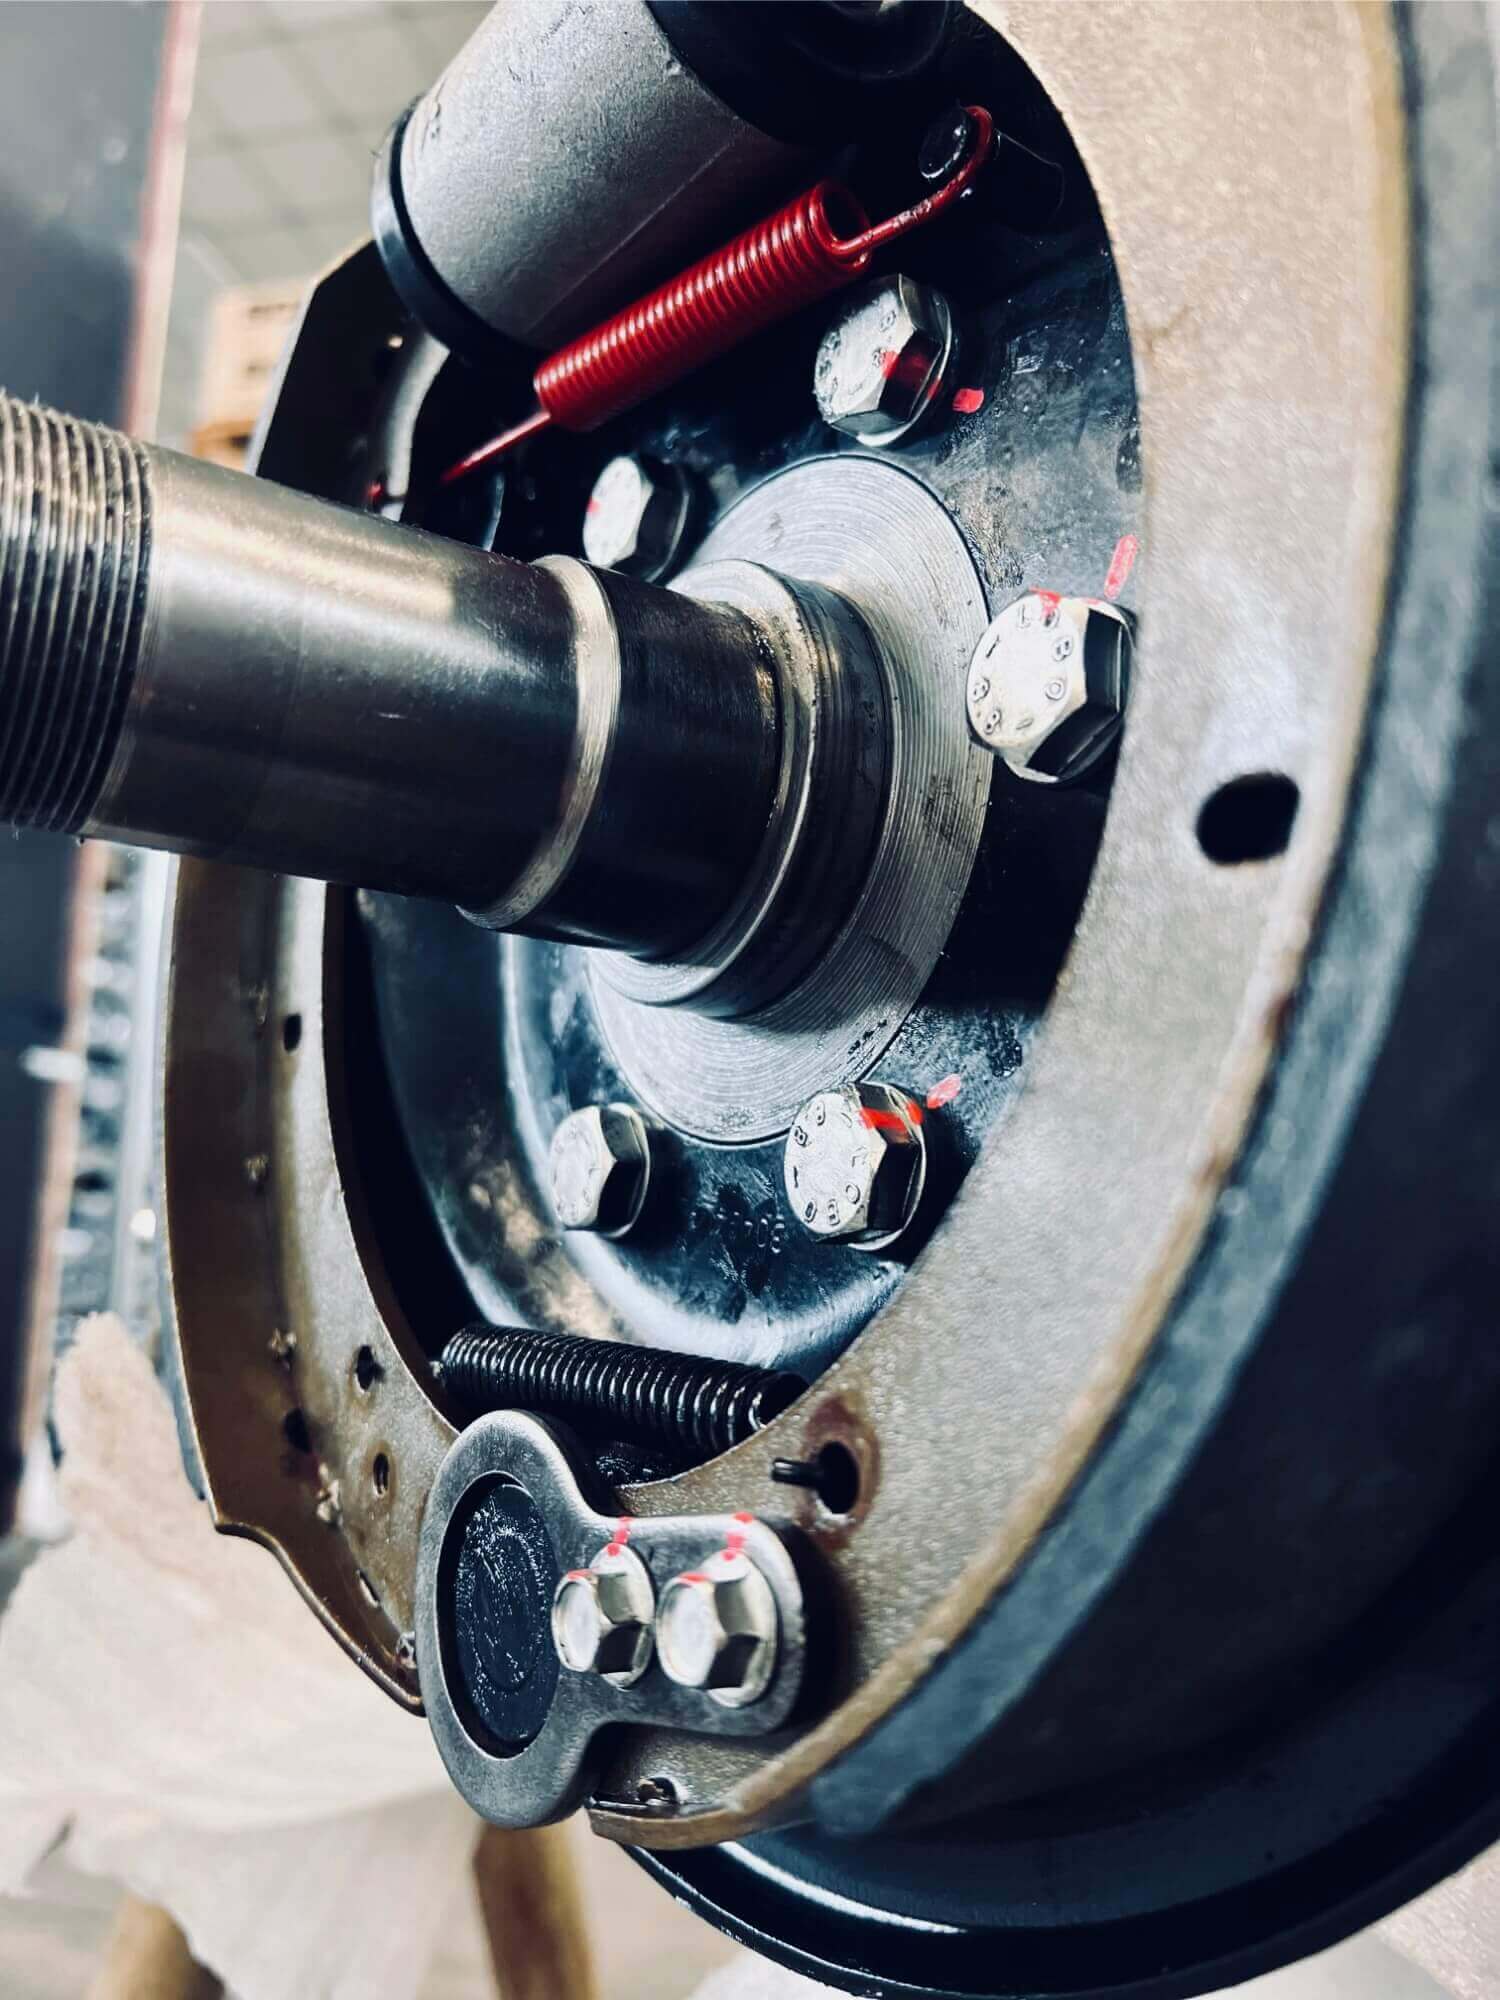
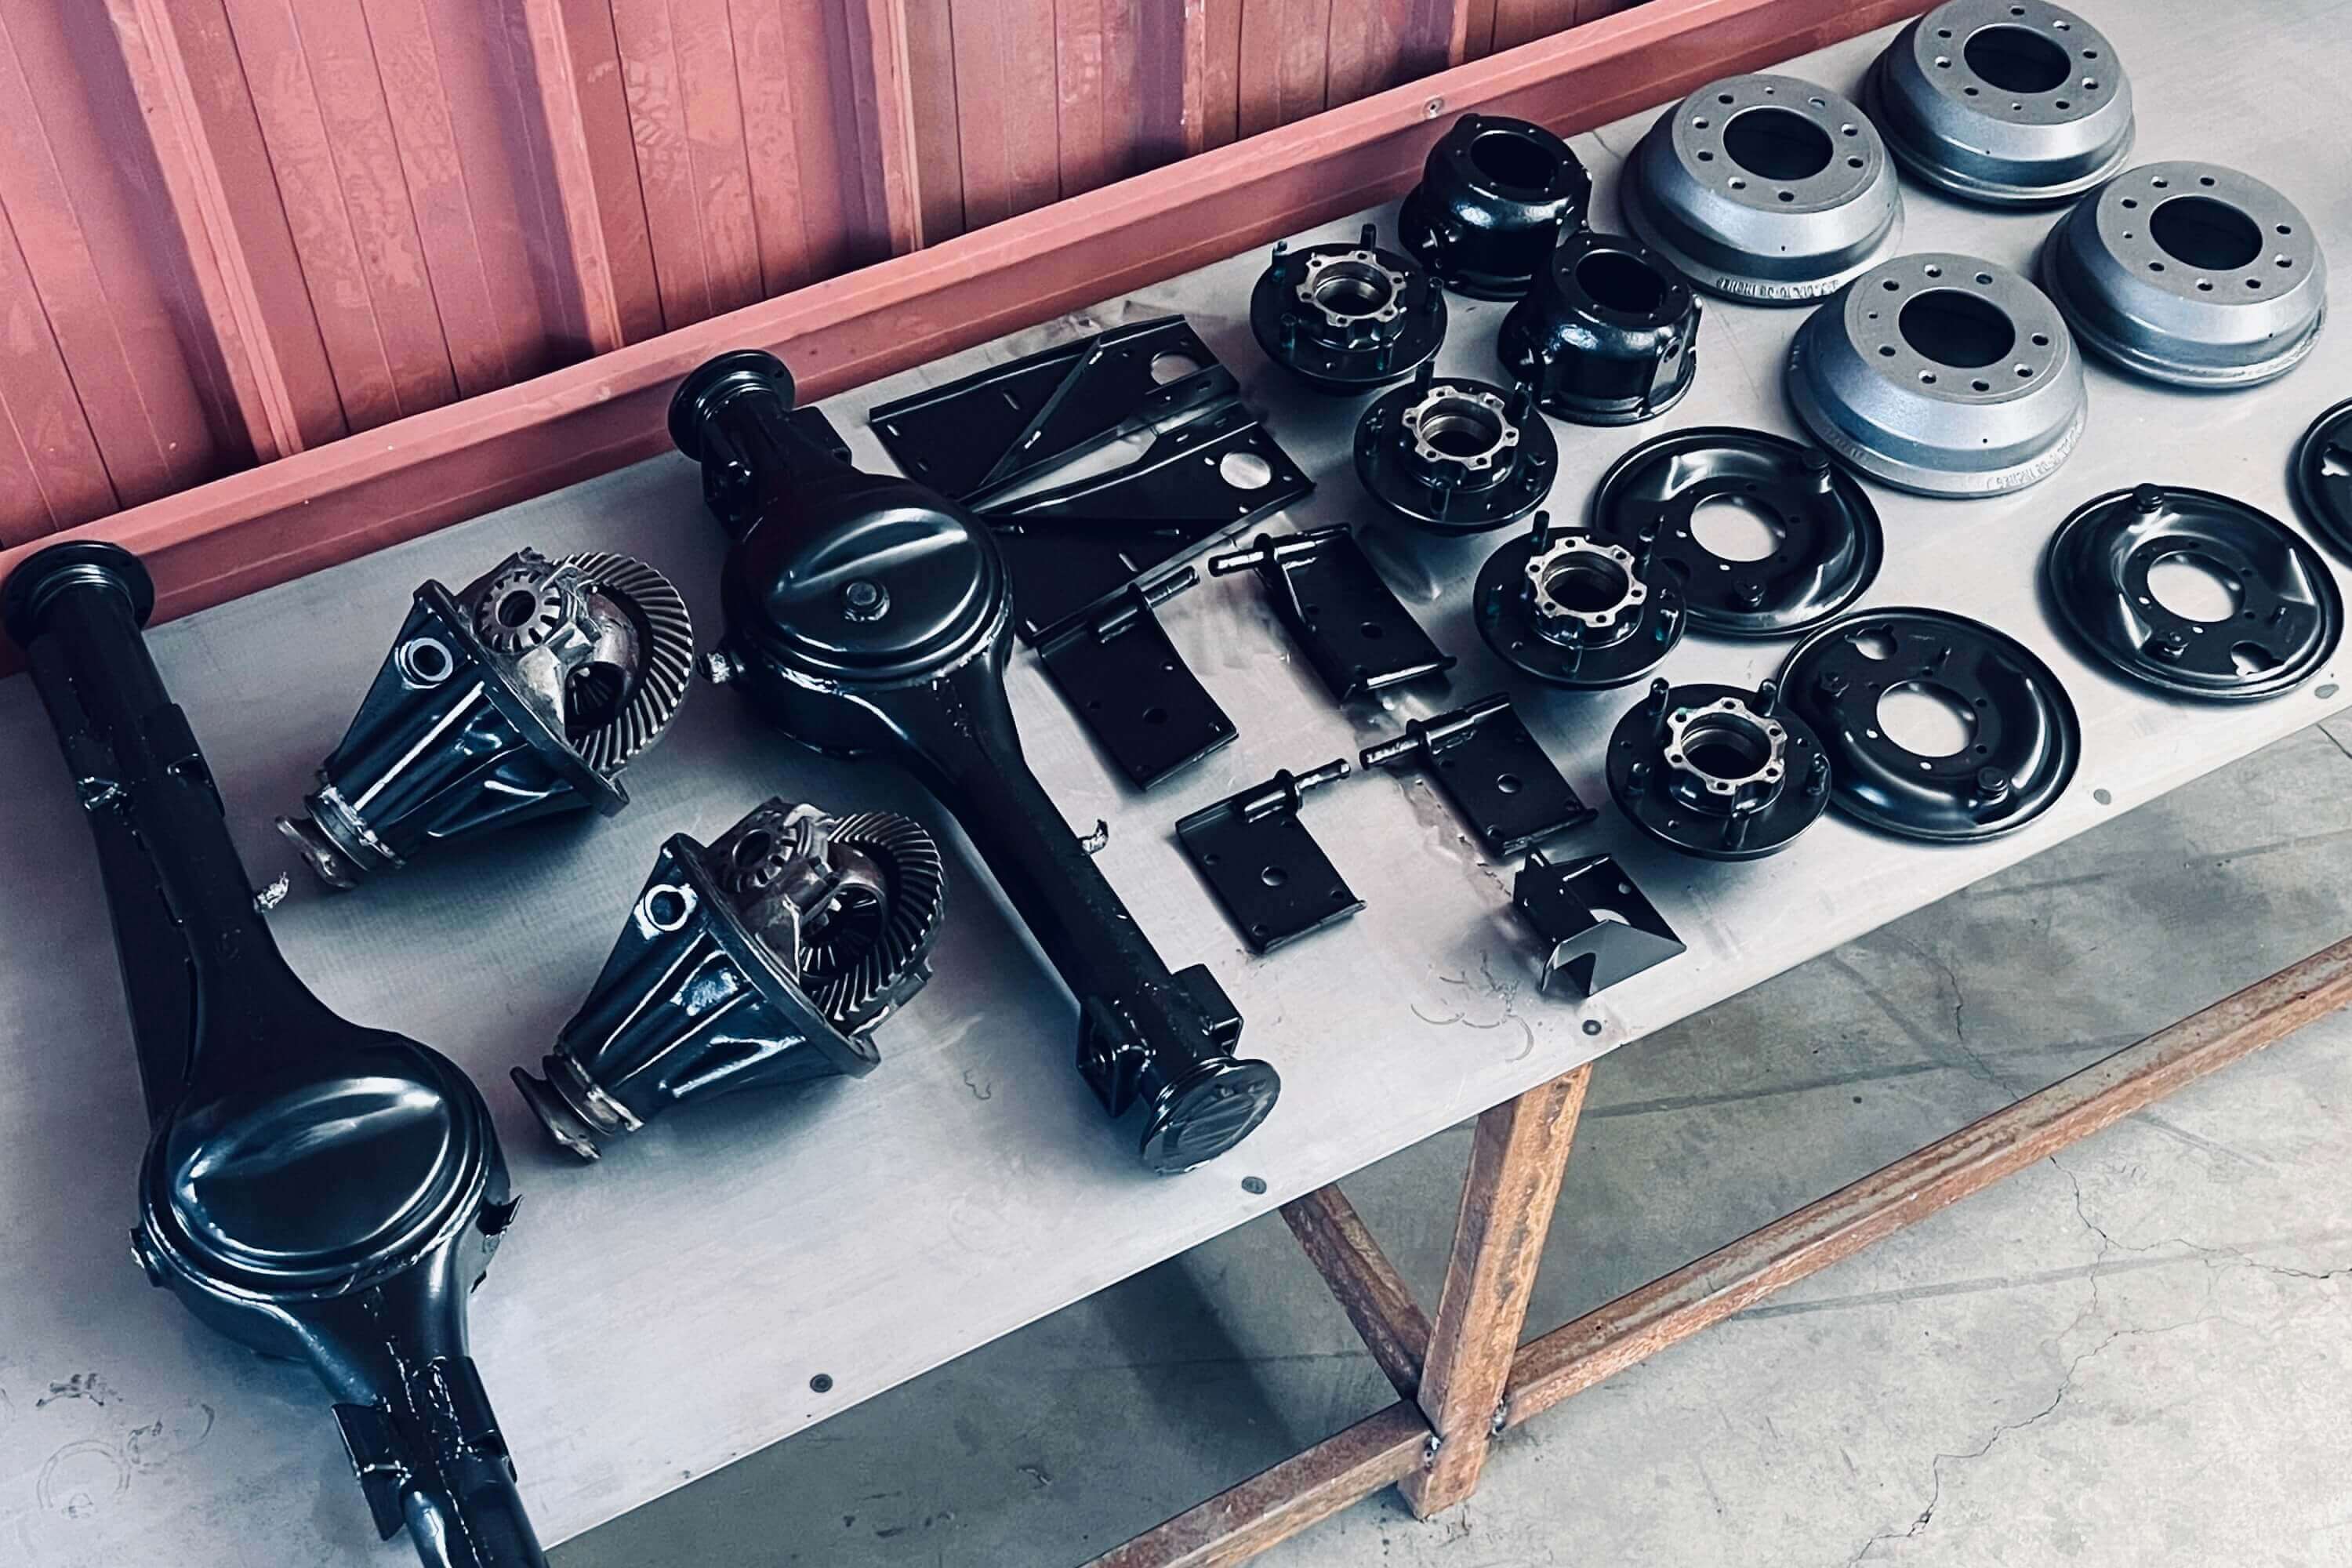
We rebuilt the front and rear axles from scratch with OEM parts.
At the moment the only upgrade we have done is to replace the bushings with polyurethane ones and increase the tyre size.

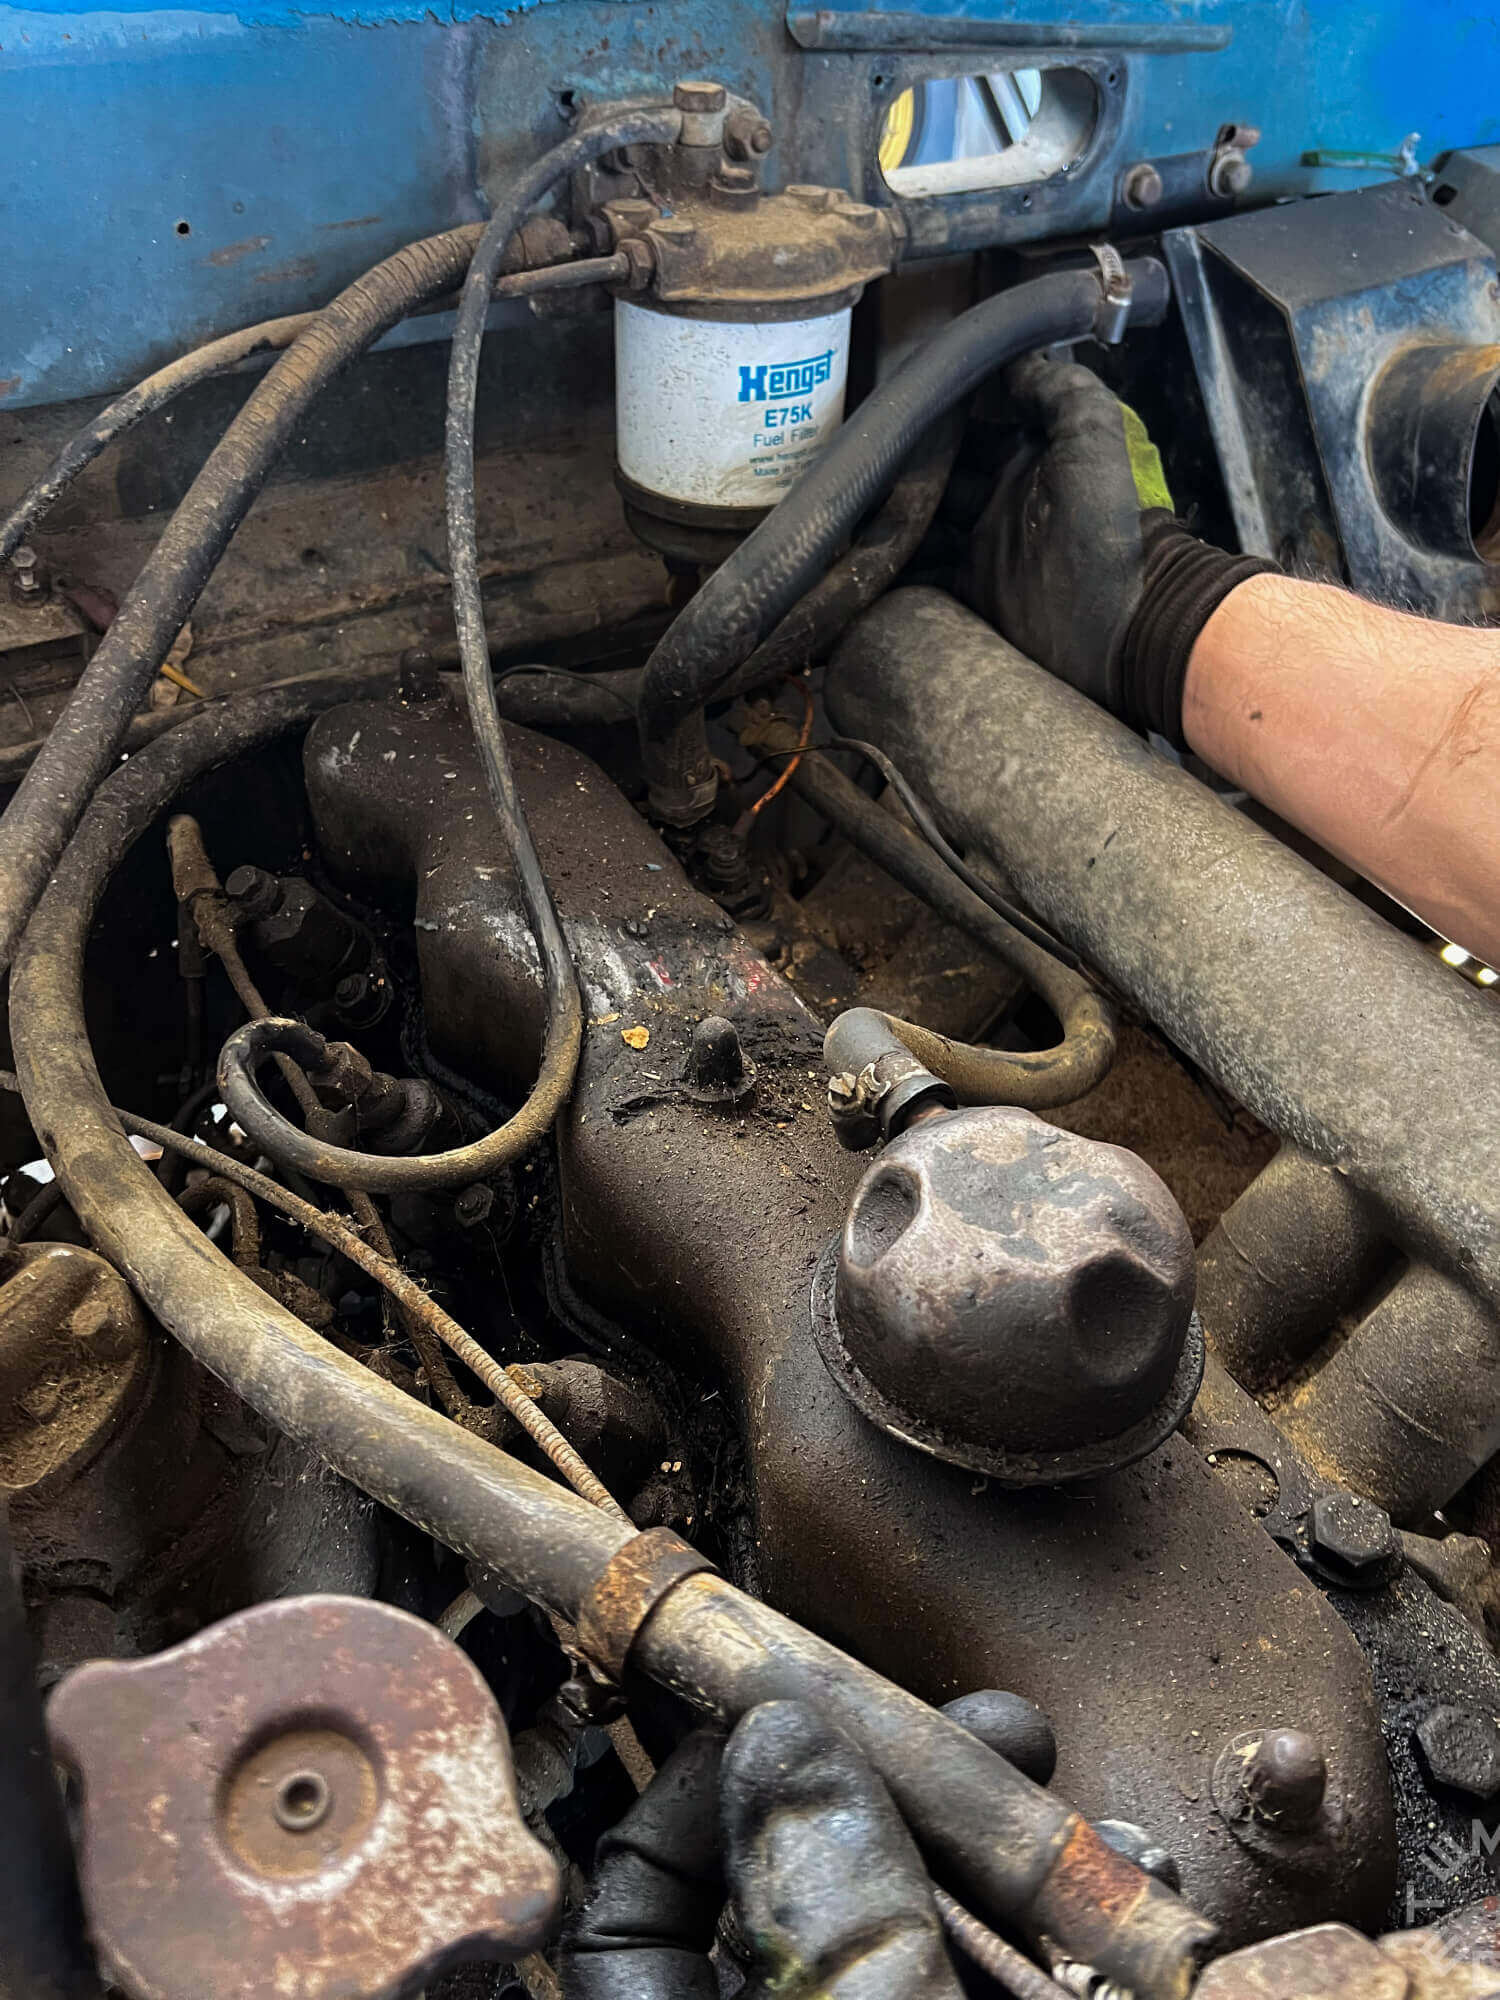
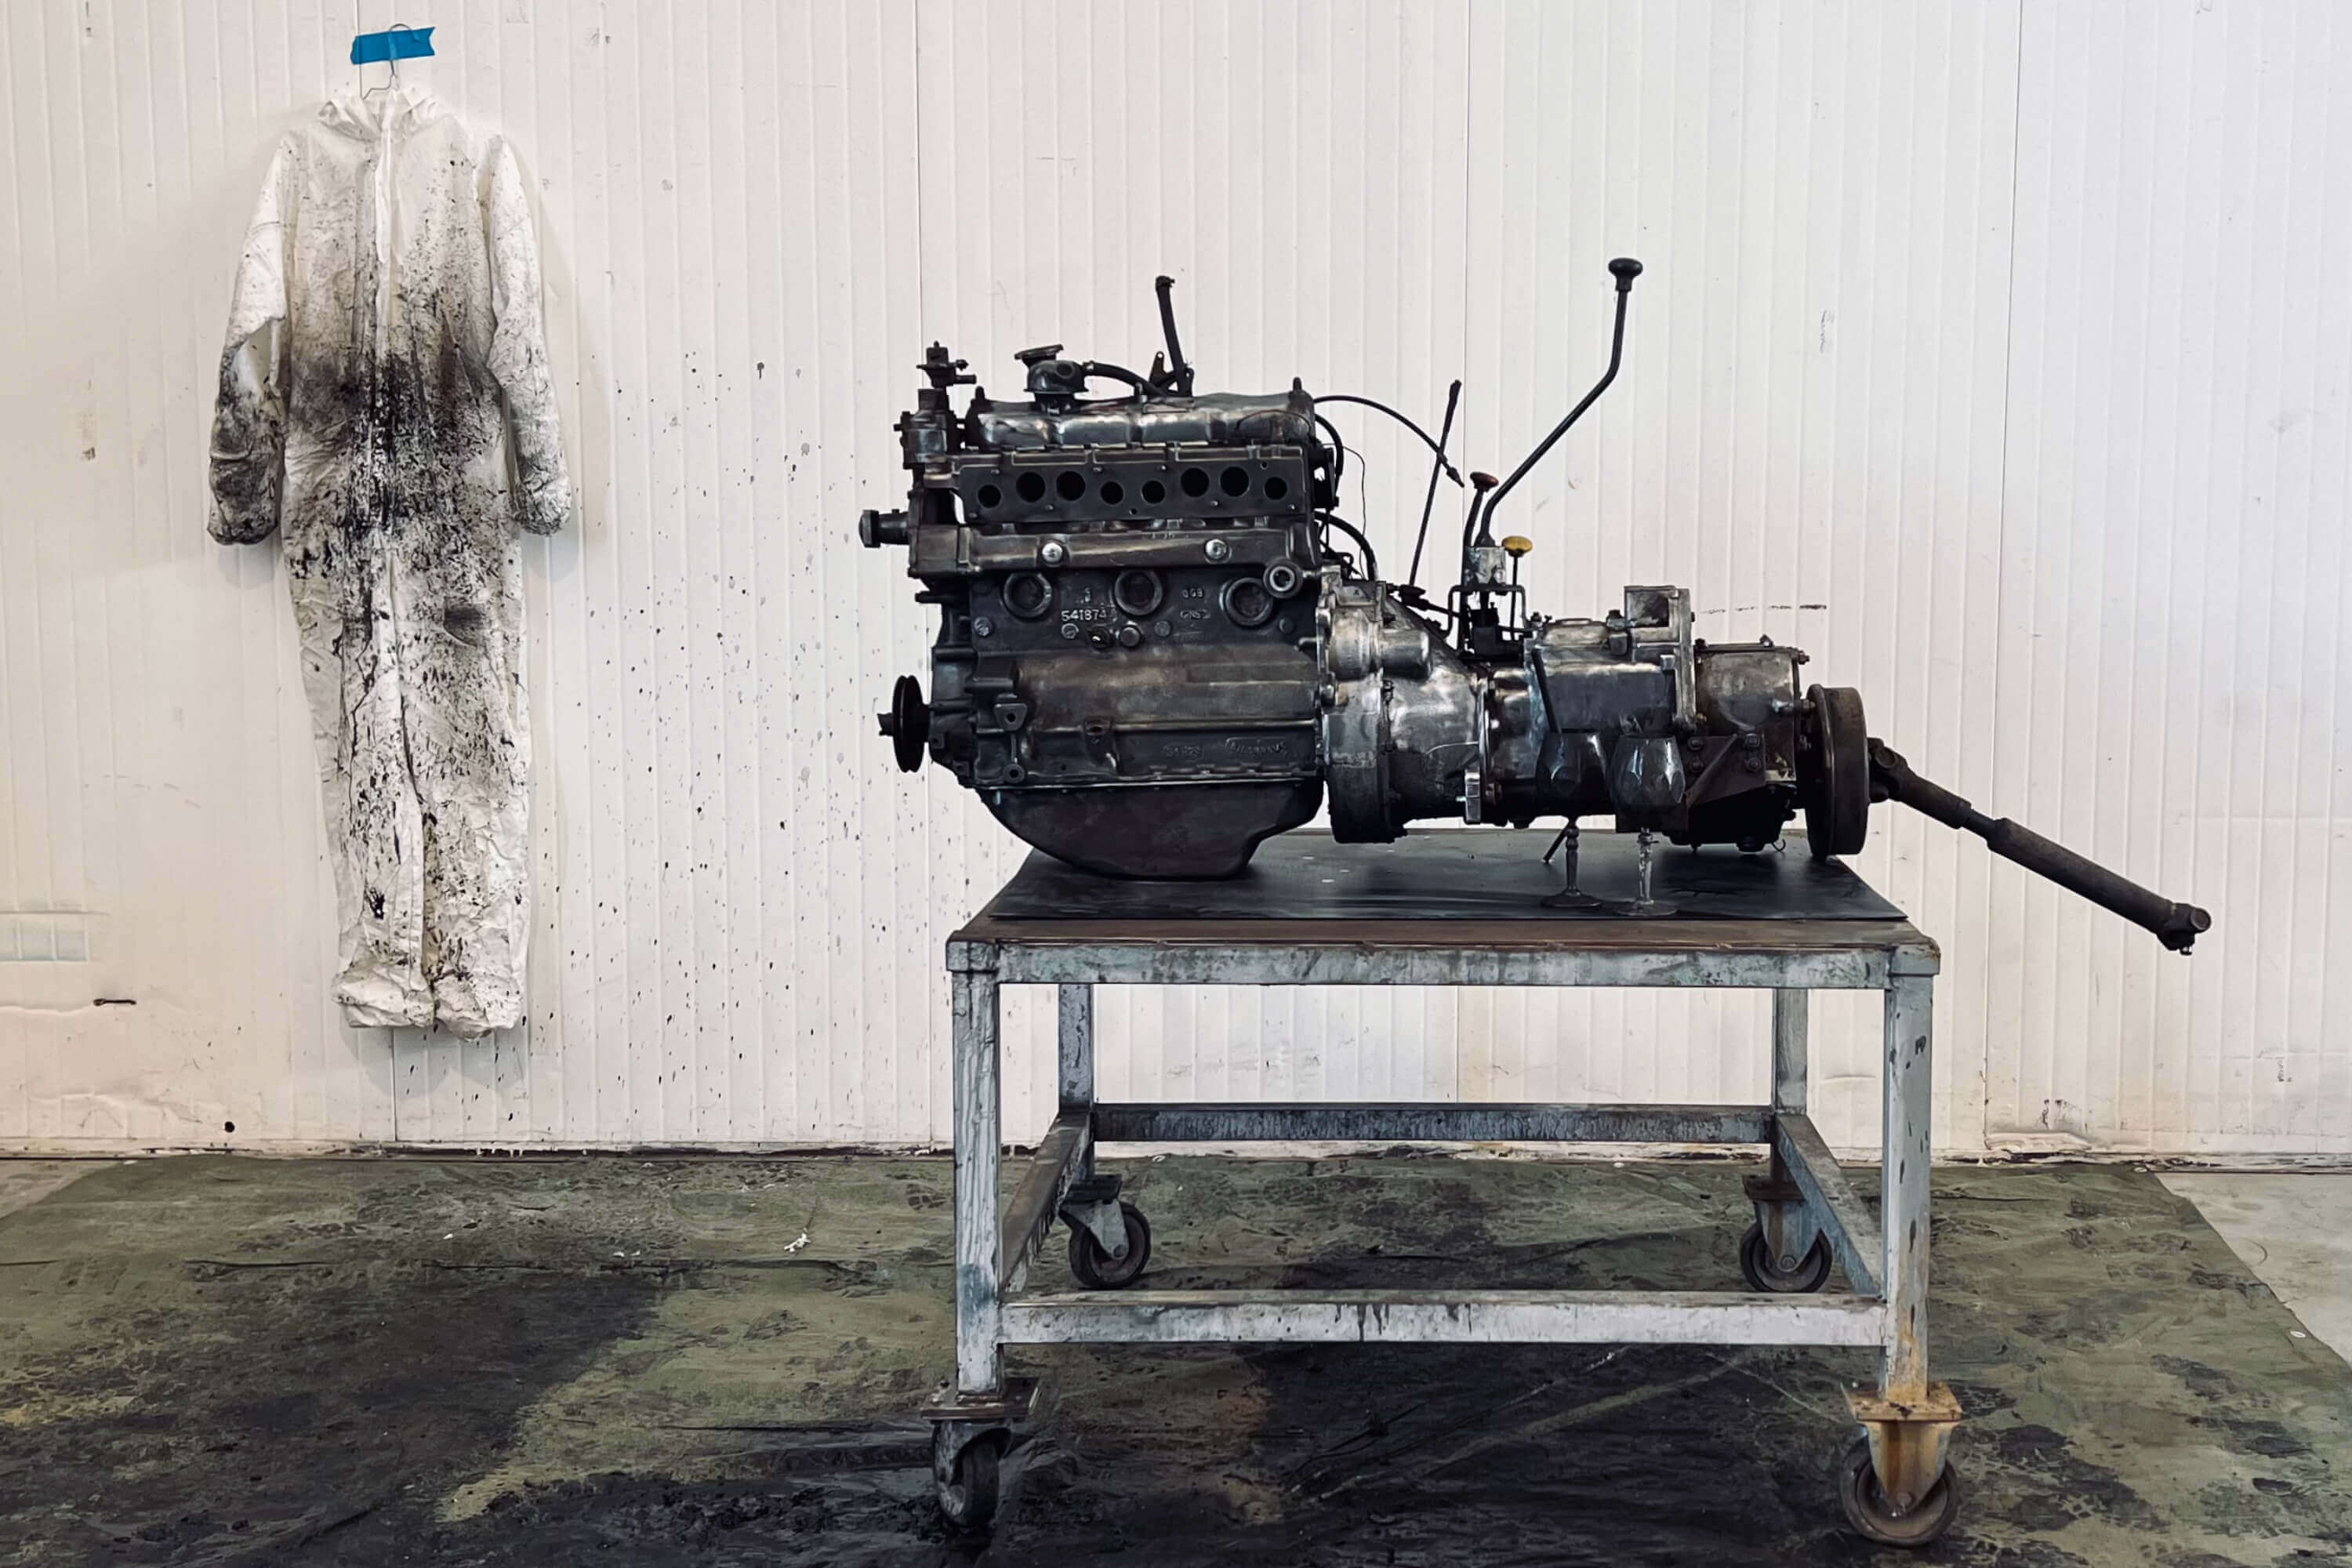
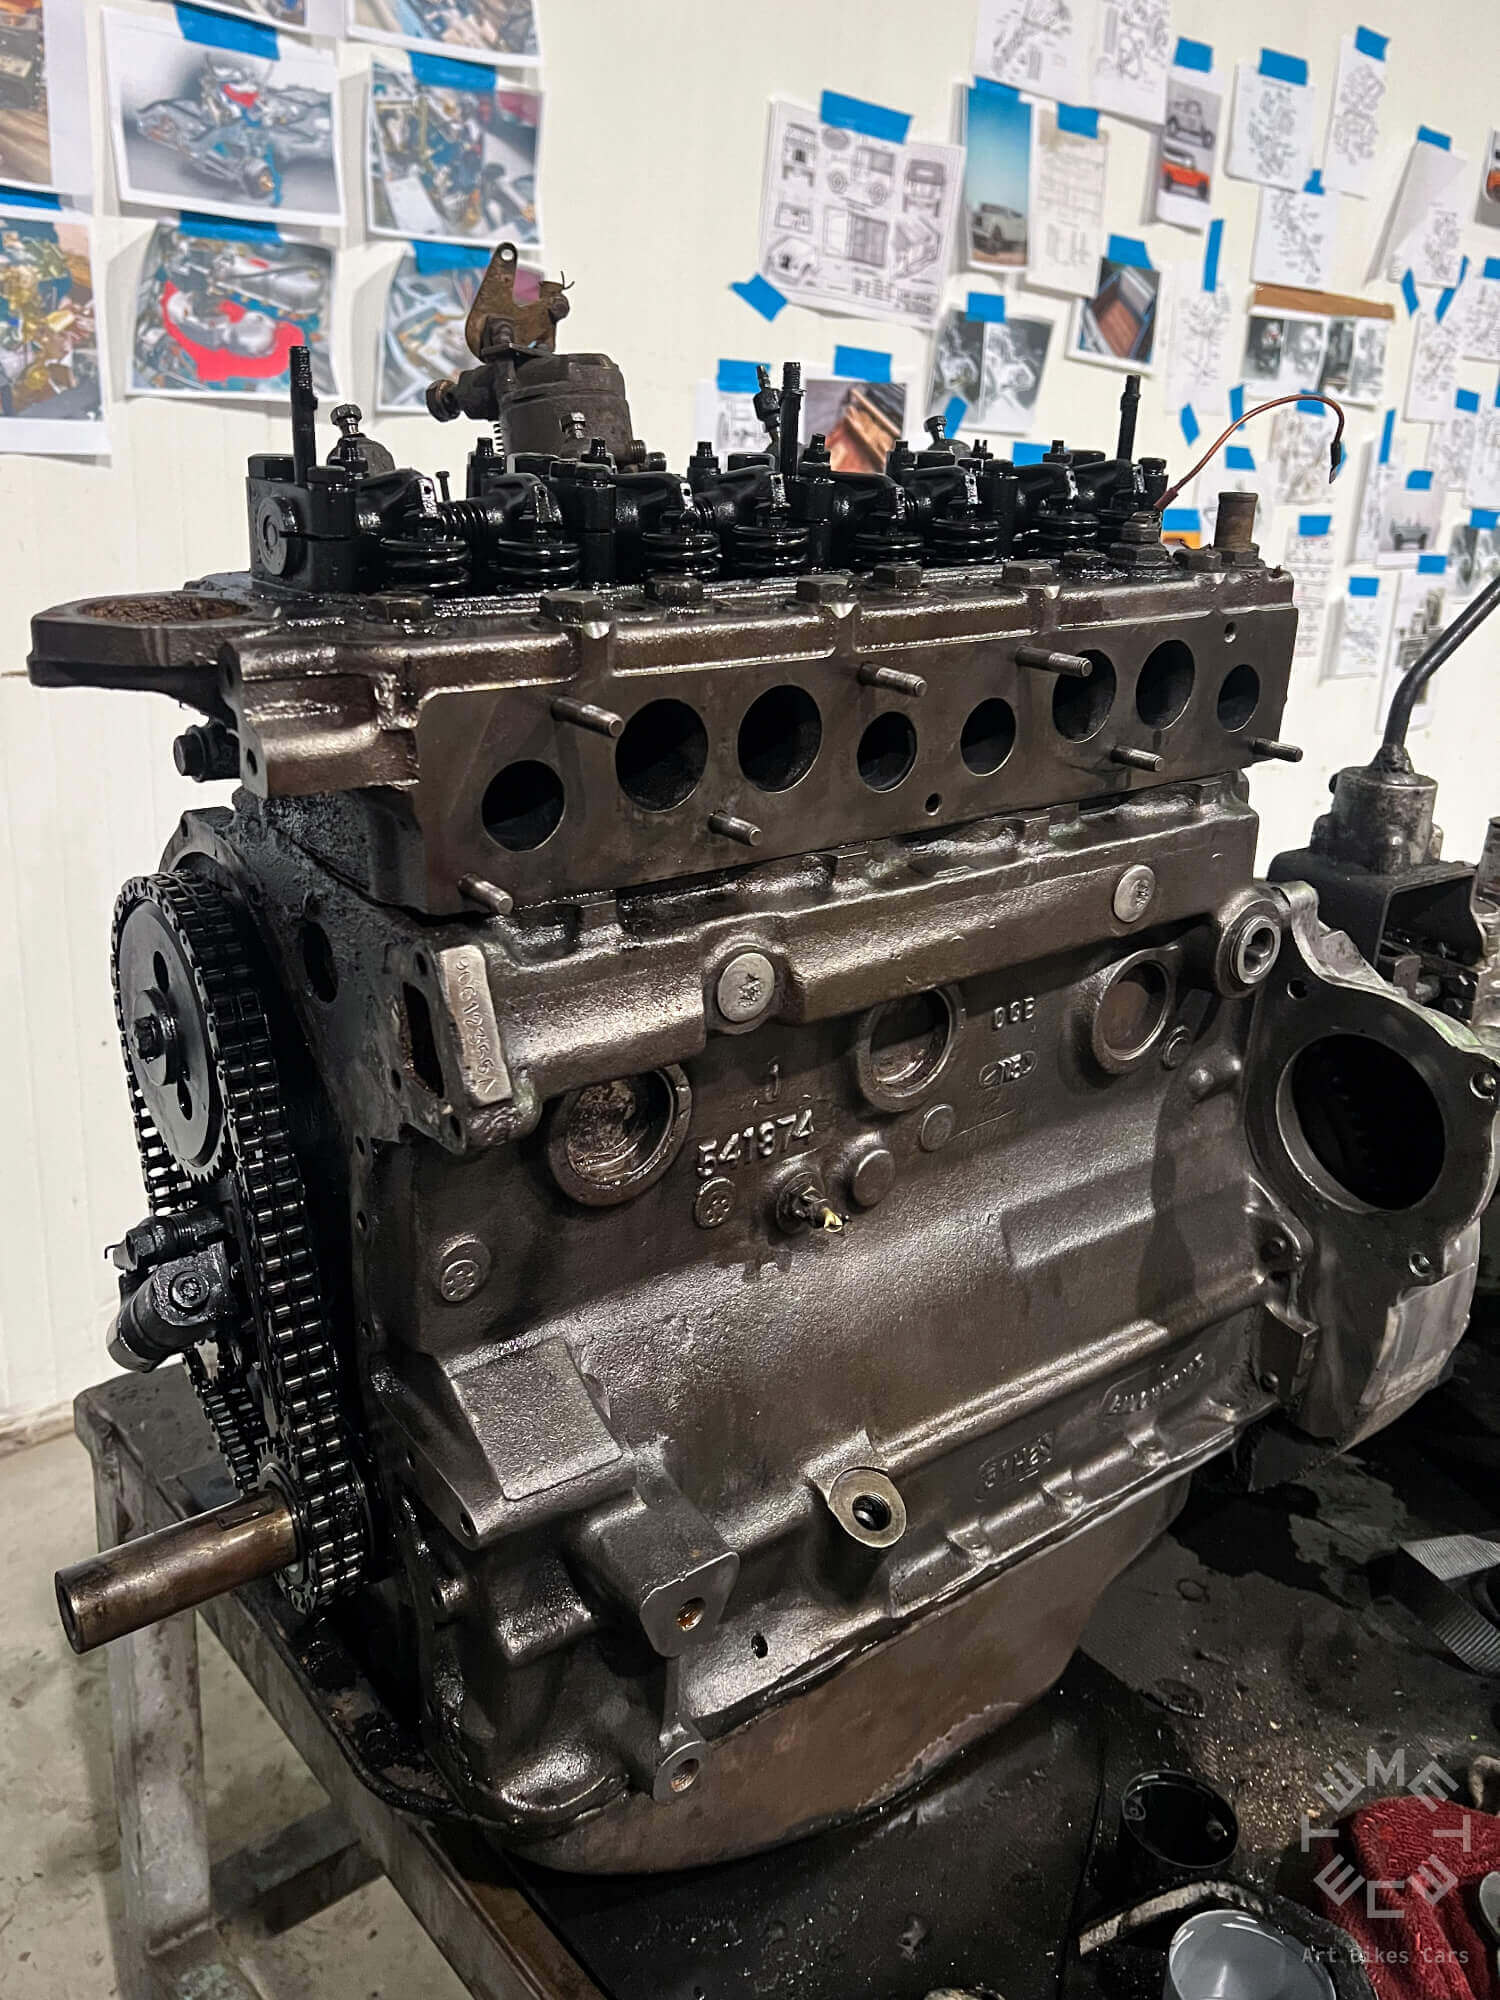
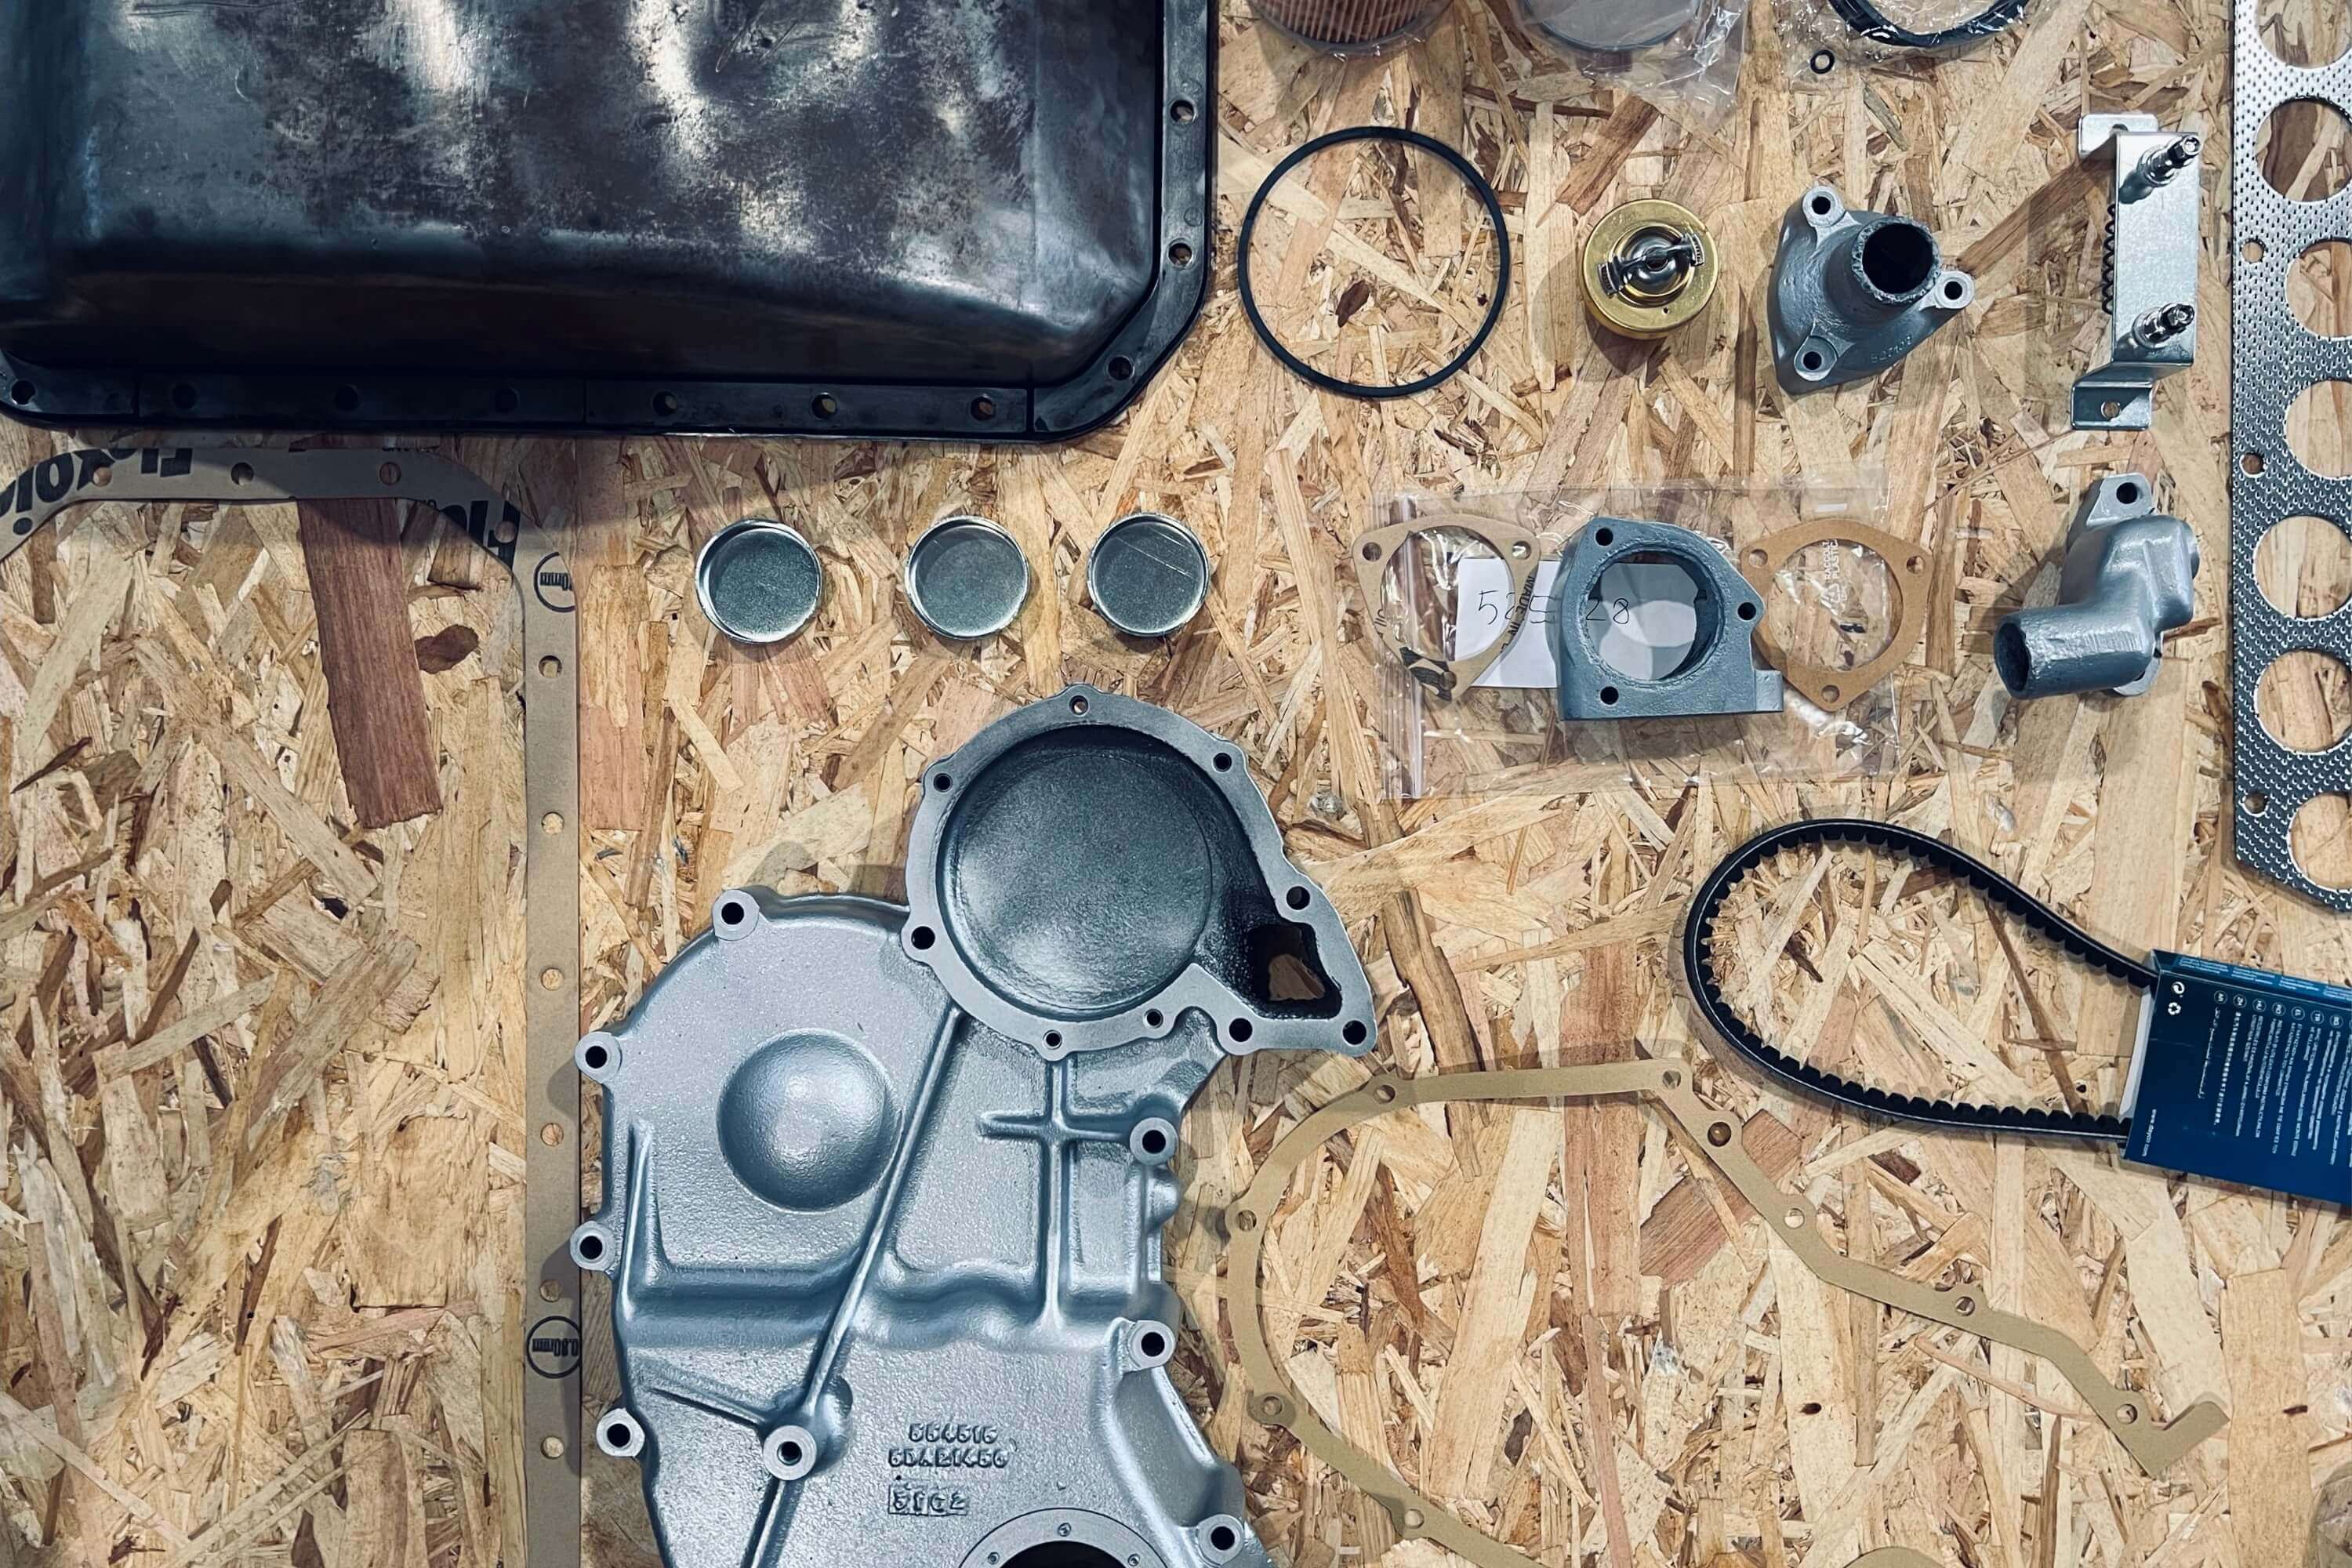
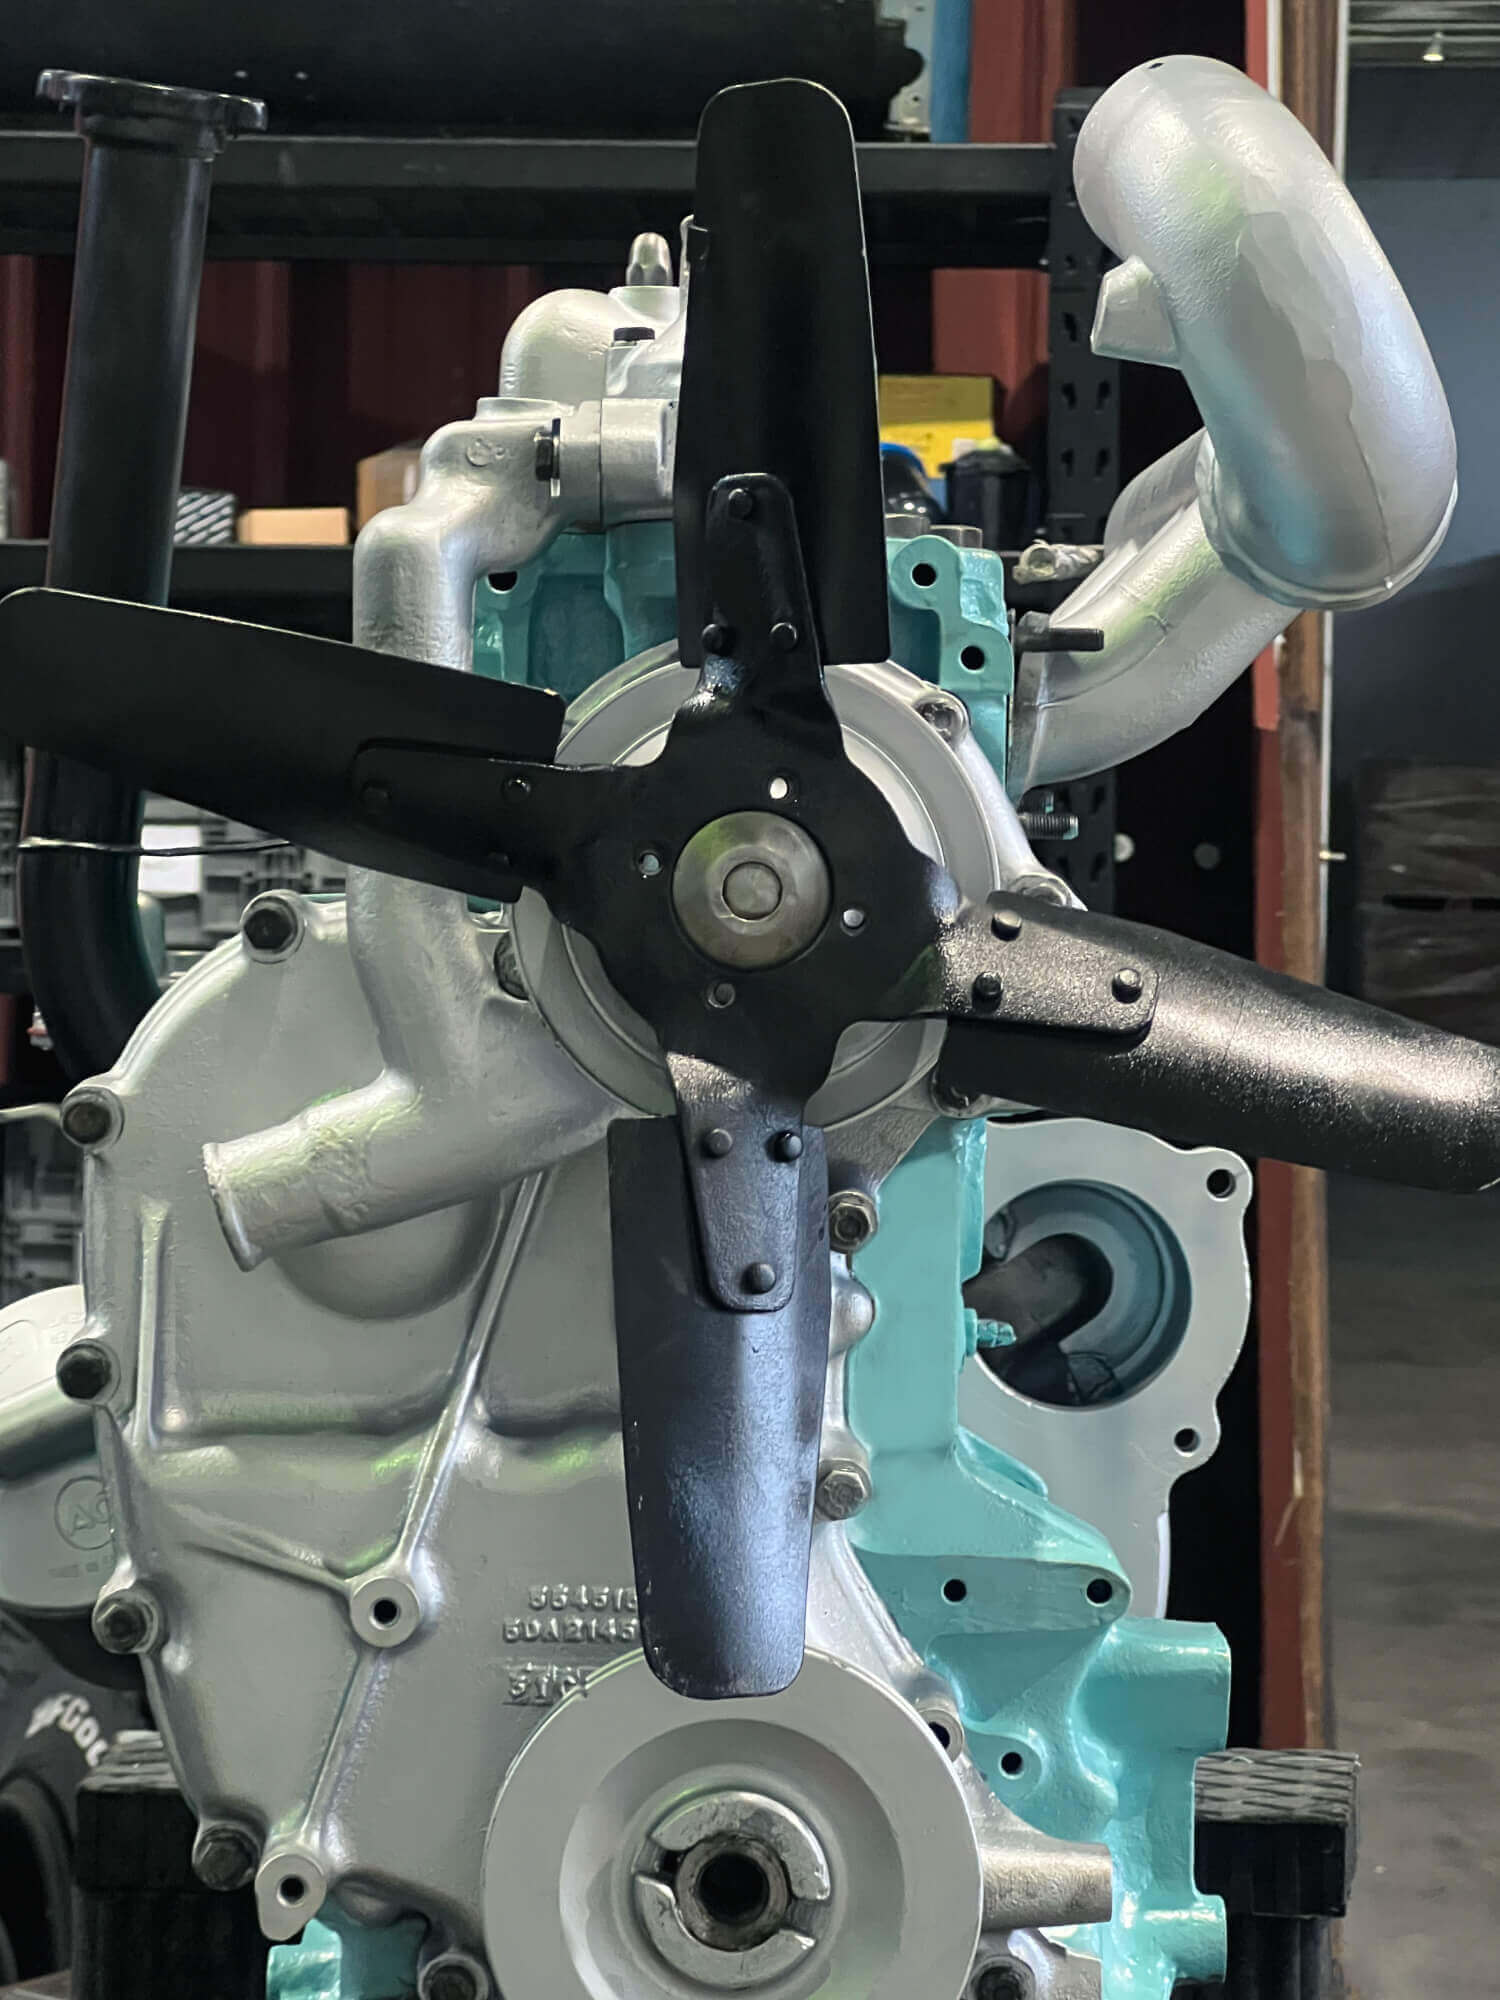
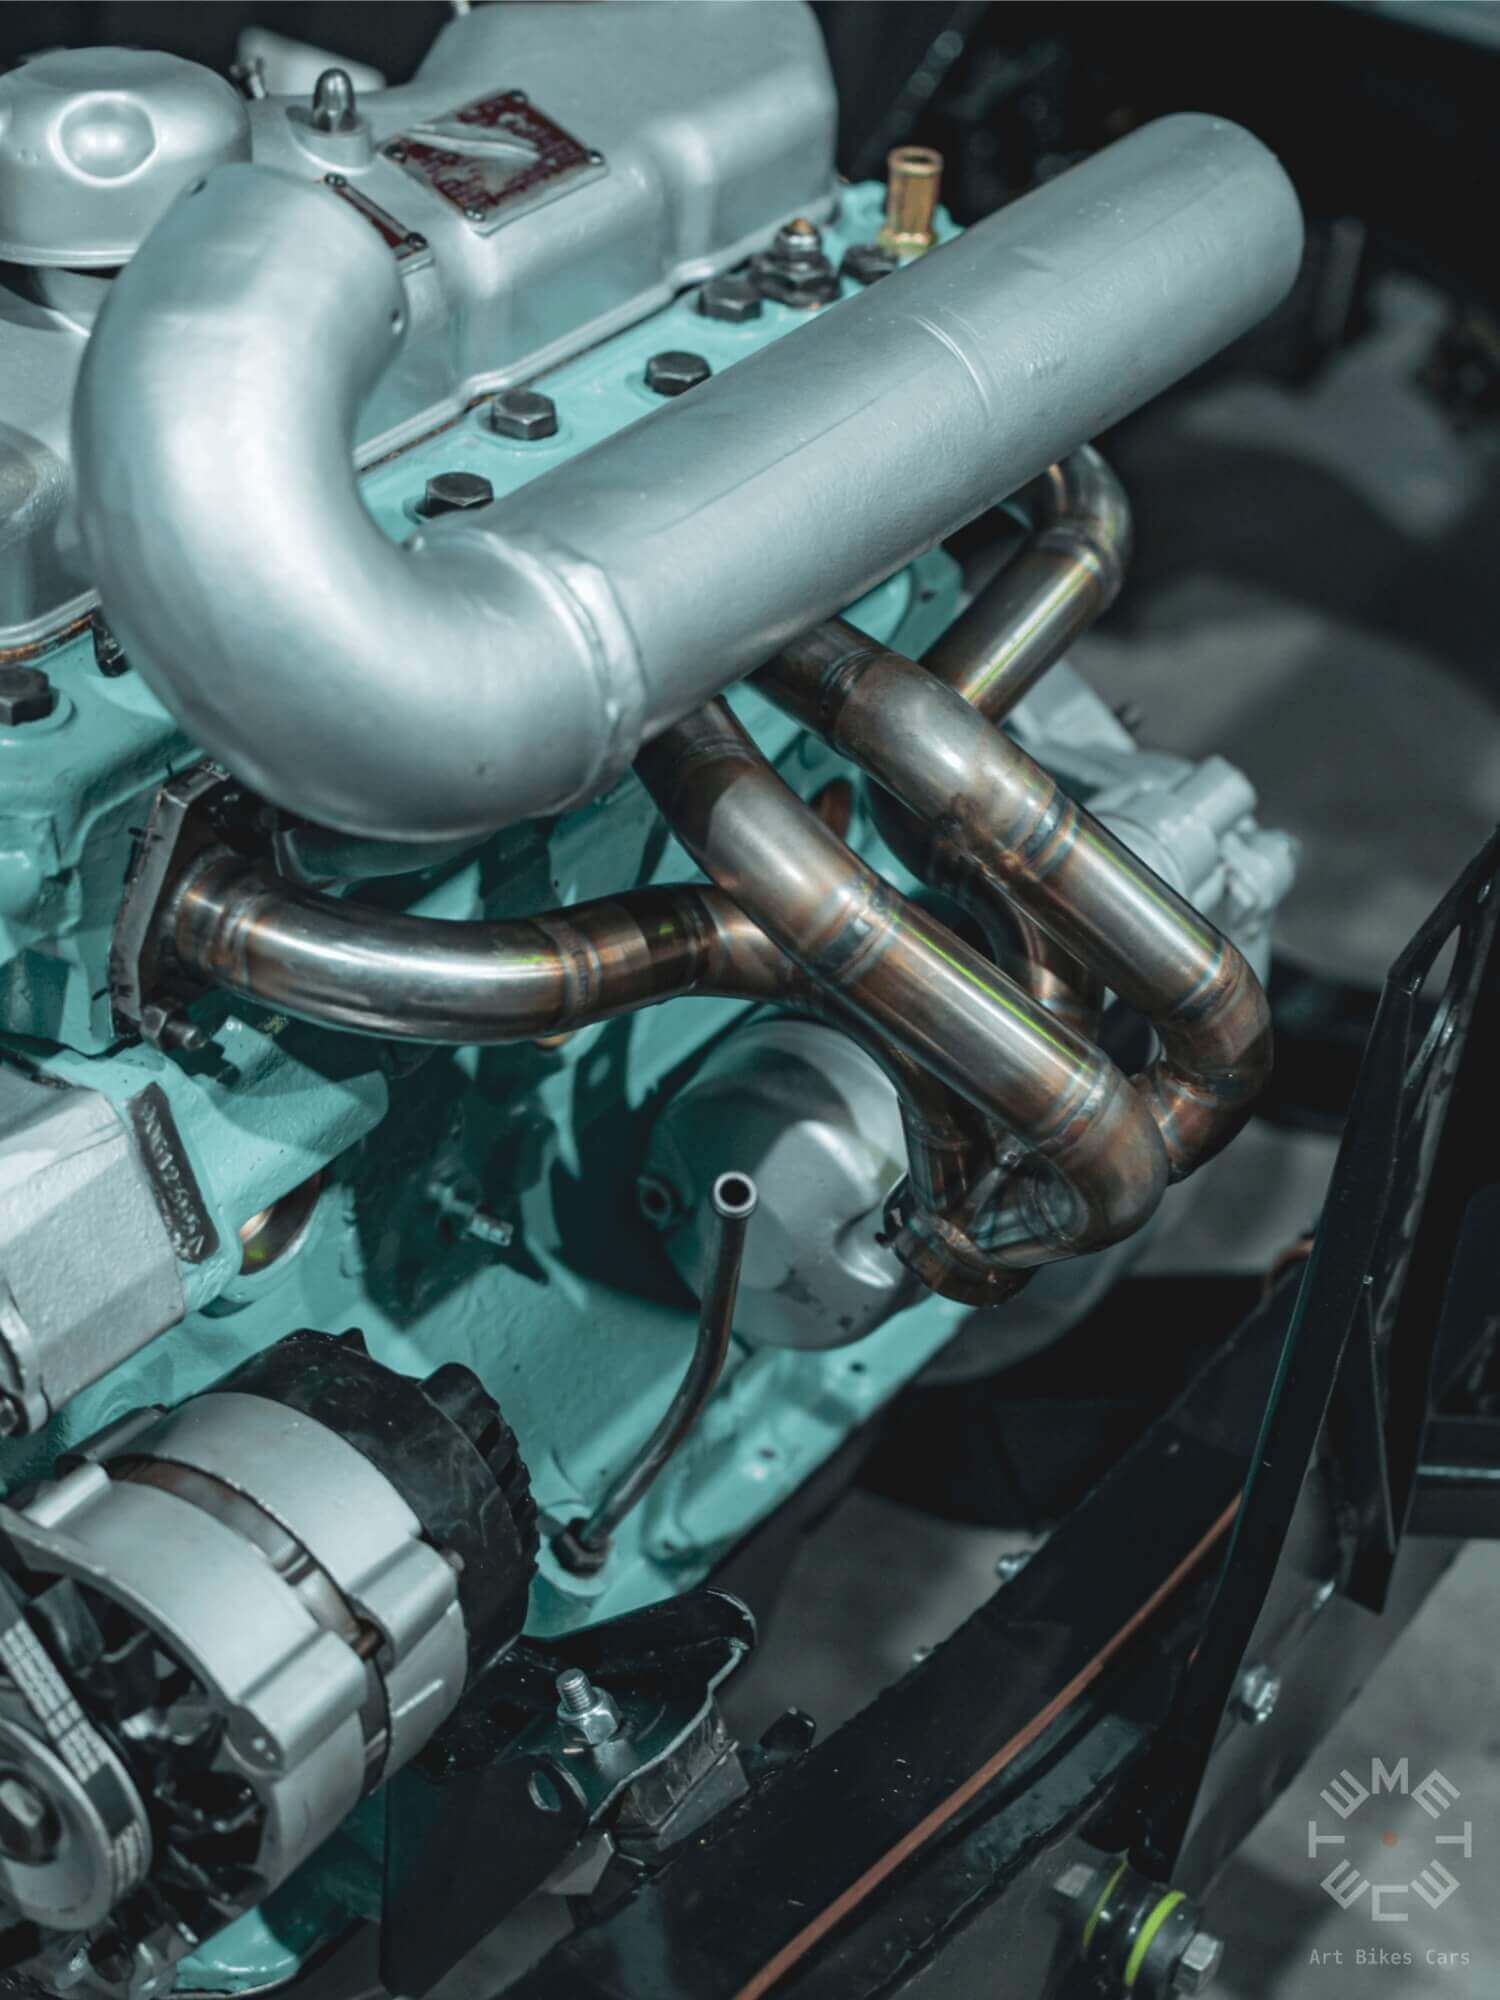
The engine renovation involved a series of fundamental technical interventions to ensure the efficiency and longevity of the unit.
First, a deep cleaning of all internal and external components was performed to remove any residues and deposits.
Next, we checked and replaced all lubrication and distriubution systems.
Calibrated and checked the injectors and fuel system to ensure optimal combustion.
Wear-prone parts, such as bearings and seals, were replaced with new, high-quality components.
The cooling system was completely overhauled, from the radiator to the water passage tubes, with the new oversized aluminum radiator providing better temperatures.
In the end, we improve the performance by enhancing the air intake and constructing a new stainless steel exhaust manifold.

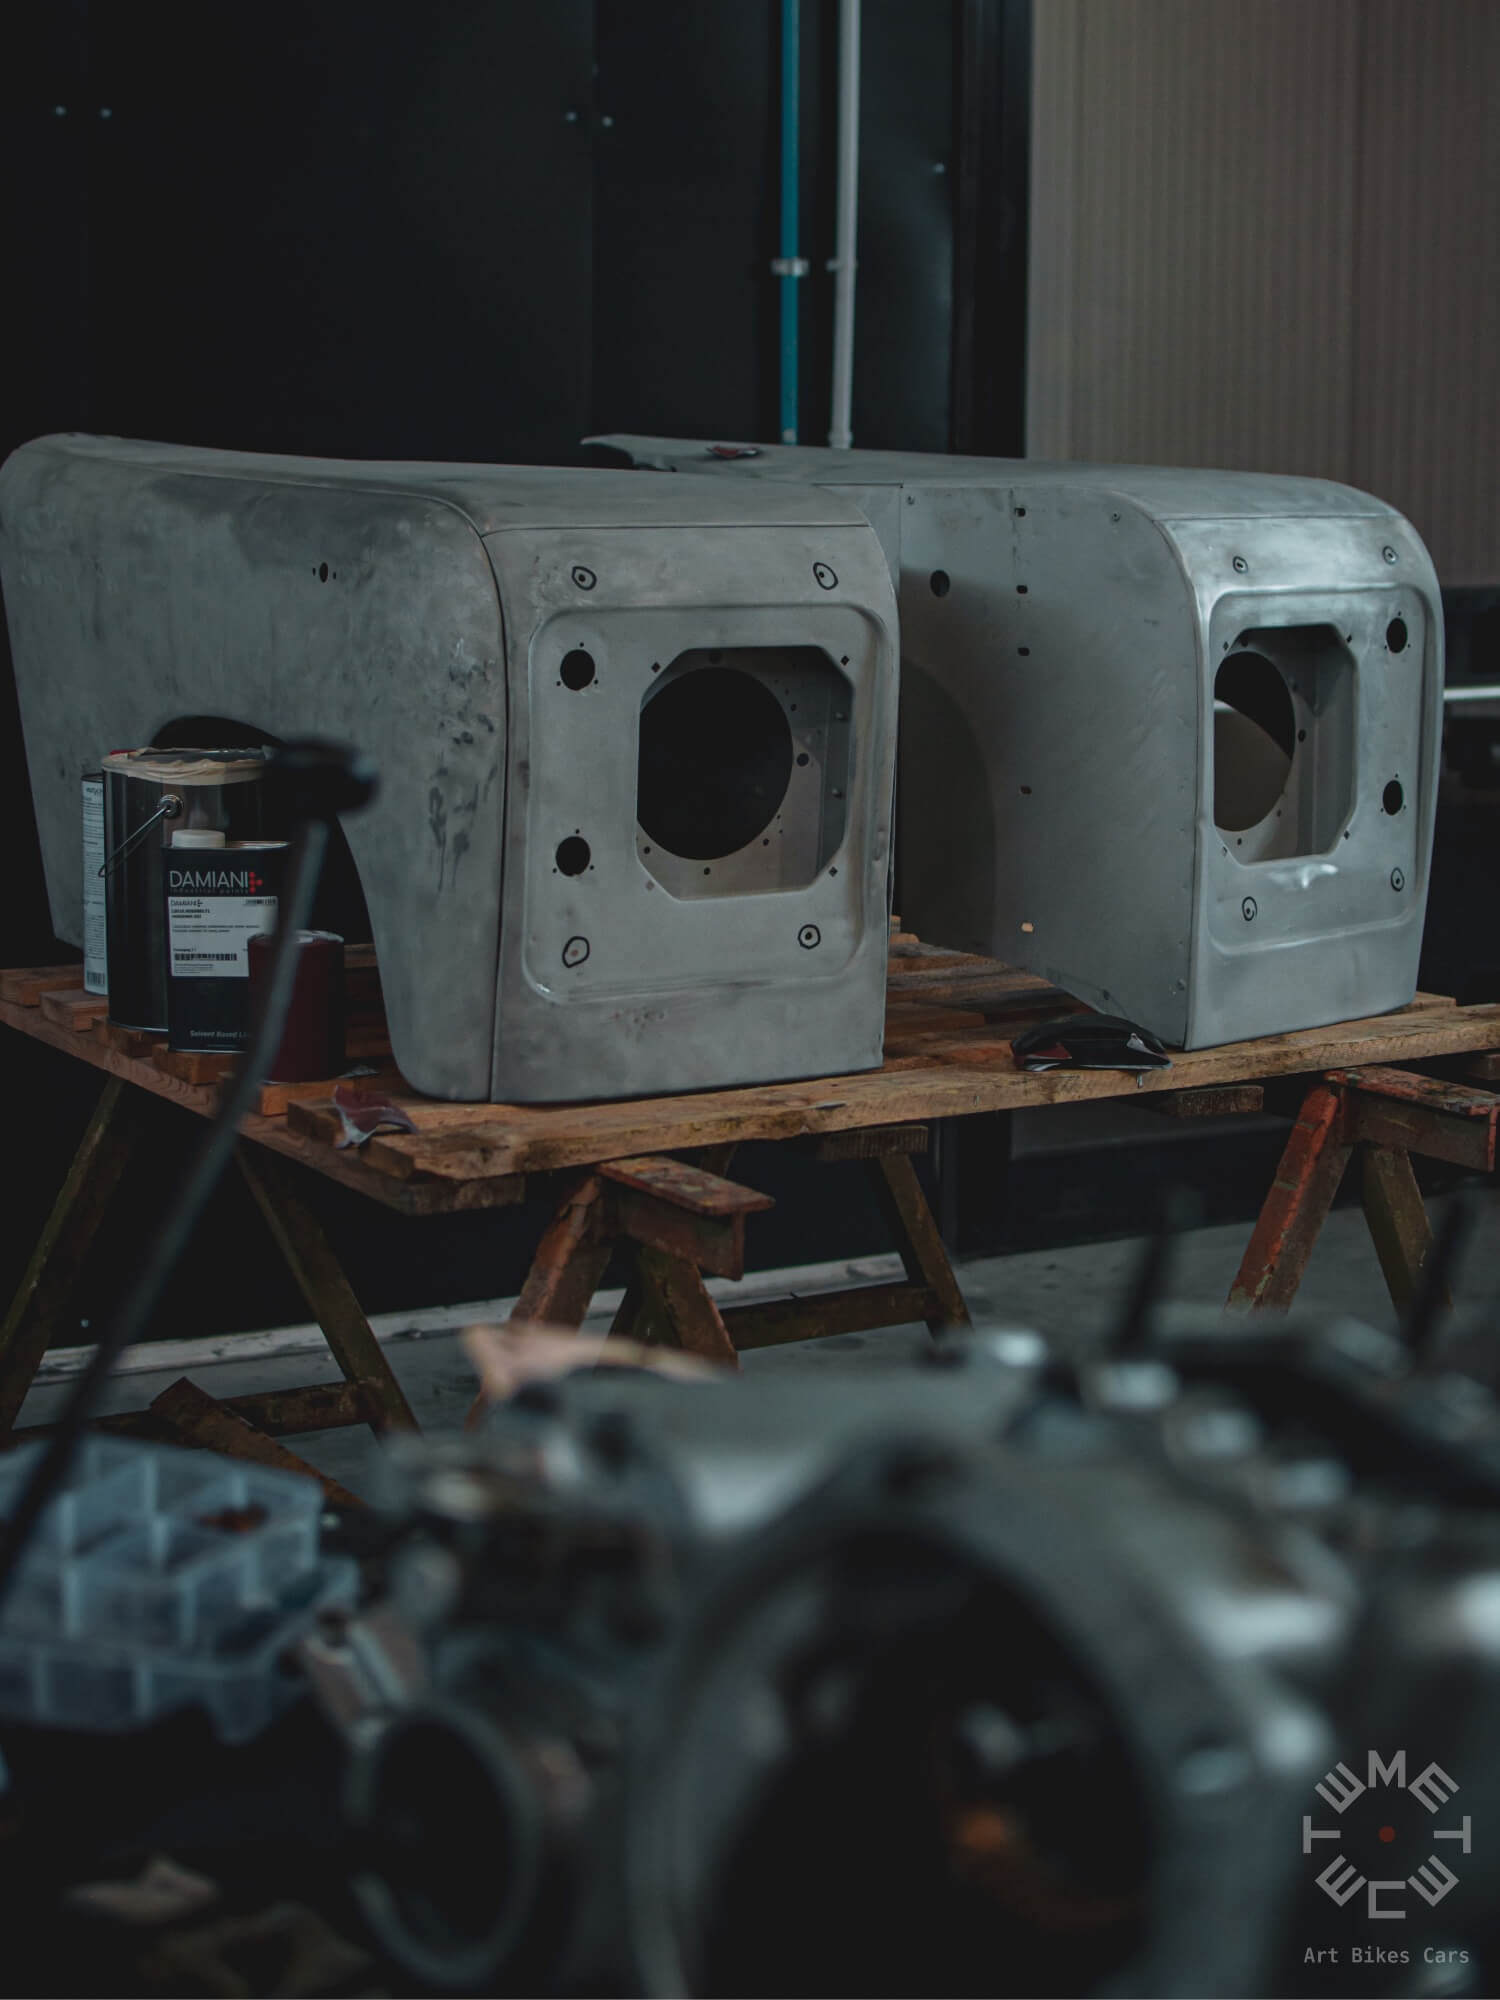
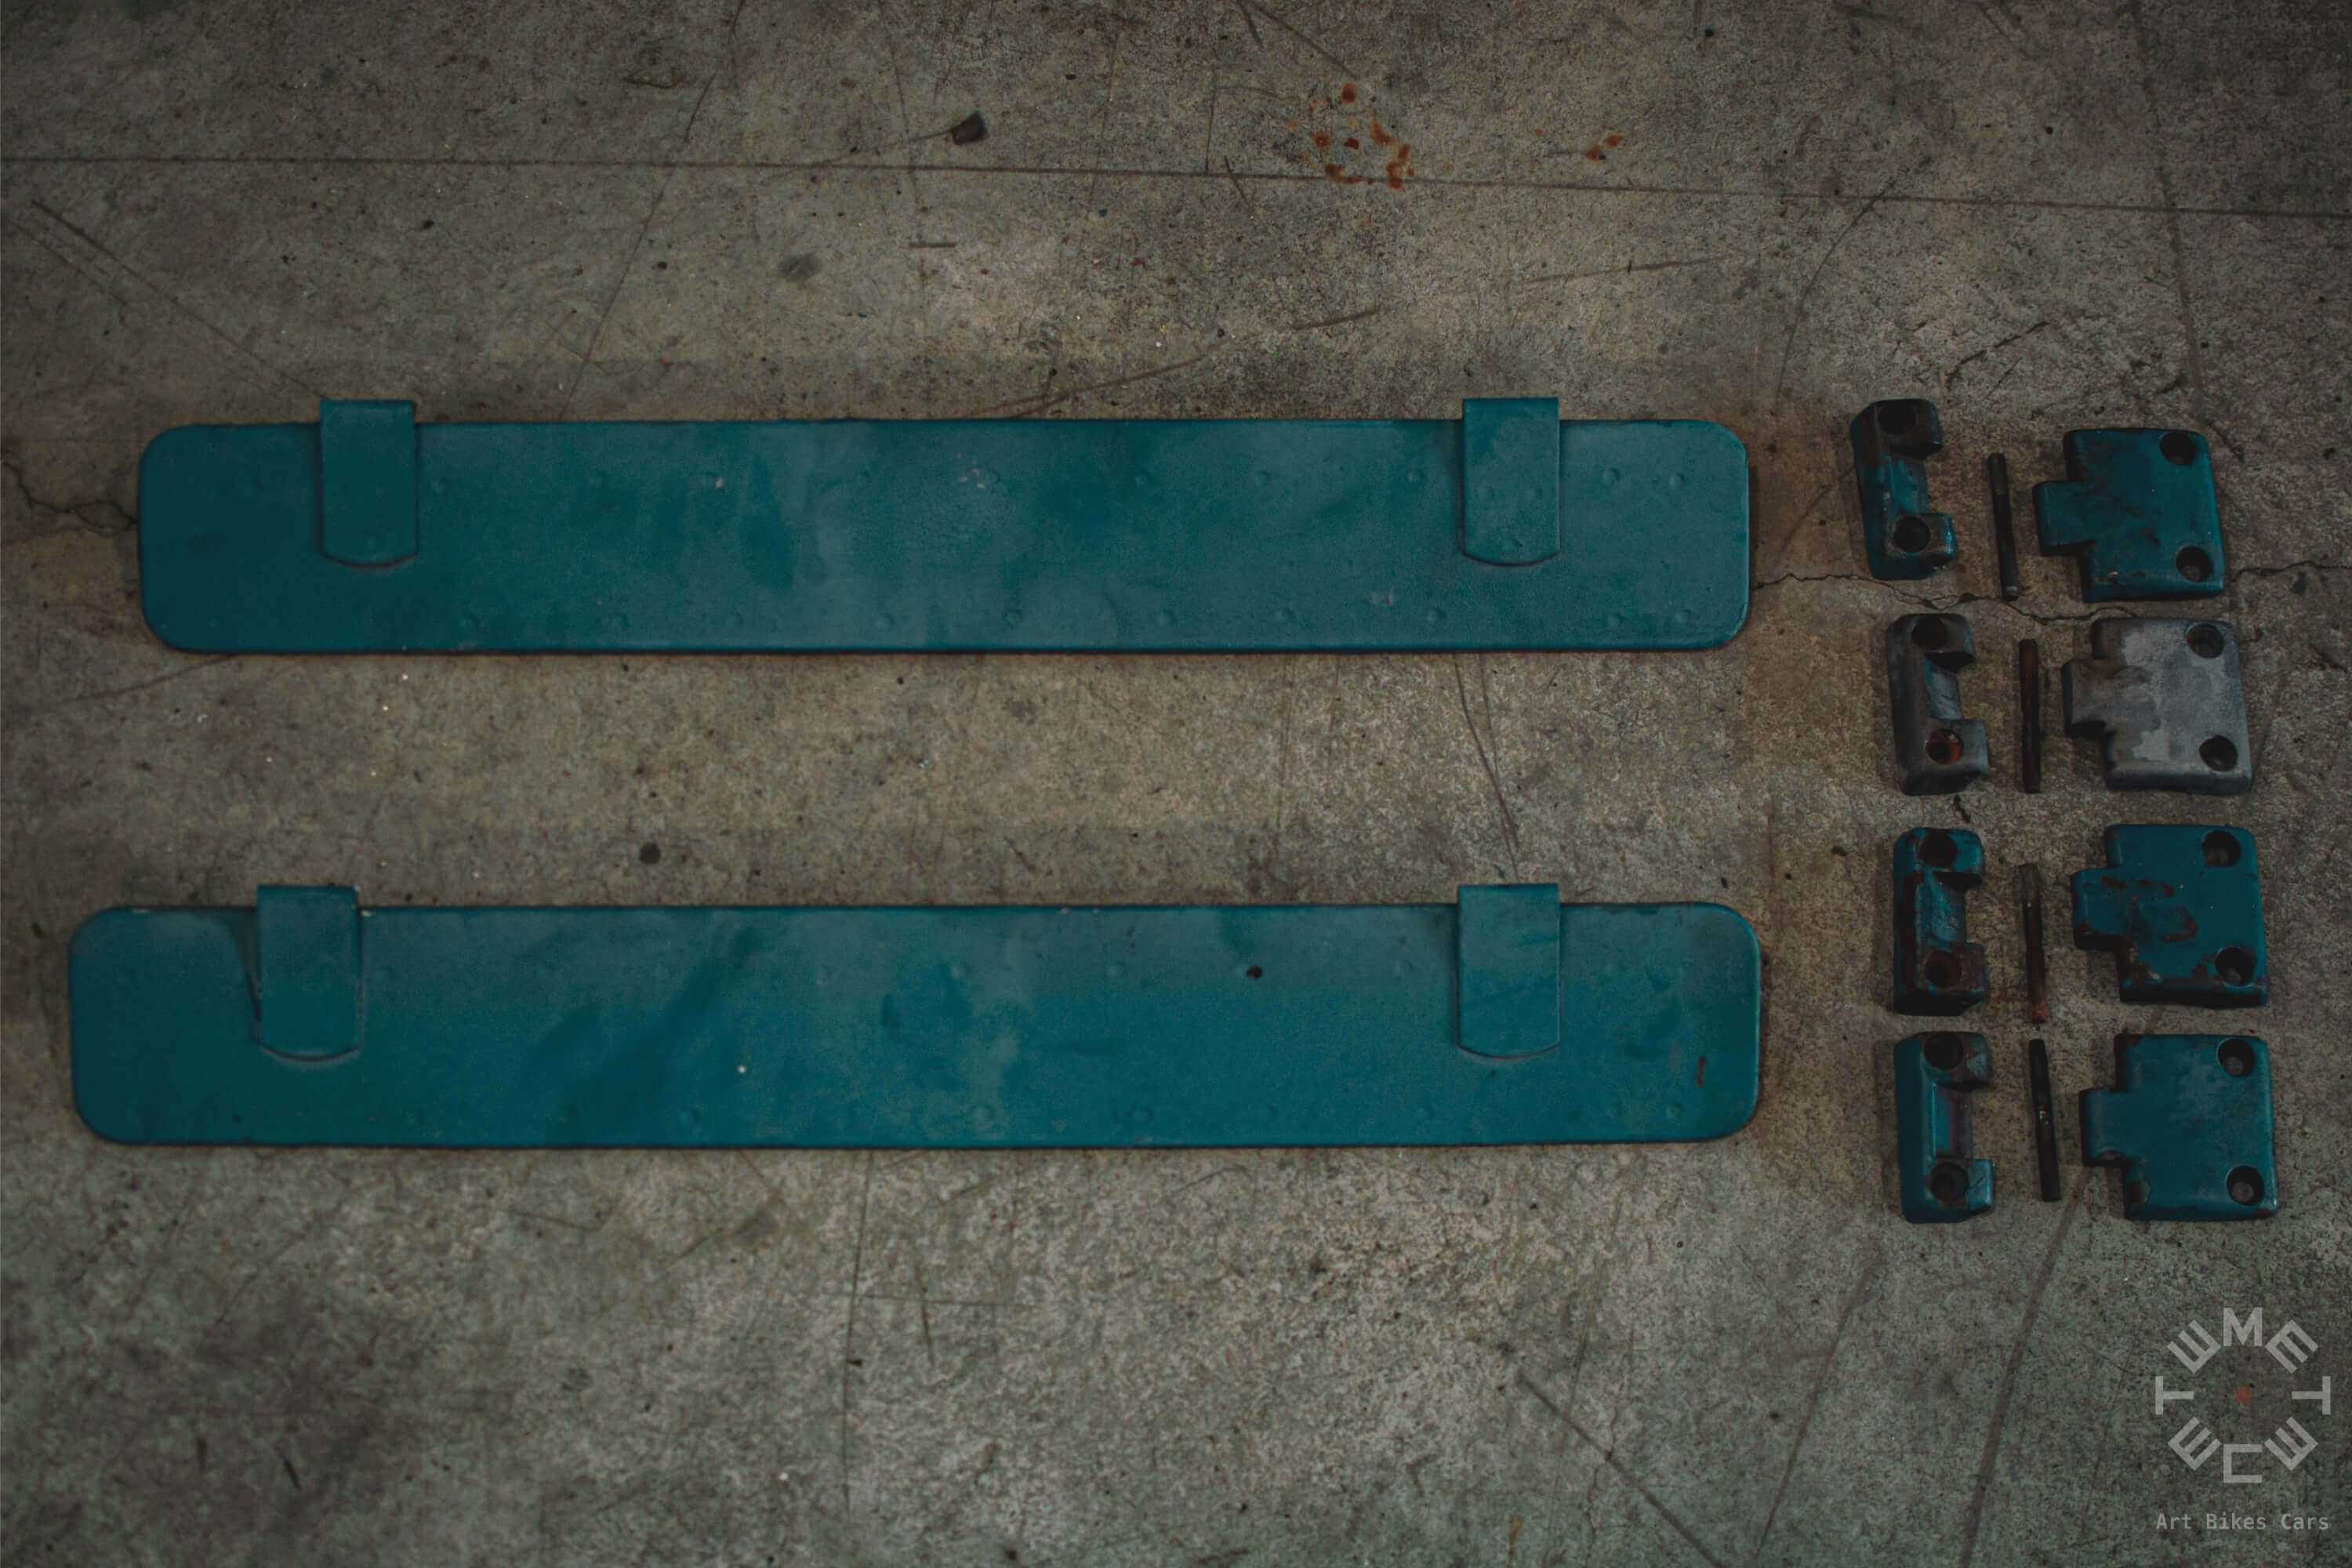
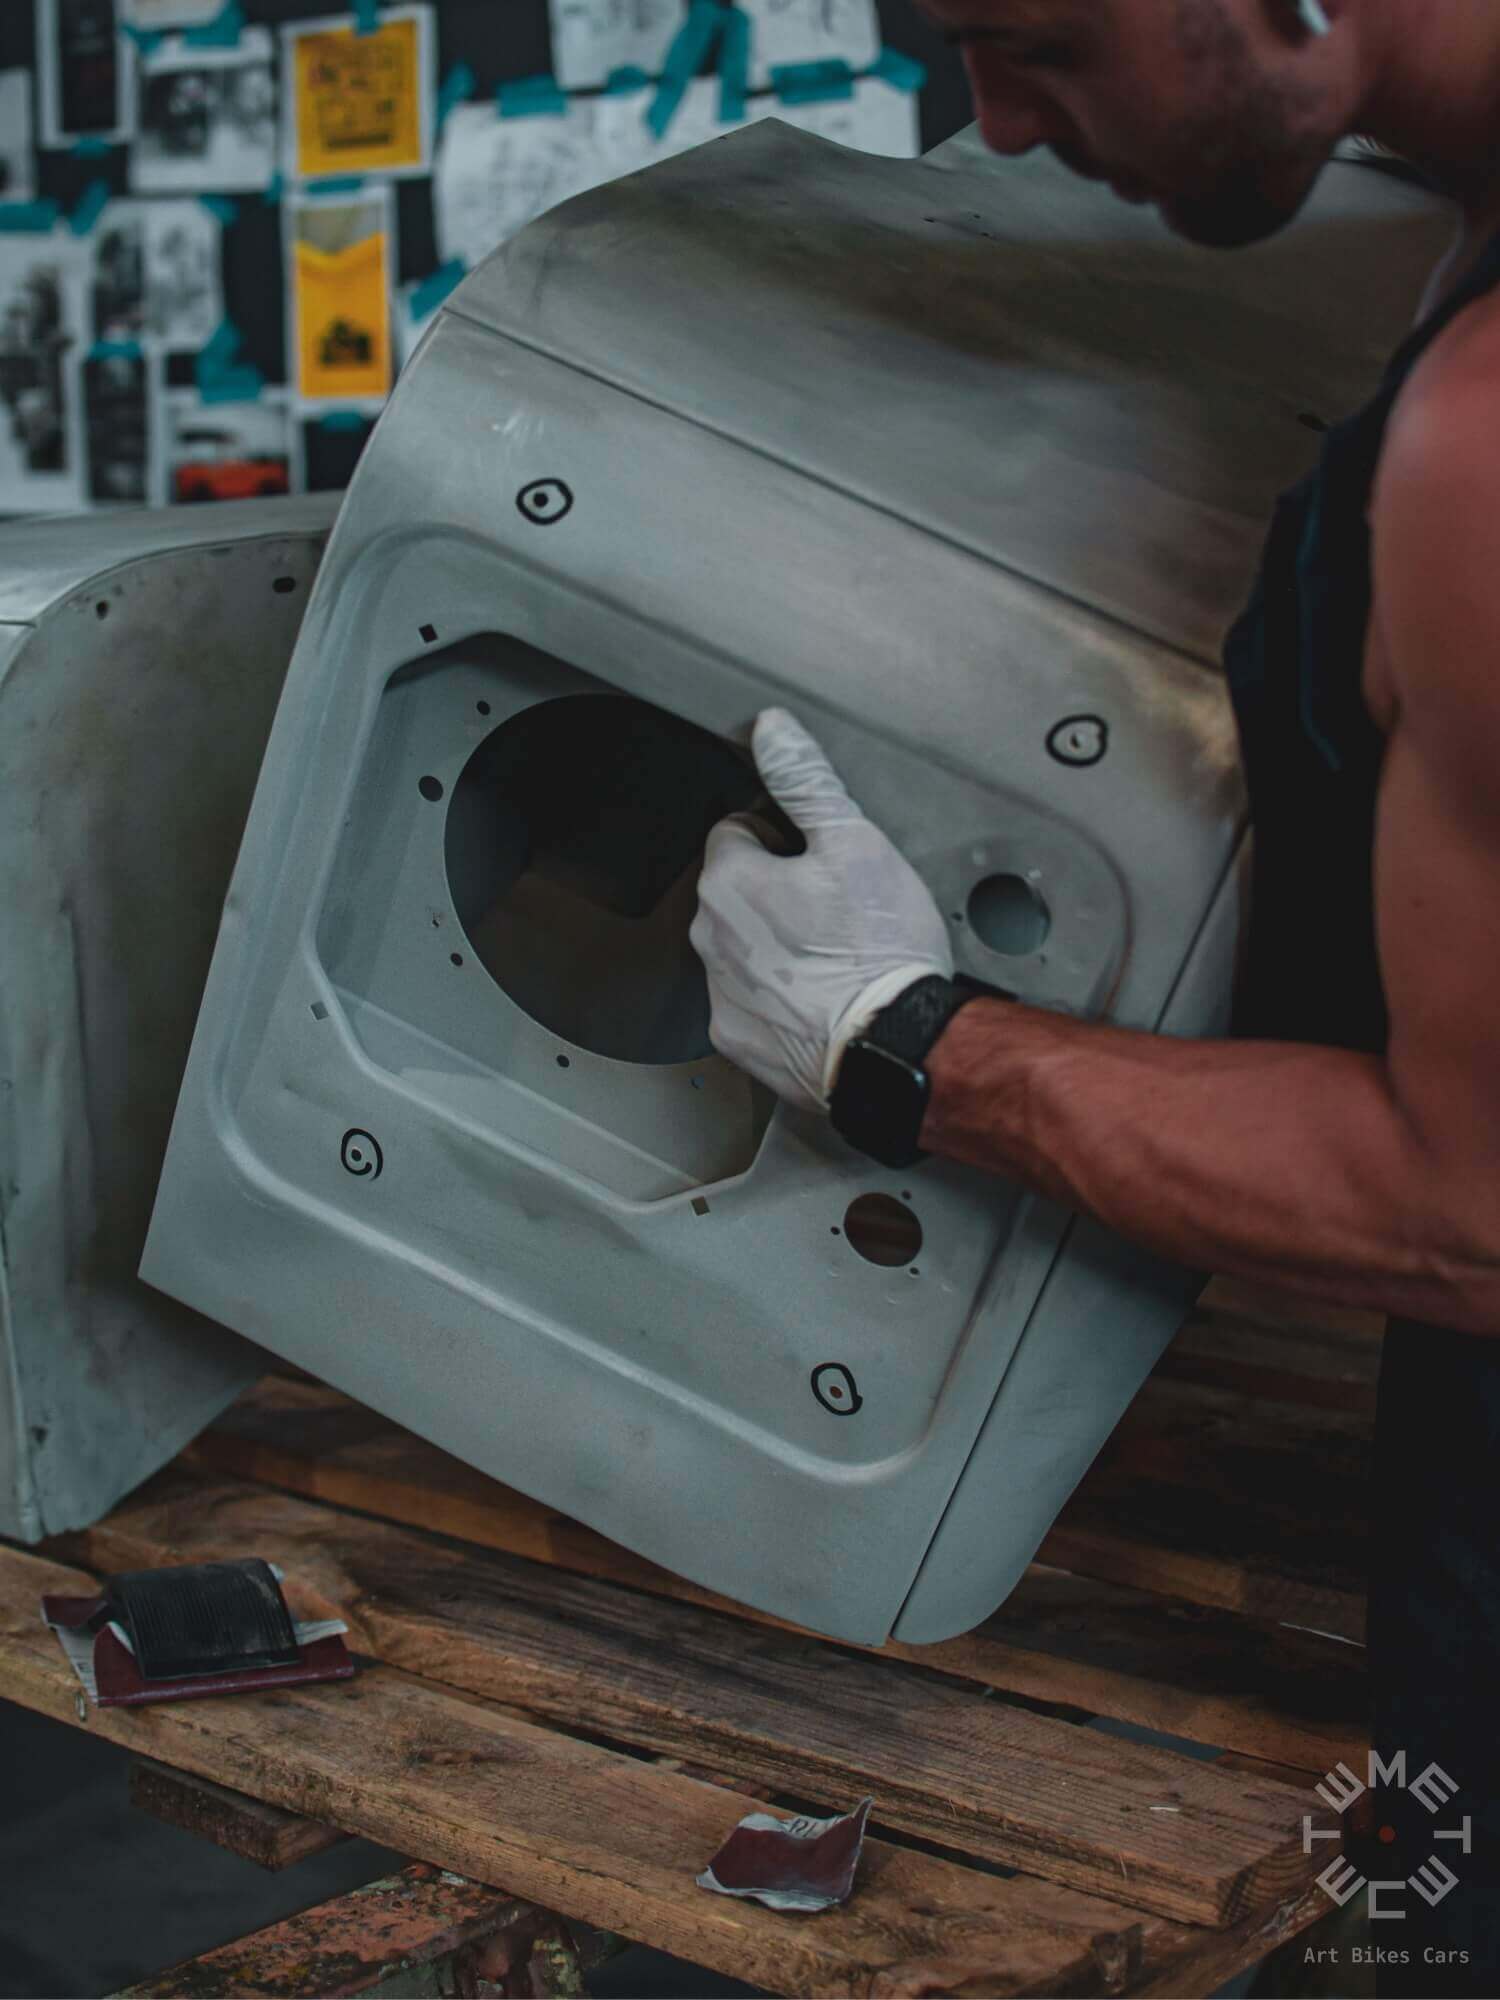
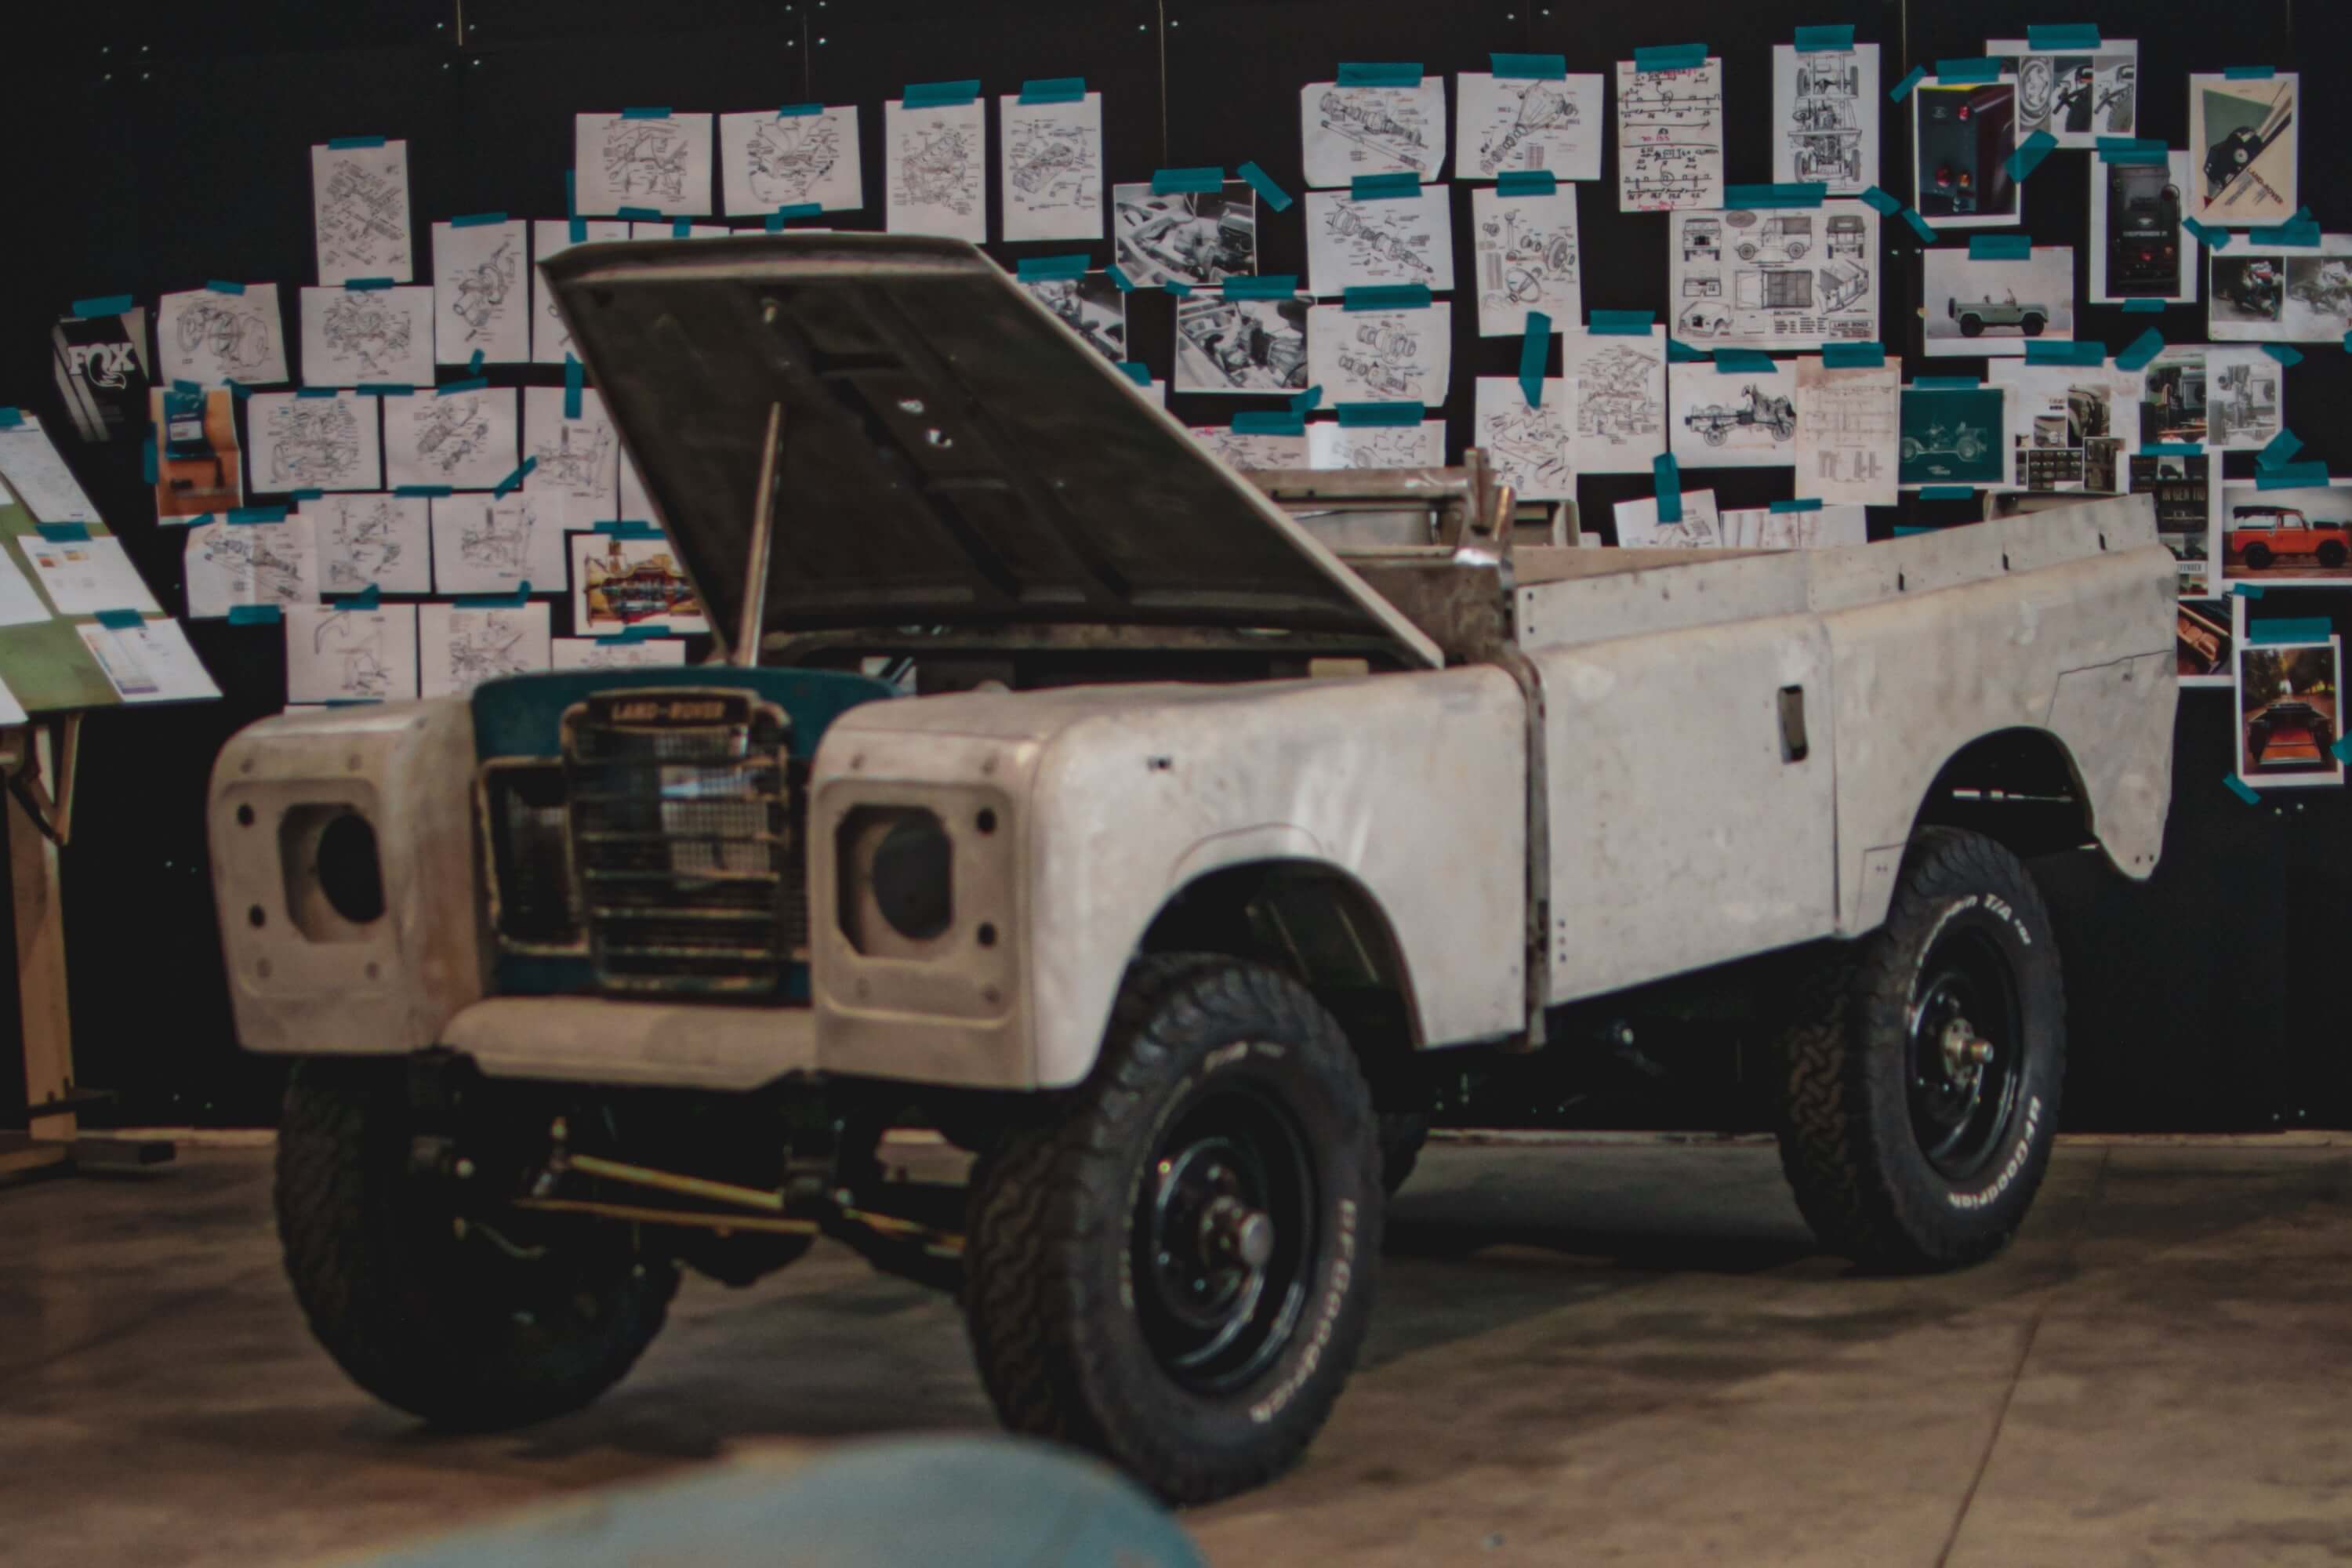
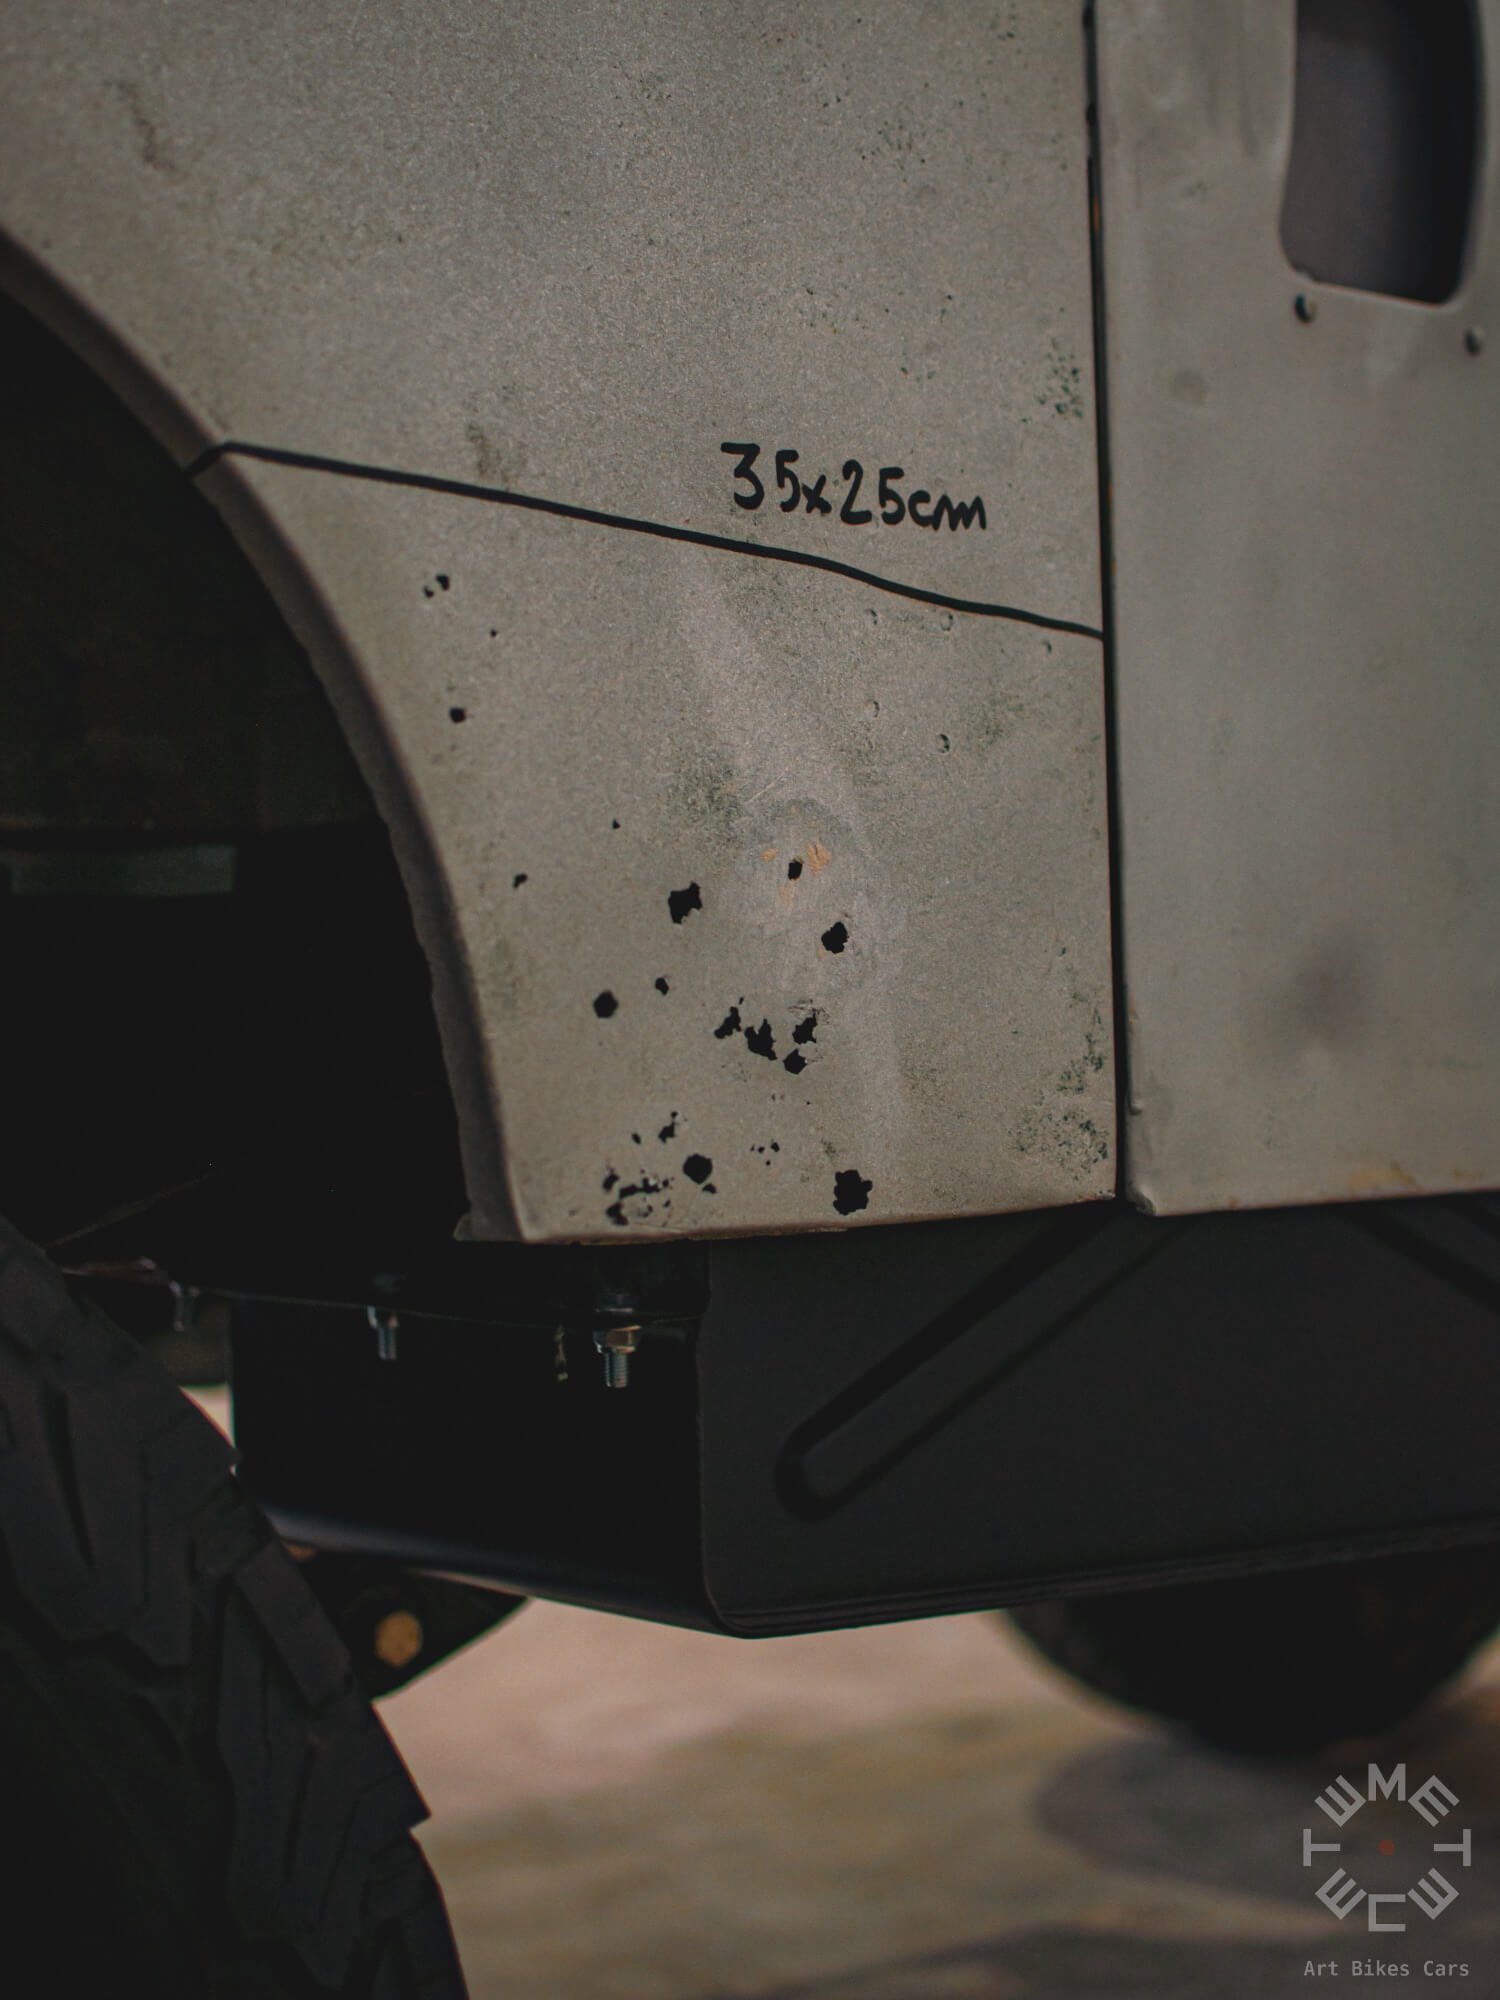
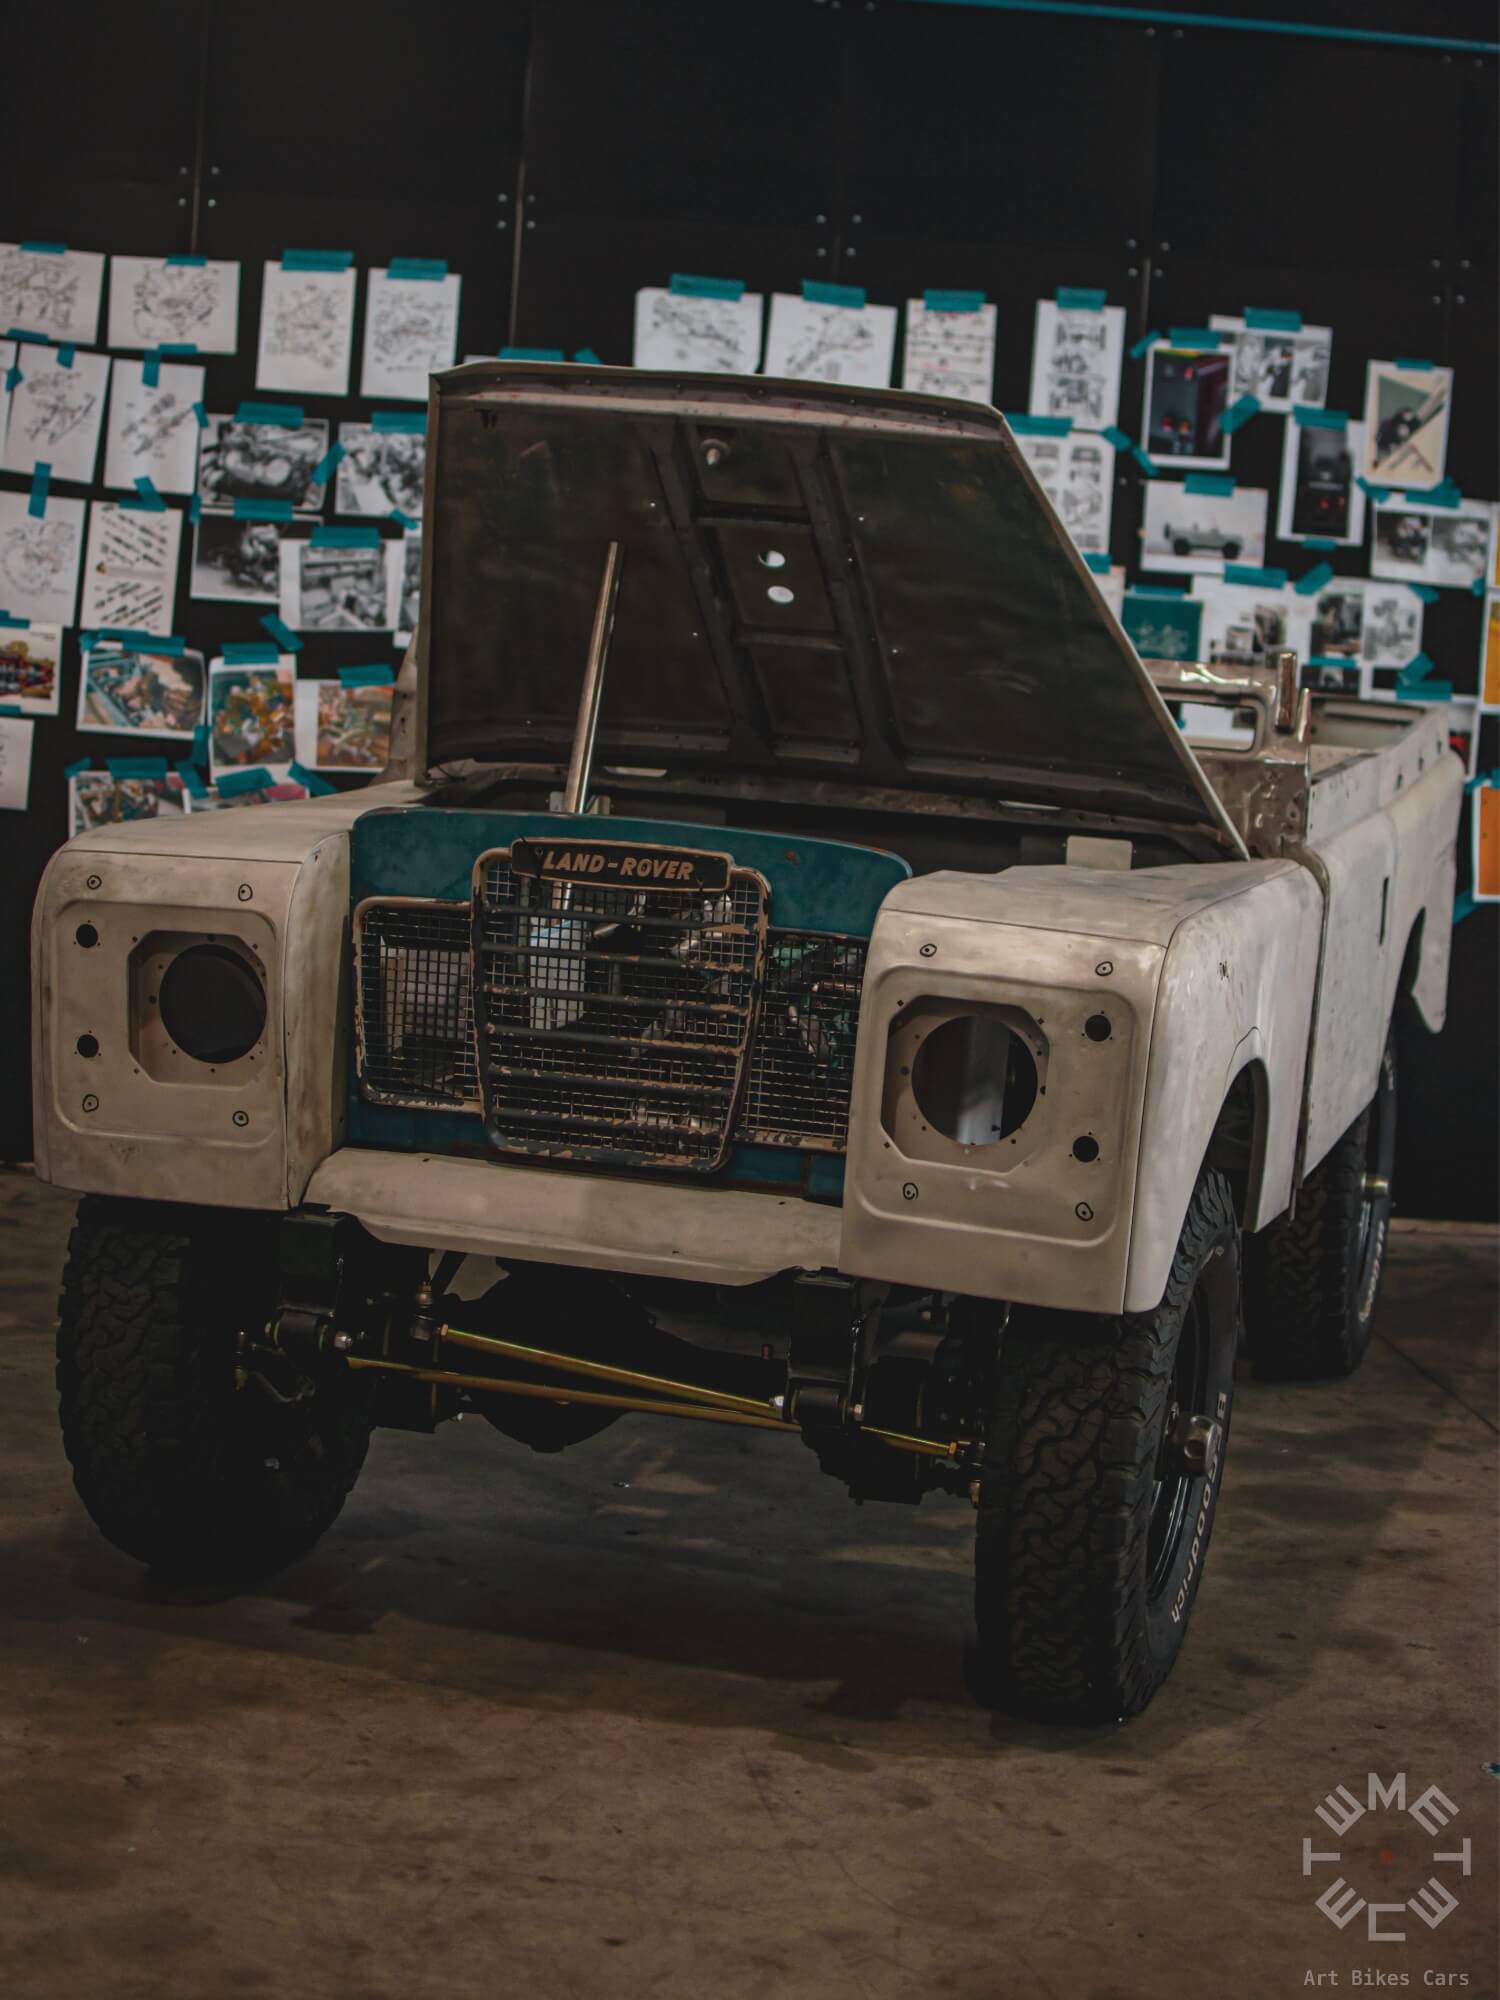
We started the bodywork makeover with a detailed assessment of the parts to identify dents, rust, and other imperfections.
The bulkhead was in poor condition, the wheel arches were from two different models (the right from a III series and the left from a II Series ),
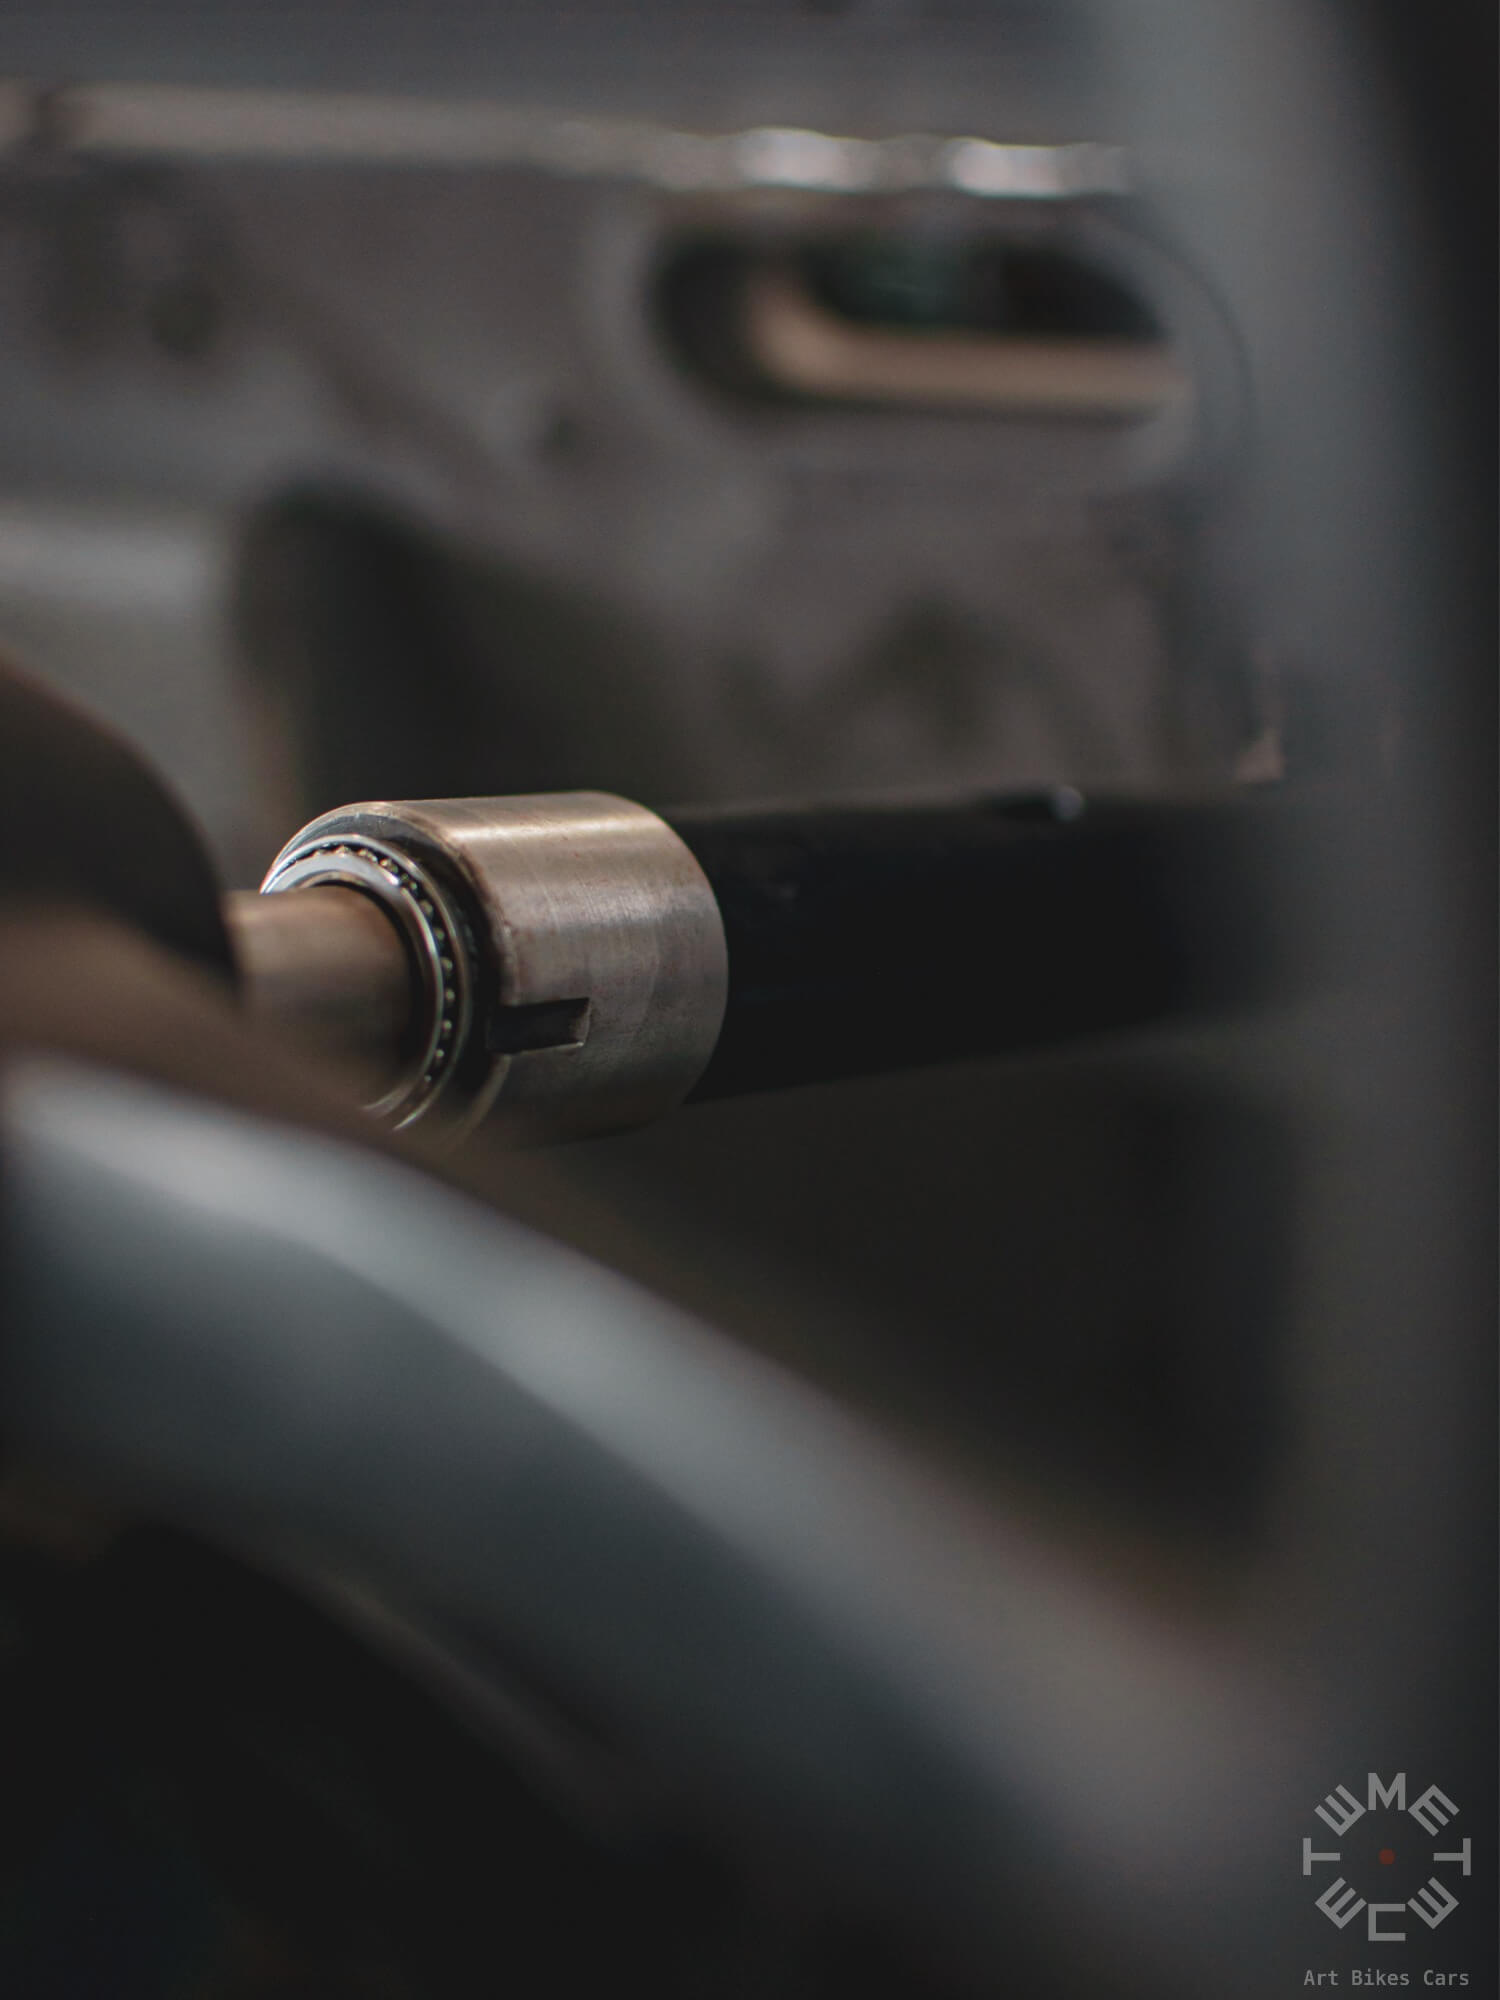
the hood was dented under the spare wheel mount, the doors were full of filler, and the rear body was completely deformed. Luckily, the gear knob was in good condition!
We sandblasted and straightened all the aluminum parts, replaced the rusted lower parts of the bulkhead, then applied an epoxy primer.
The body was then sanded to achieve a smooth and even surface. More than 300 hours of work were invested in these tasks because we did not want to use filler!

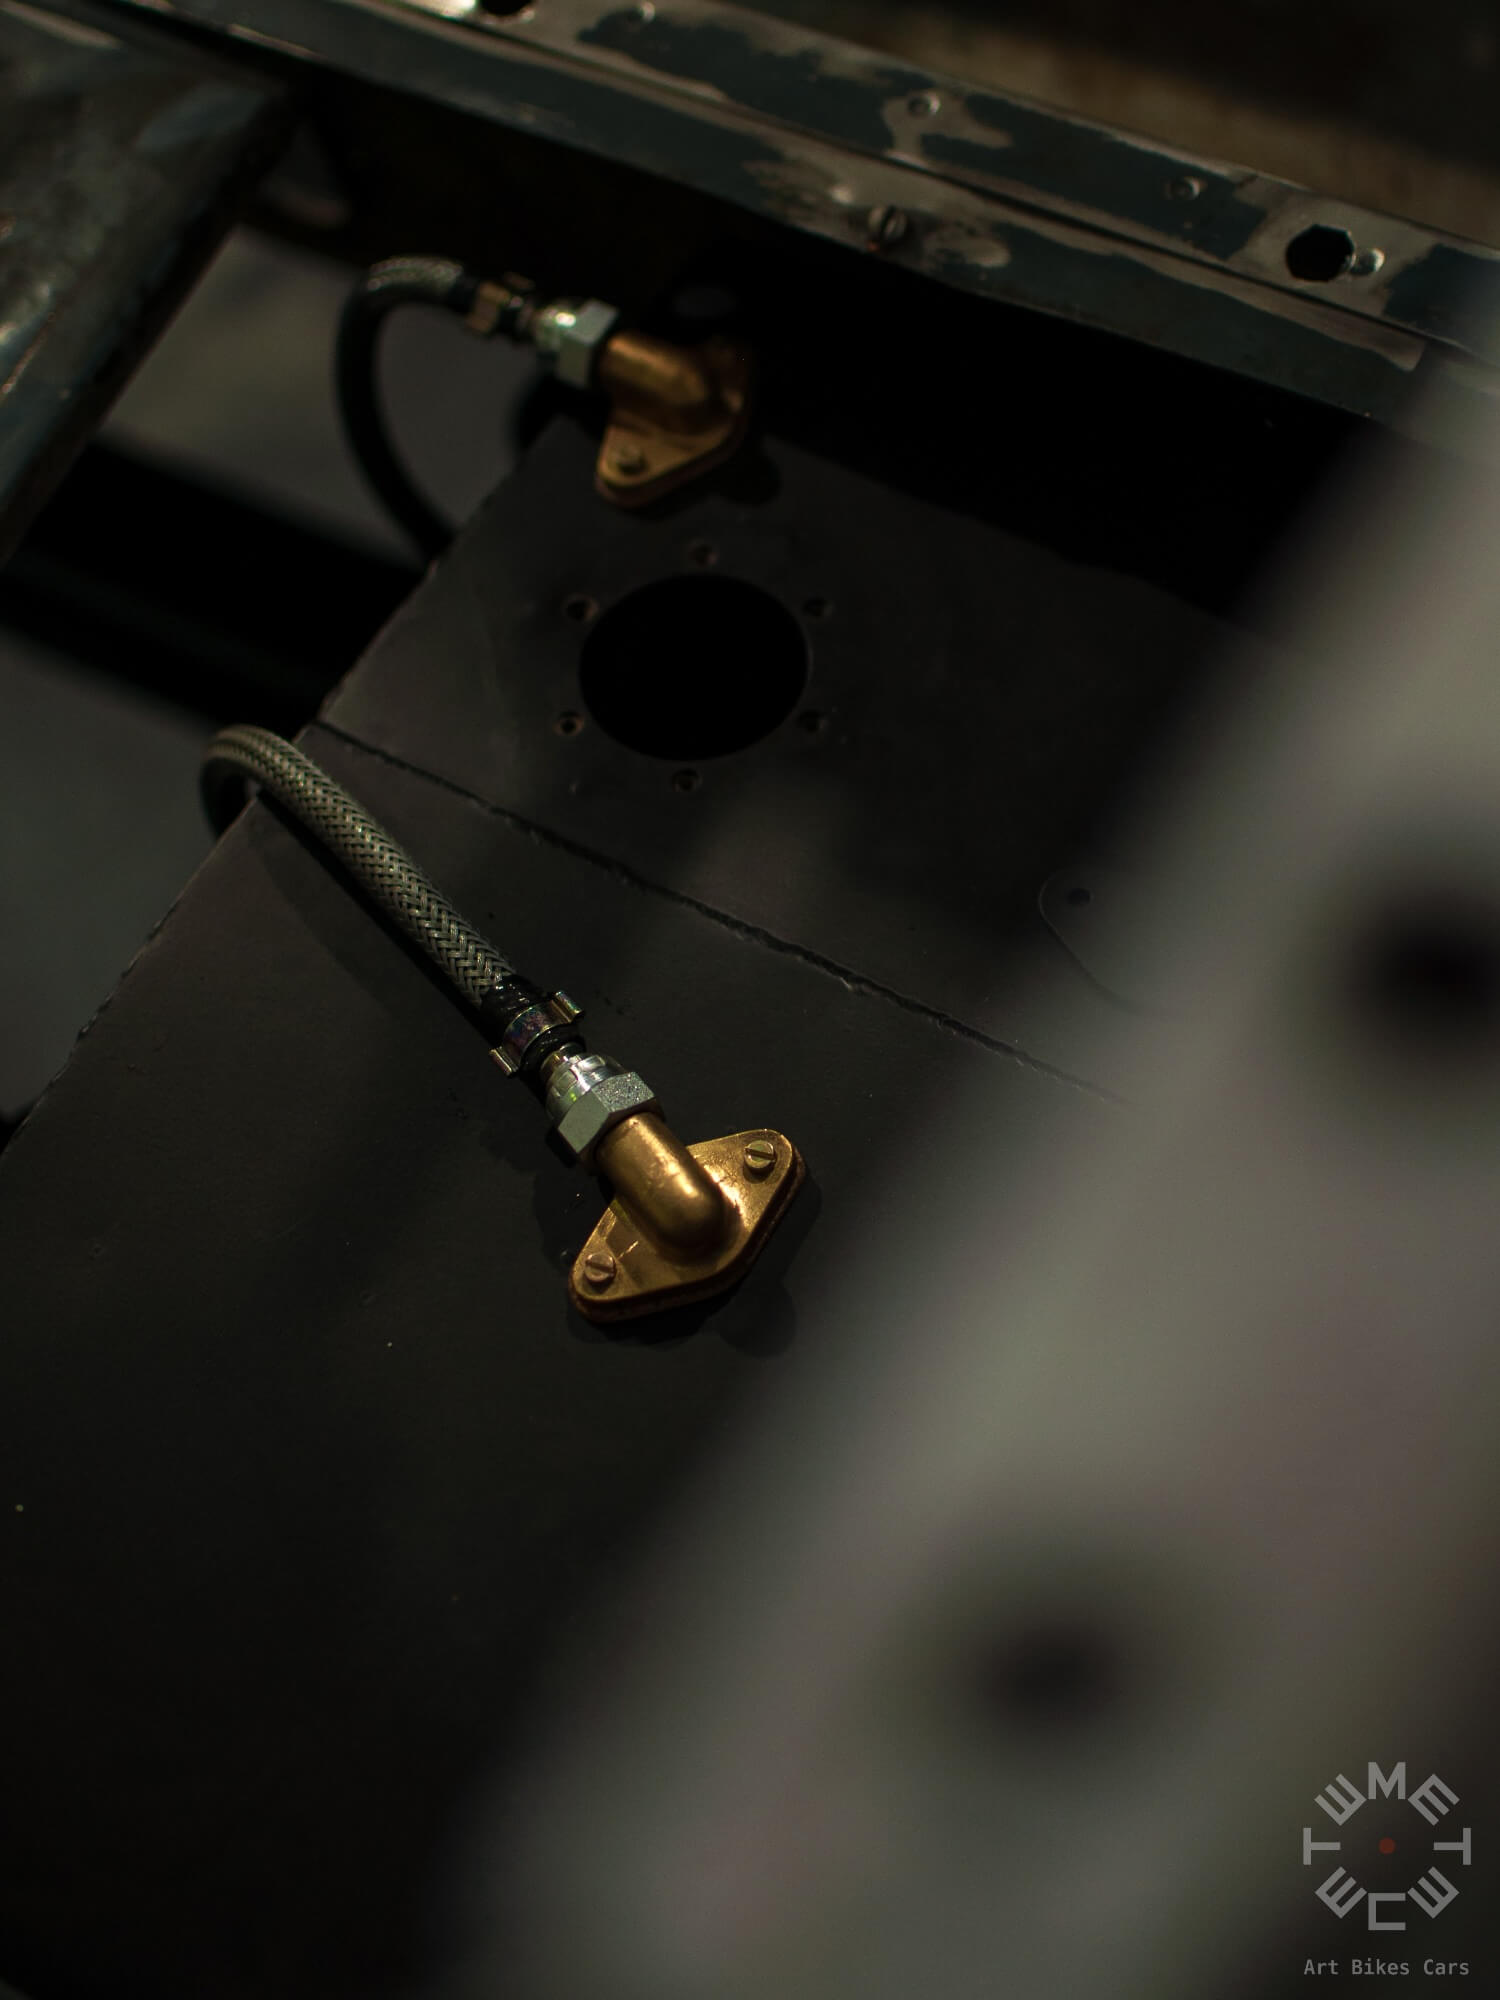
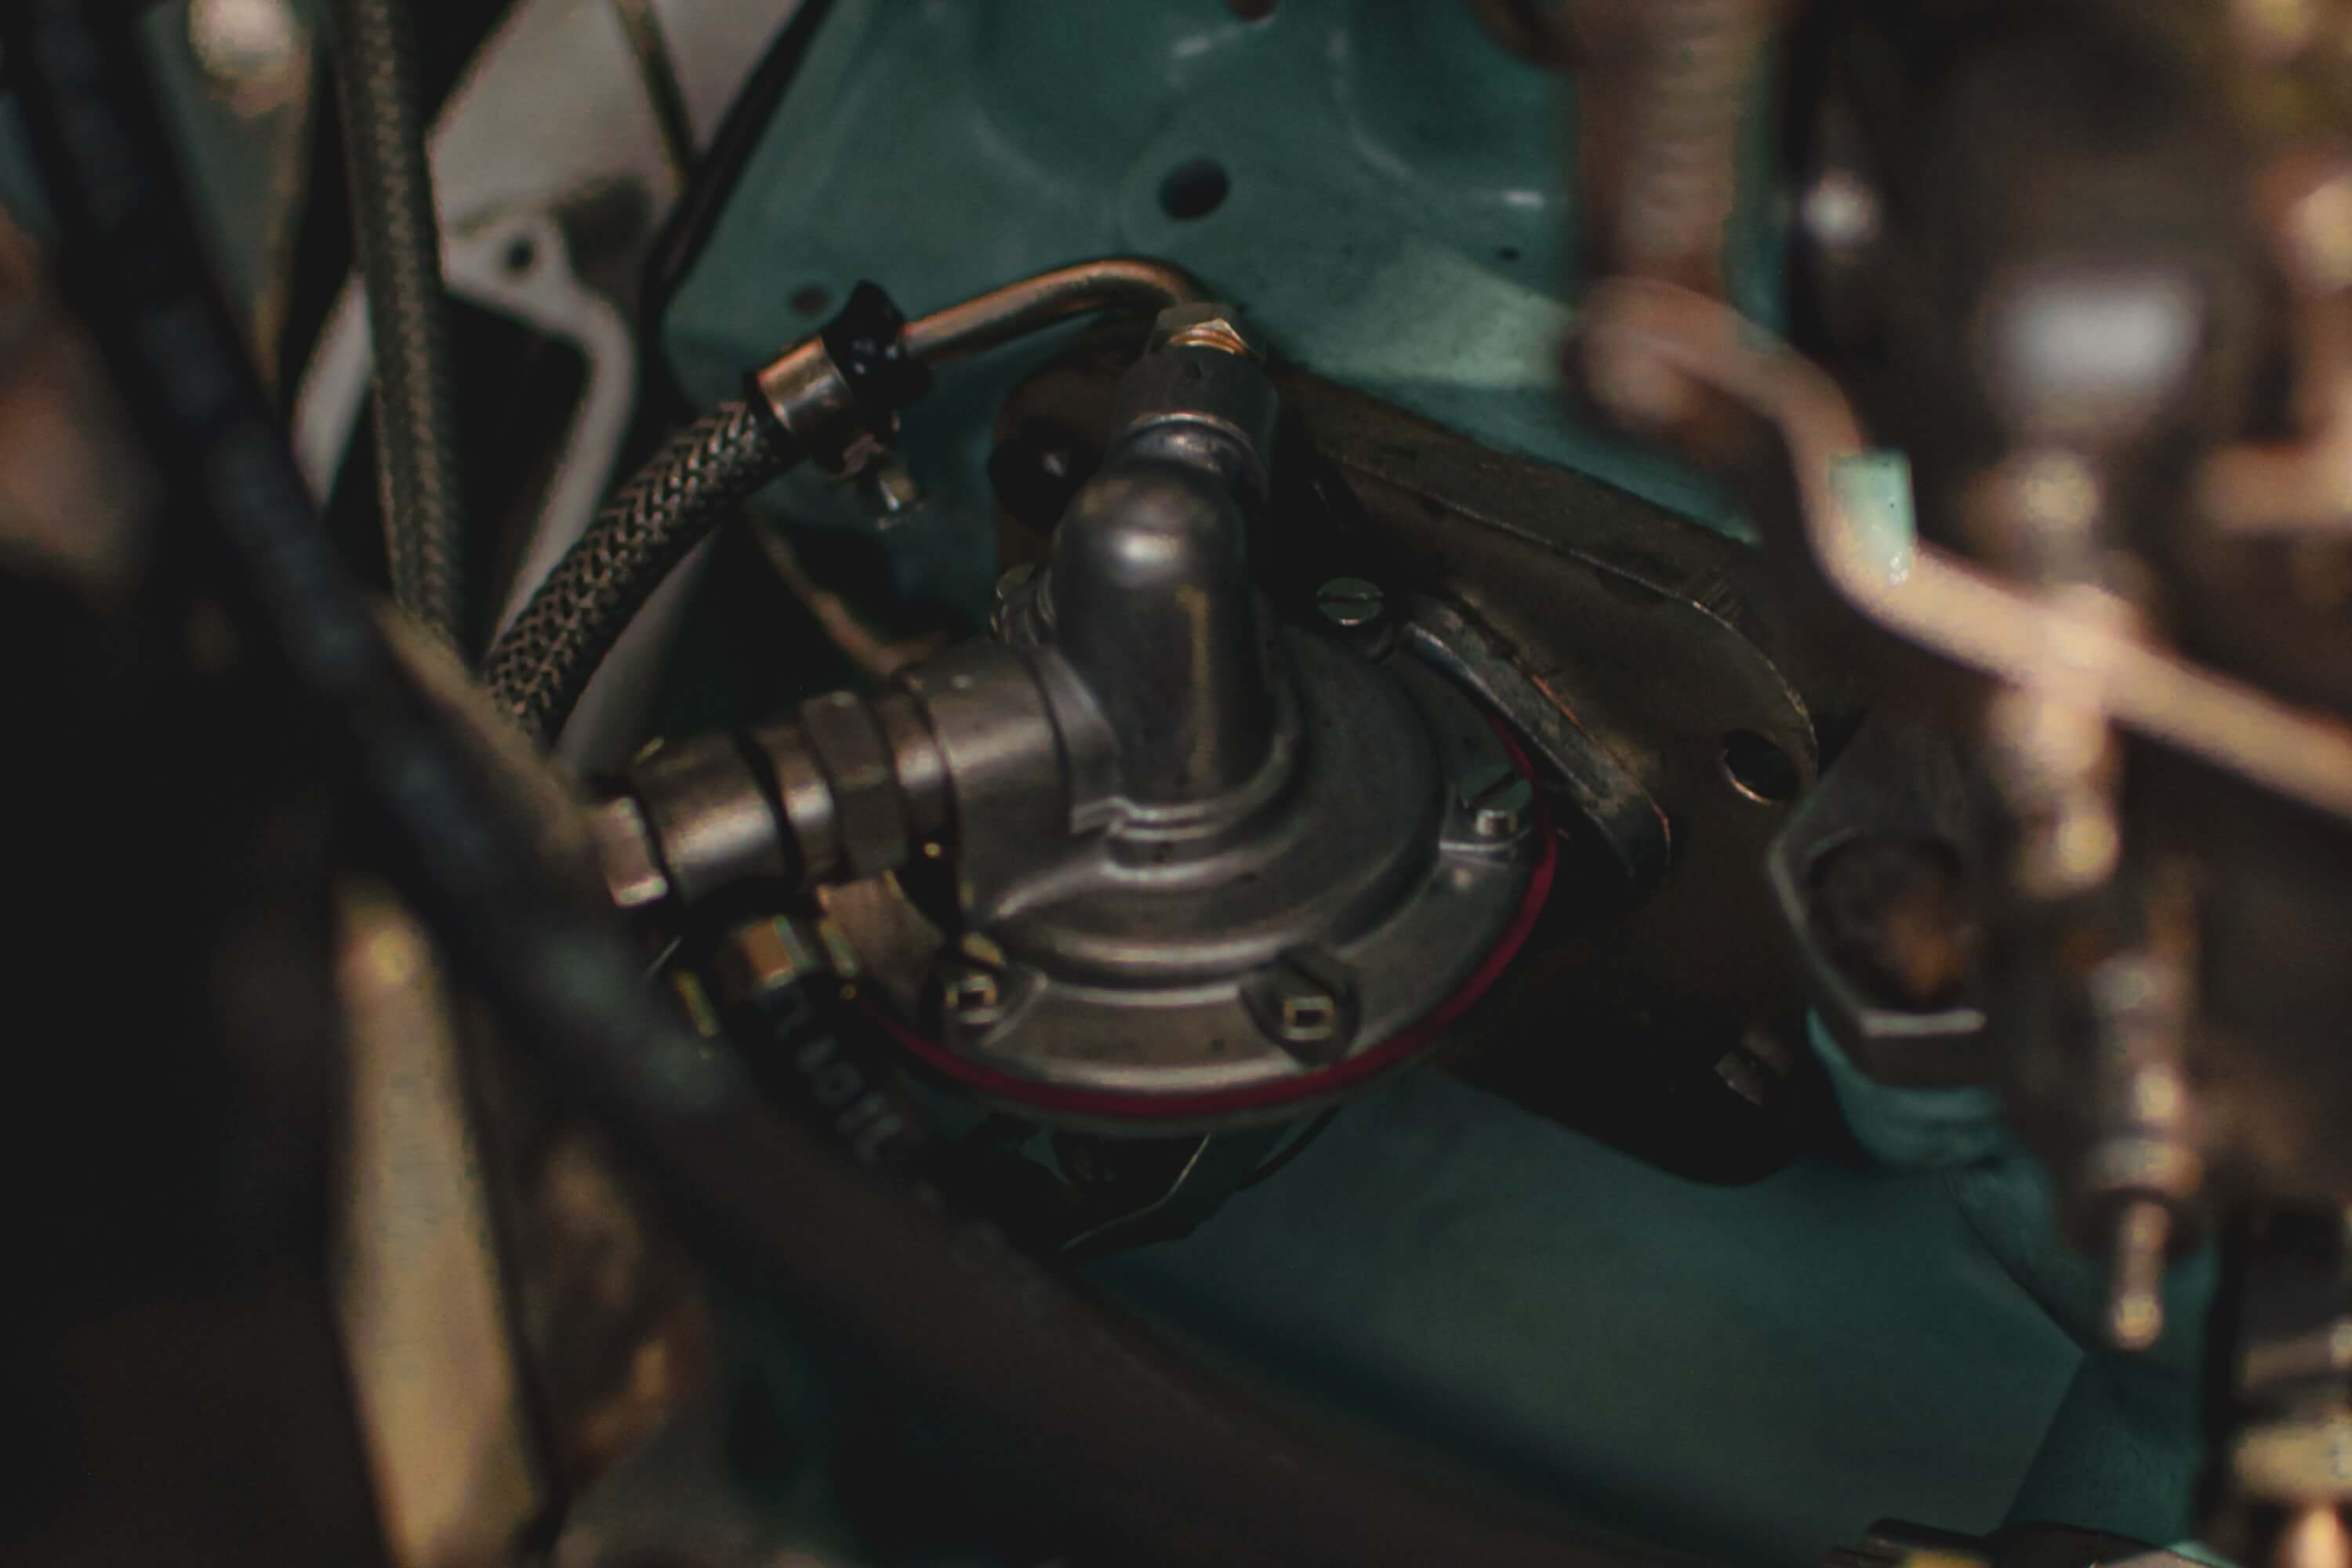
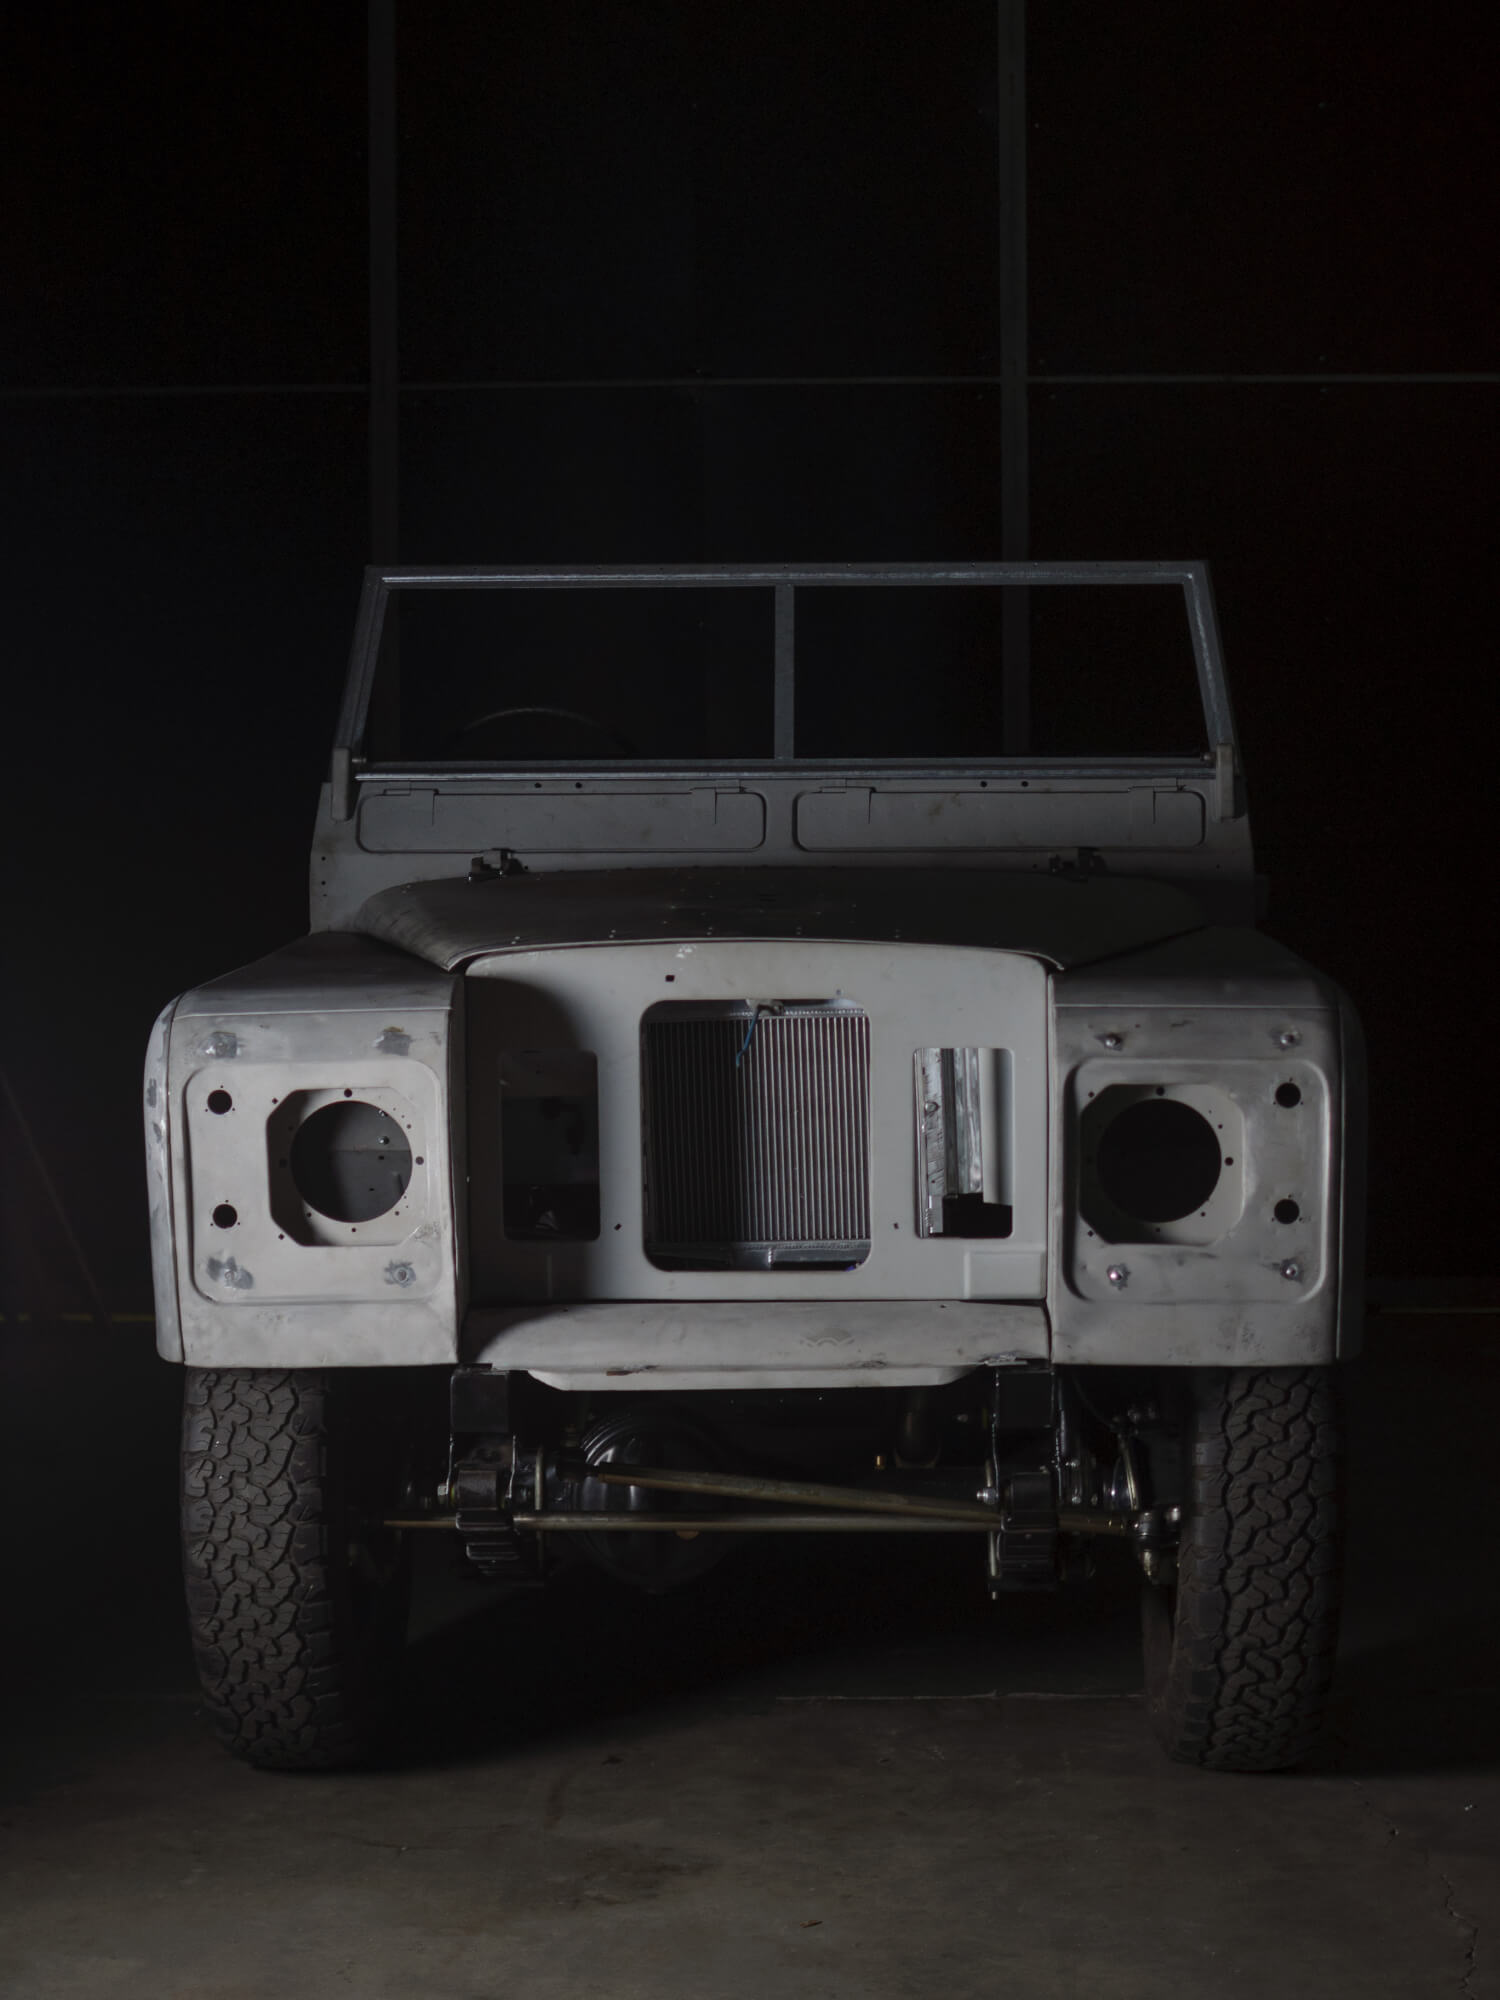
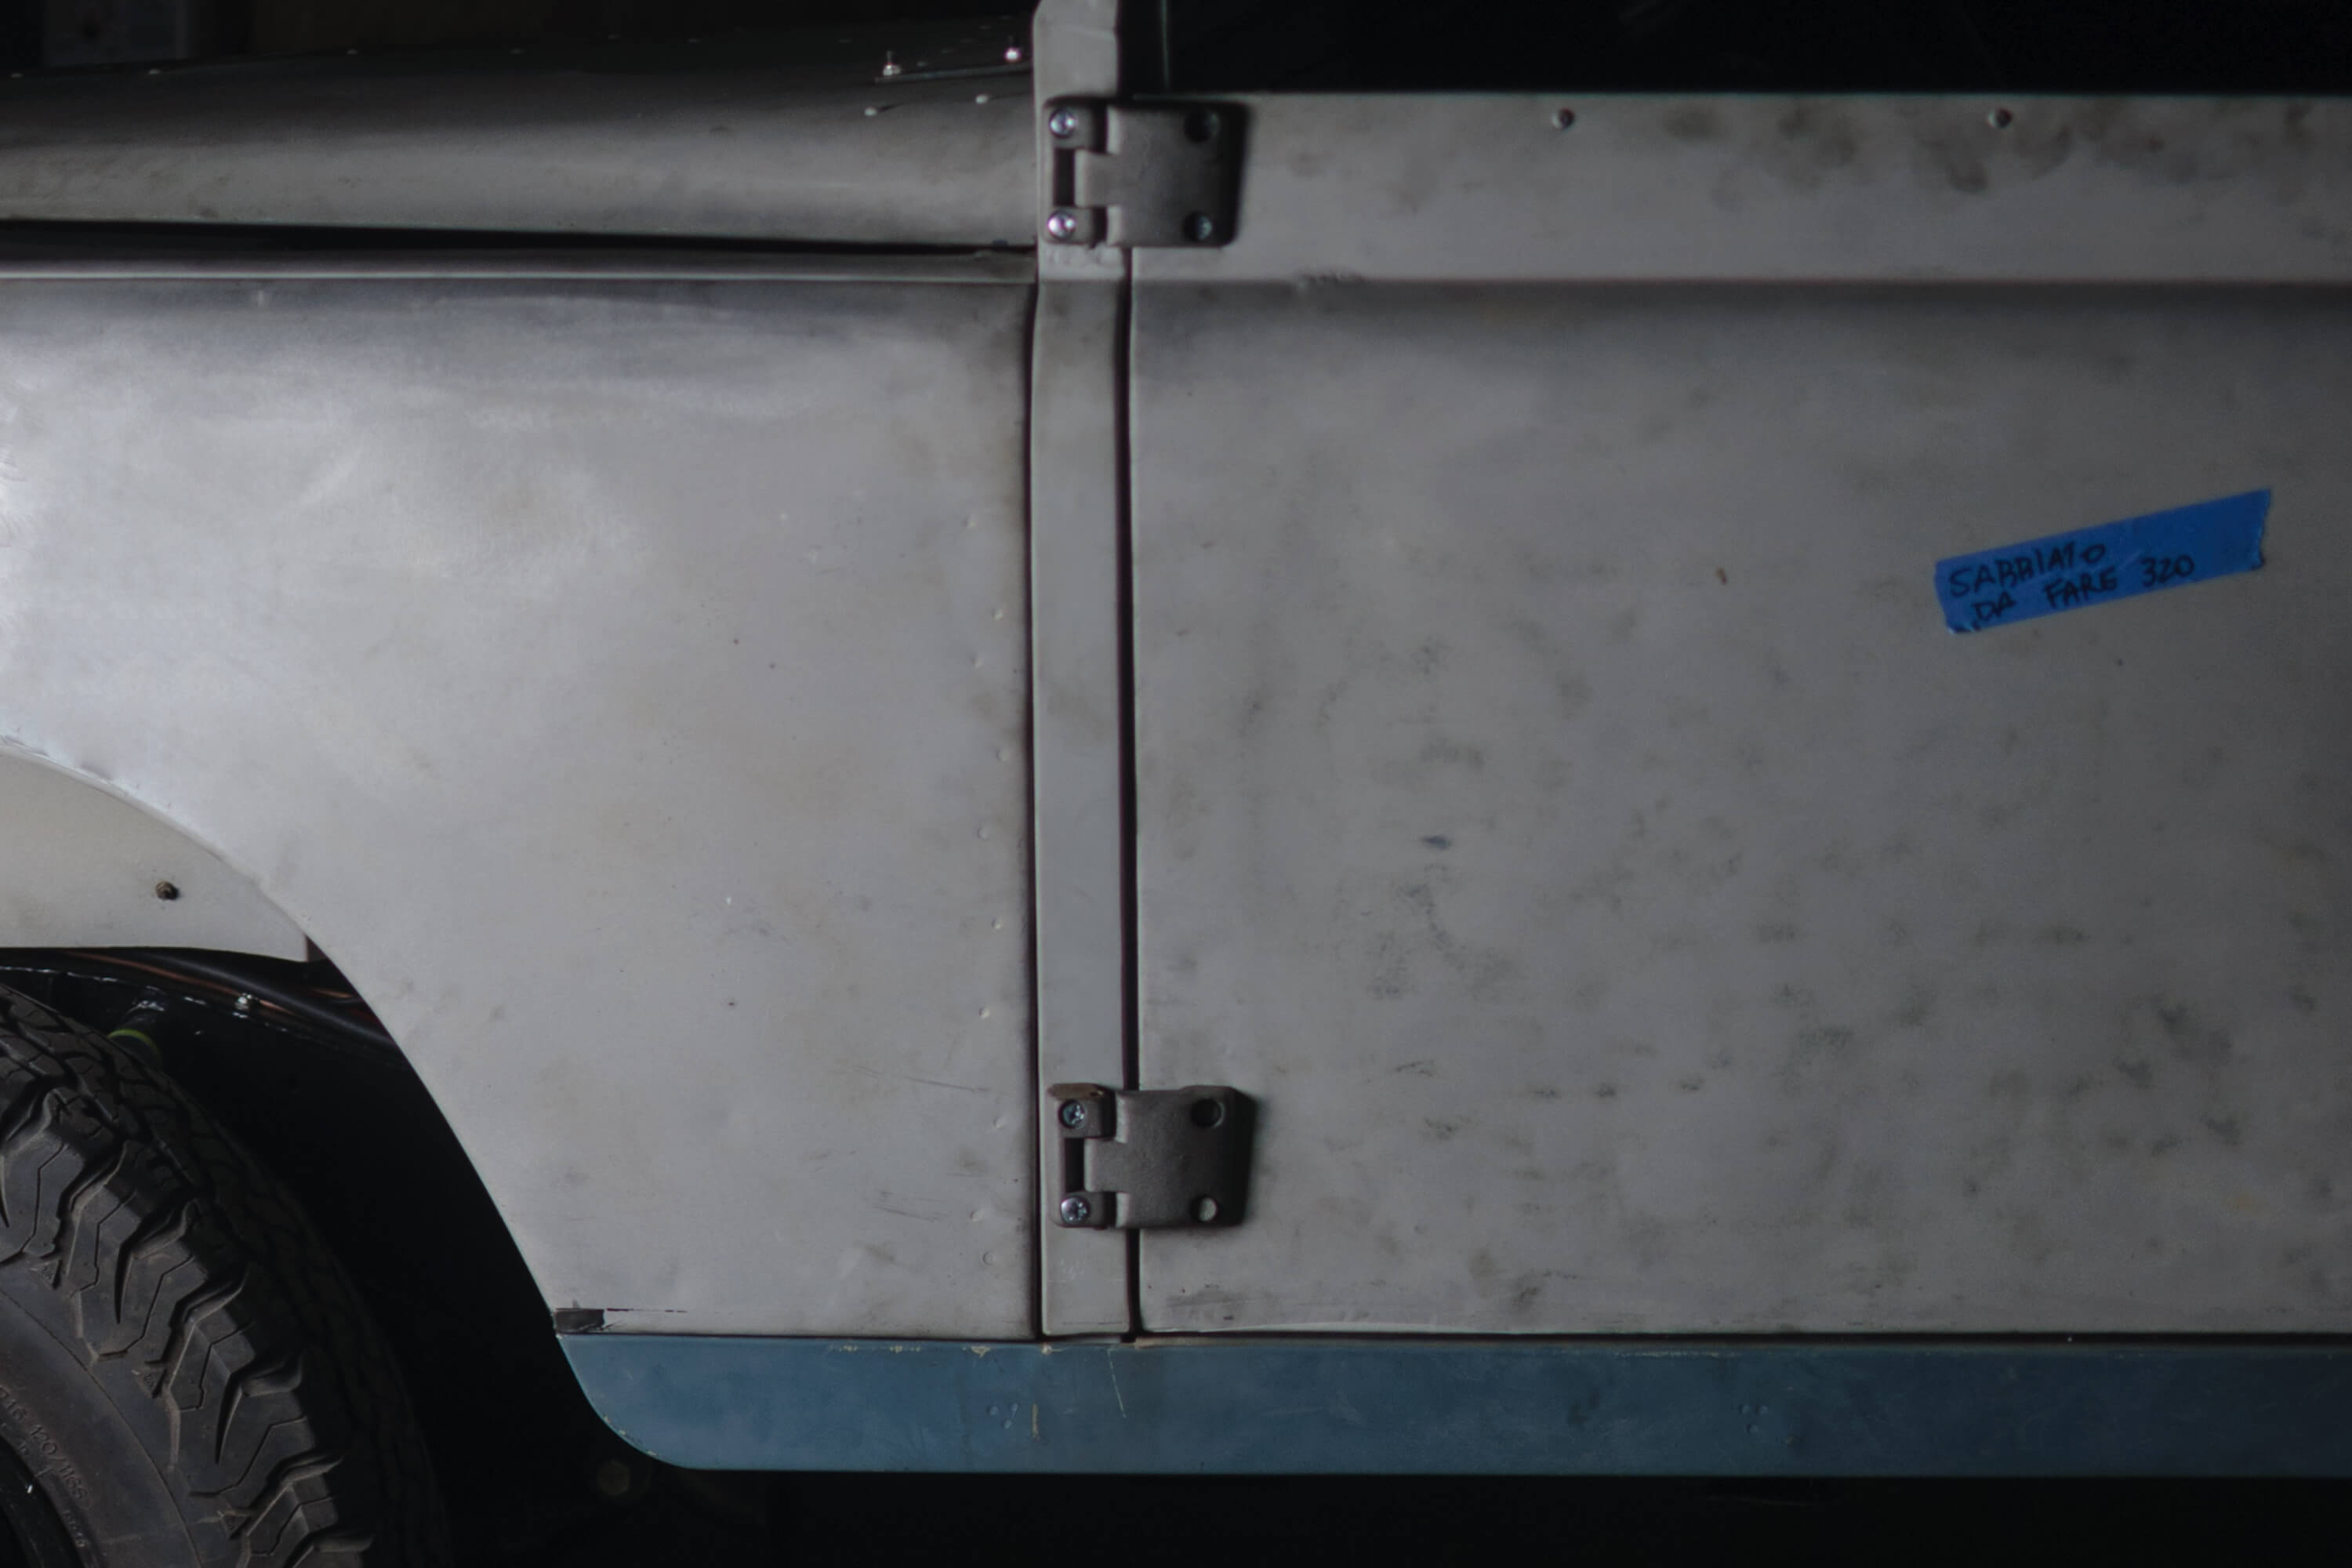
And now?
Now we’re really close. The engine hums perfectly, the gearbox shifts smoothly, and the bodywork is finally taking shape.
After so much effort, the dream is starting to feel real.
Before us lies a complex puzzle, an intricate game of pieces that must be carefully placed to bring something unique to life.
Every bolt tightened, every line drawn brings the car closer to its final form.
A friend, looking at the project, estimated that we’re only 40% done. But I refuse to believe it.
I can almost hear the engine roaring on the road, imagine the sun reflecting off the paint—still to be chosen.
The finish line is near, yet a hint of nostalgia blends with my excitement.
Just one last push. Let’s put everything together, leaving the details for later.
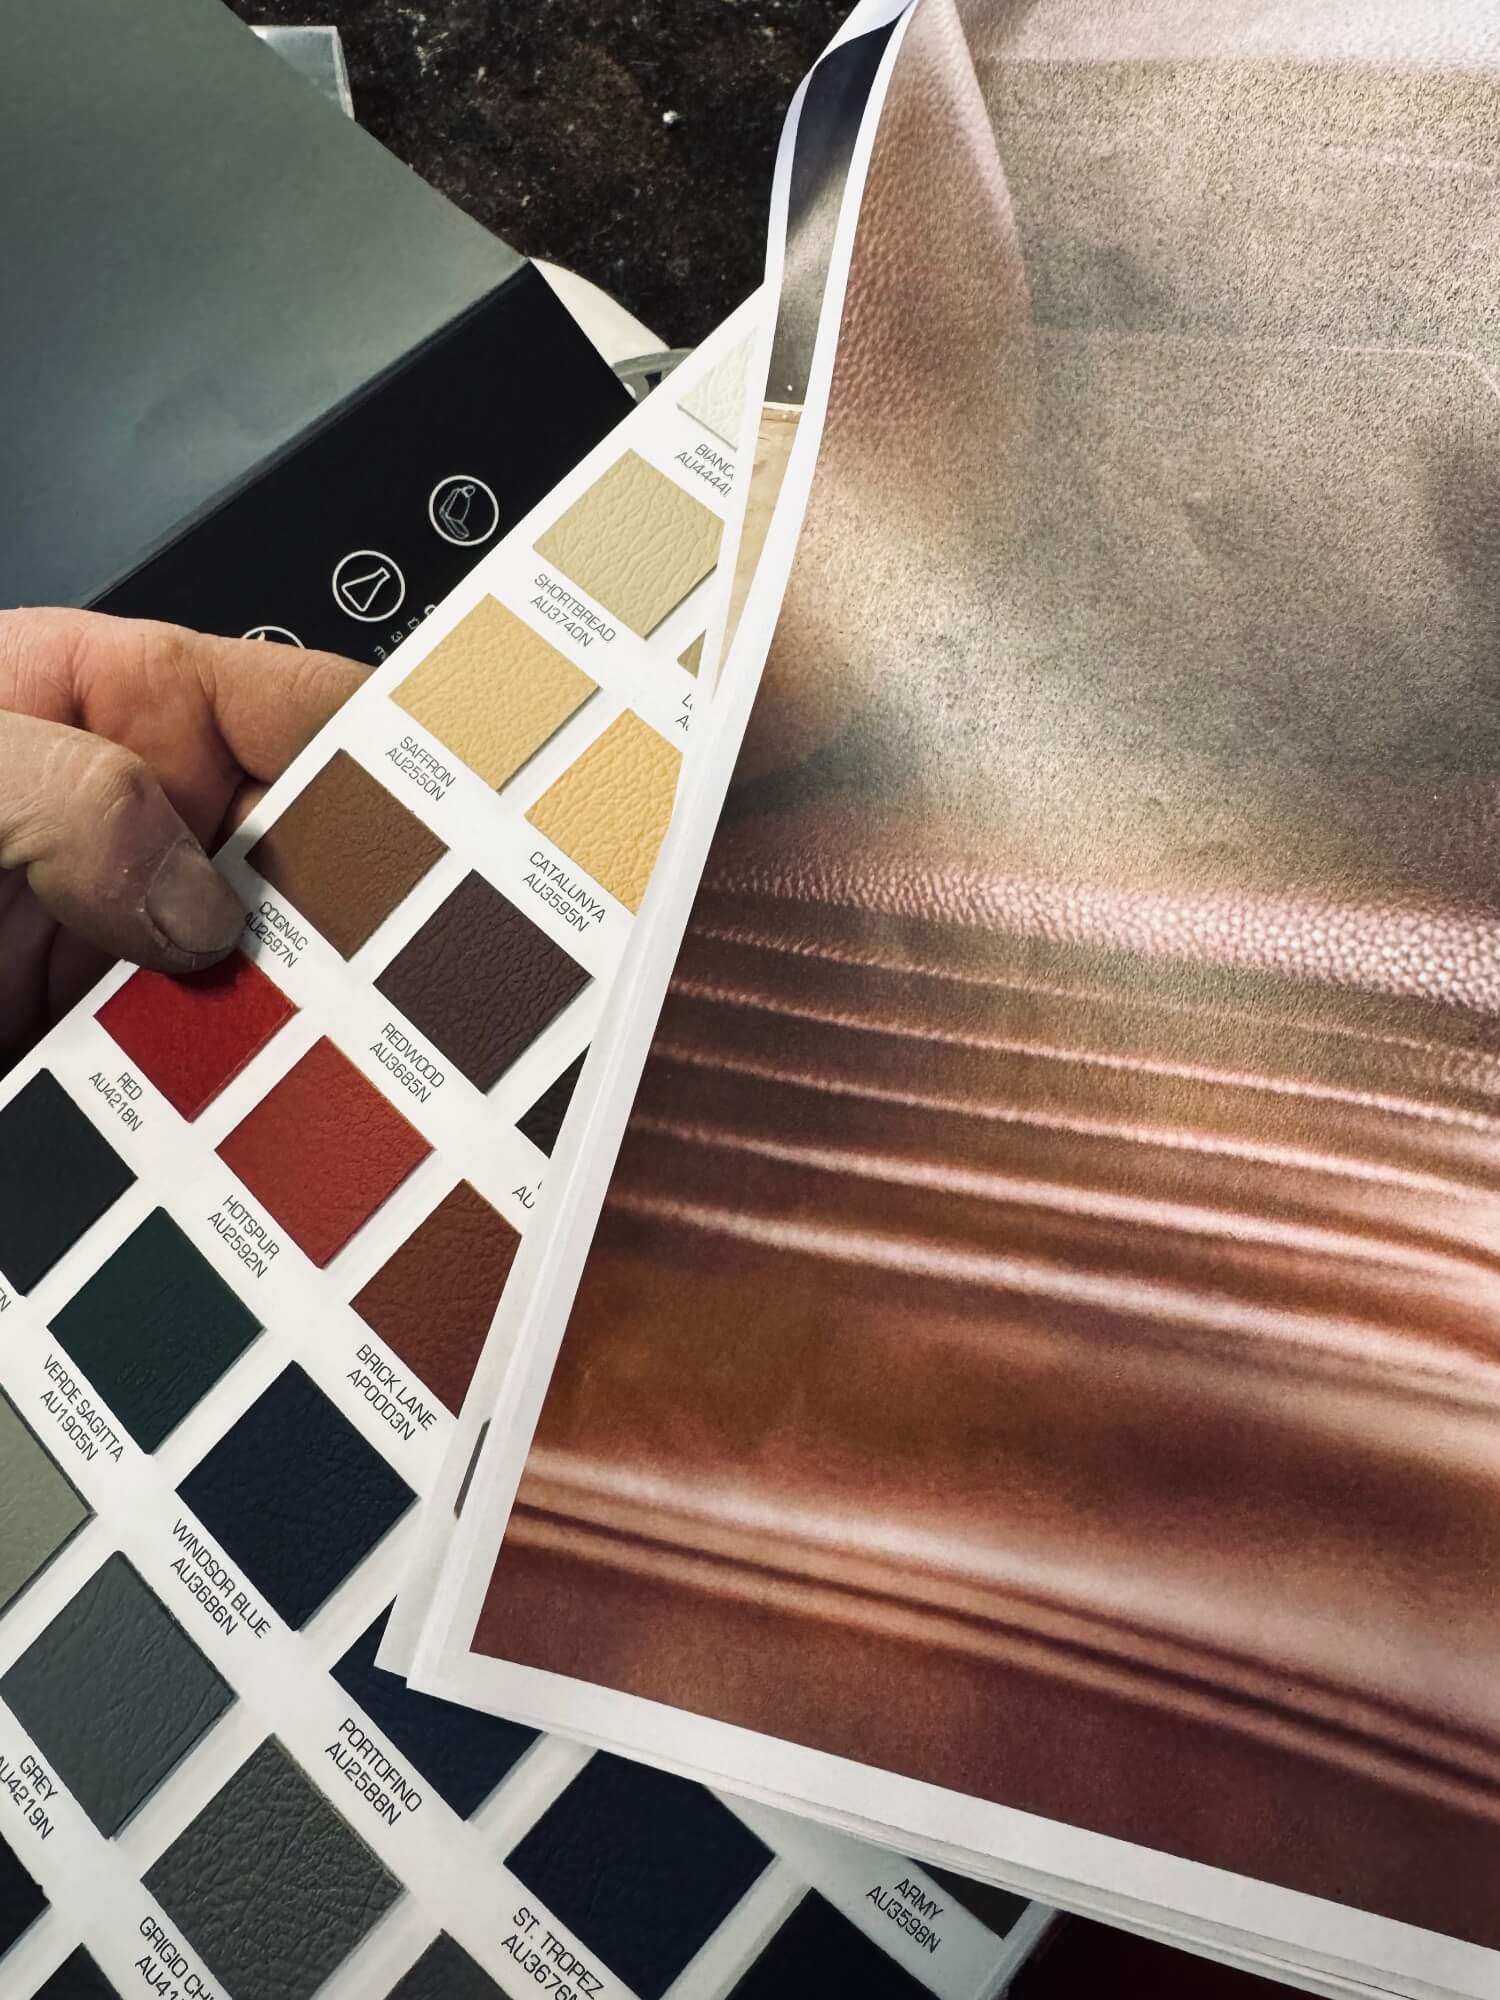
The moment I’ve been waiting for is almost here: choosing the color of the bodywork and the leather for the interior.
It will be the final brushstroke on a masterpiece coming to life under my hands.

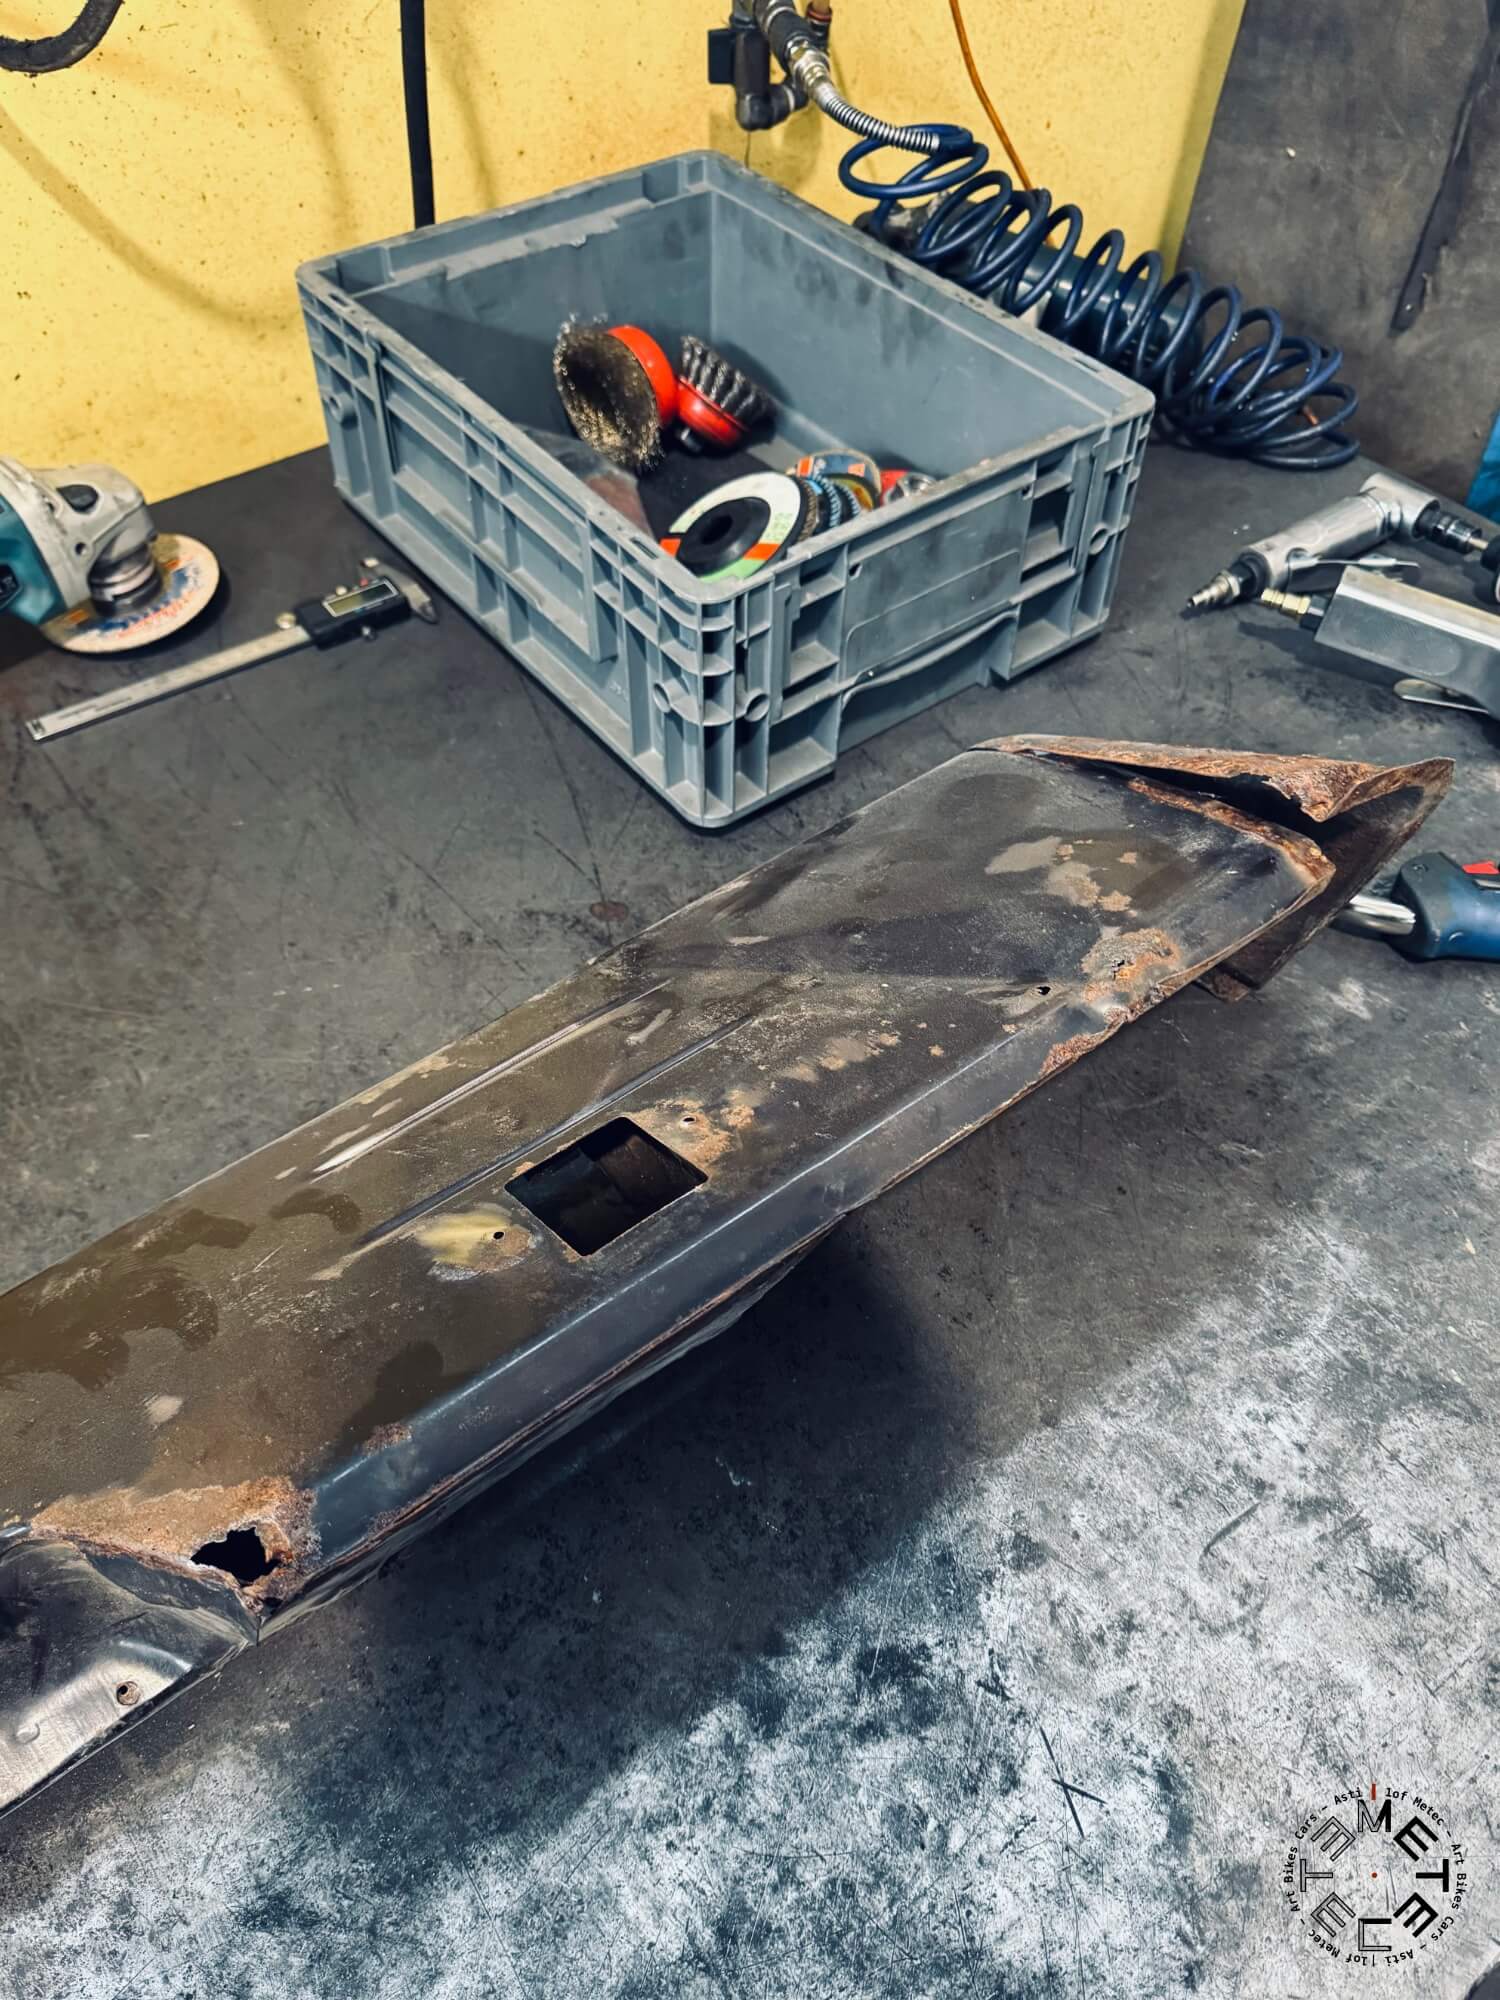
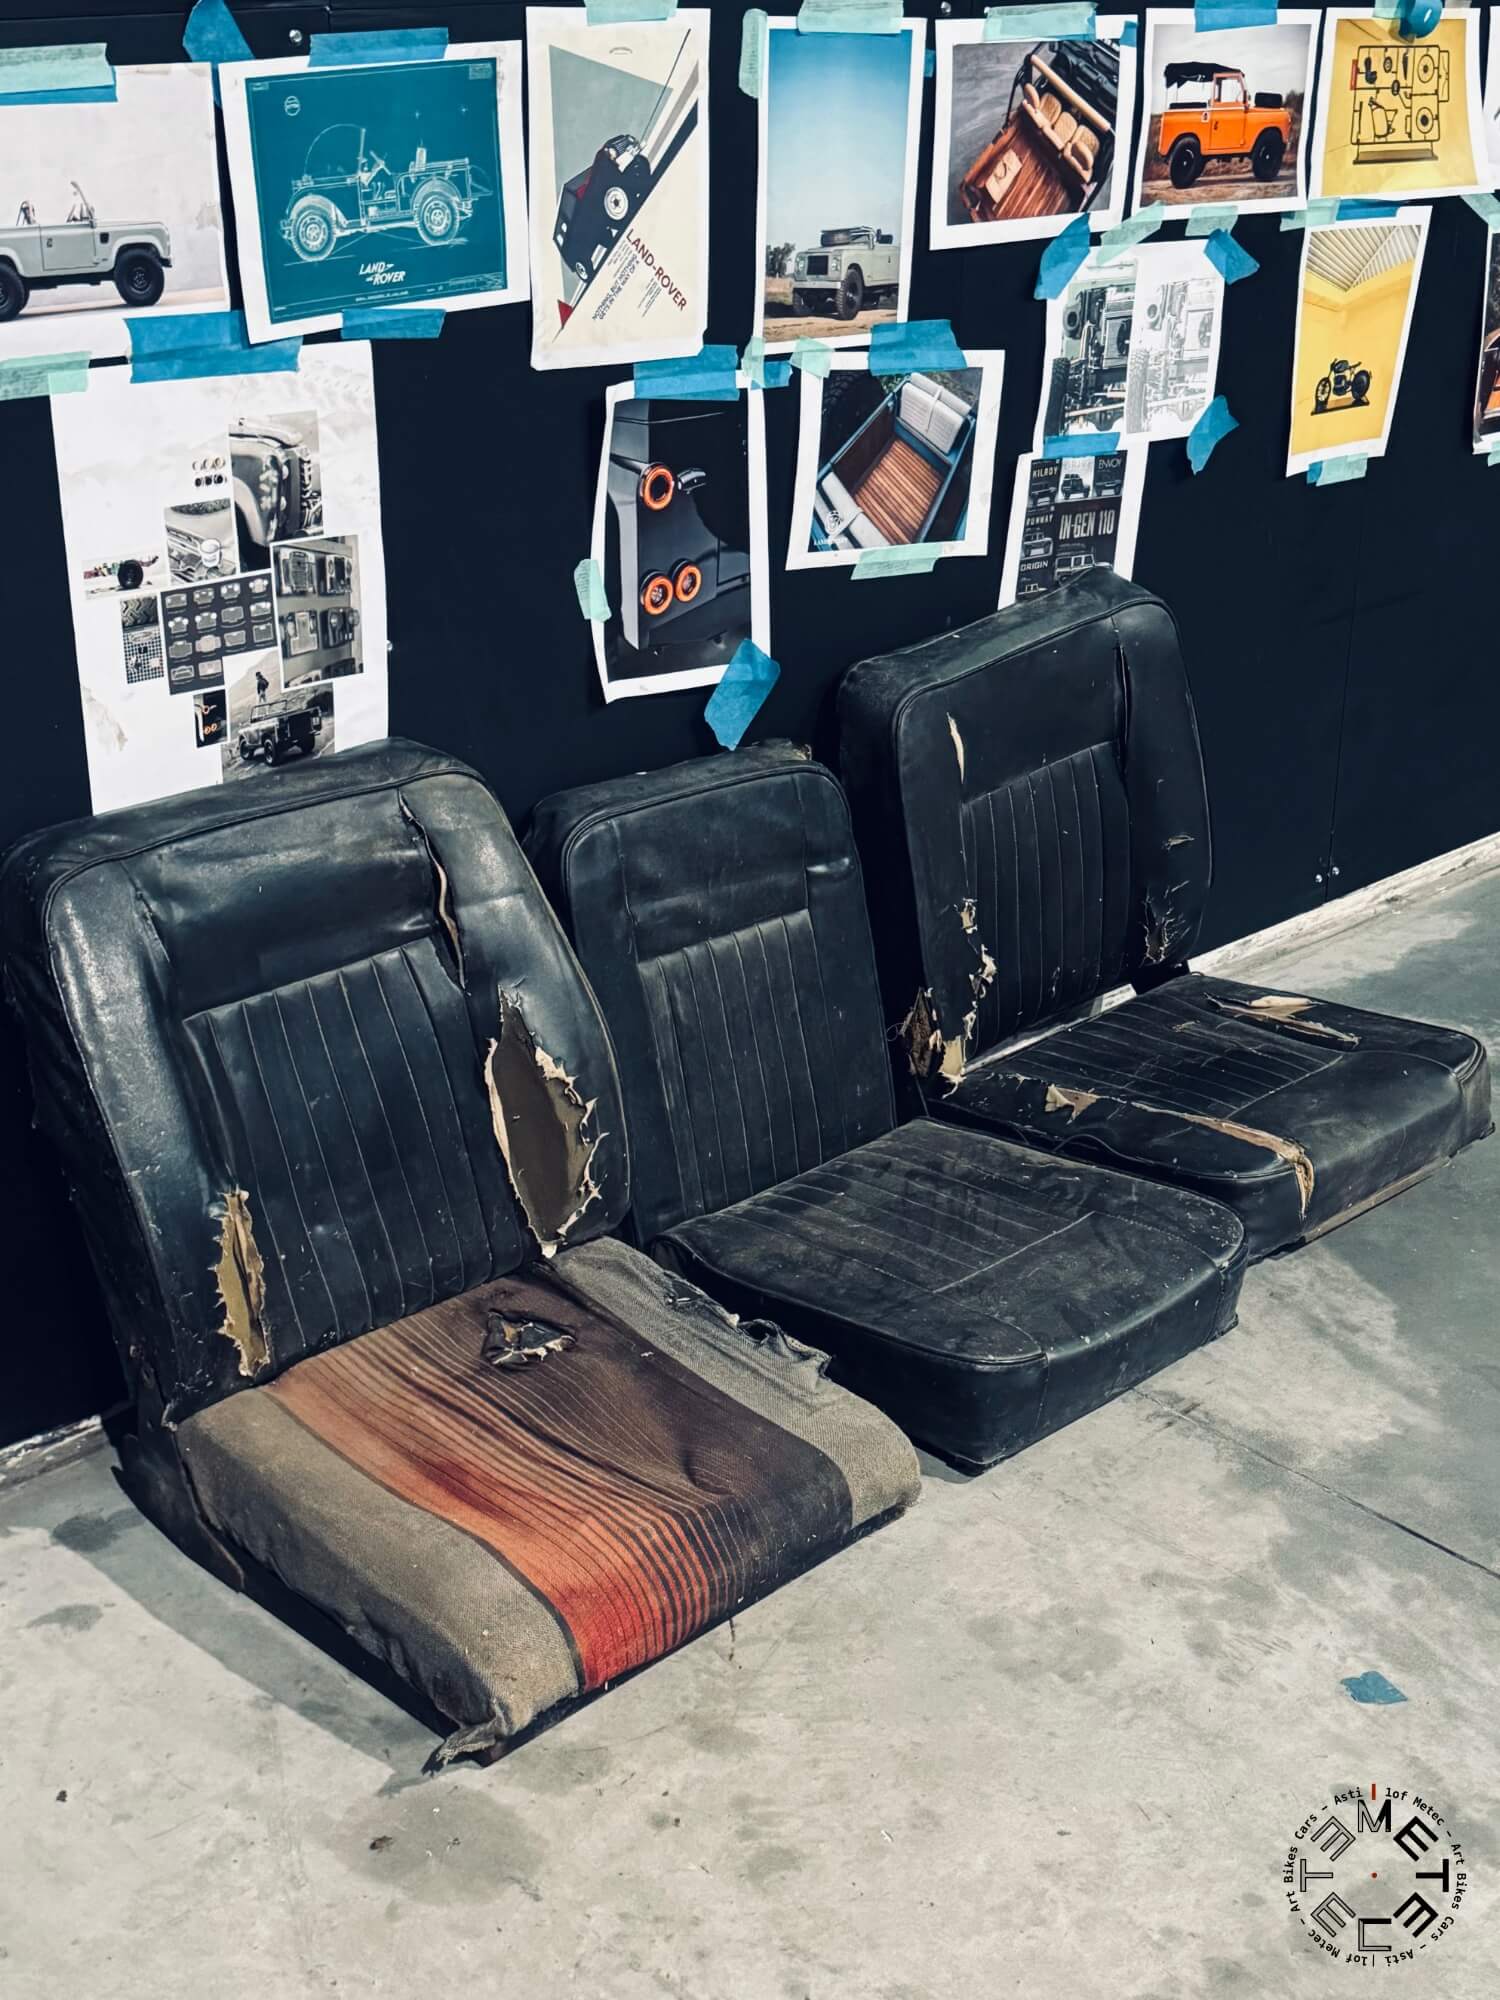
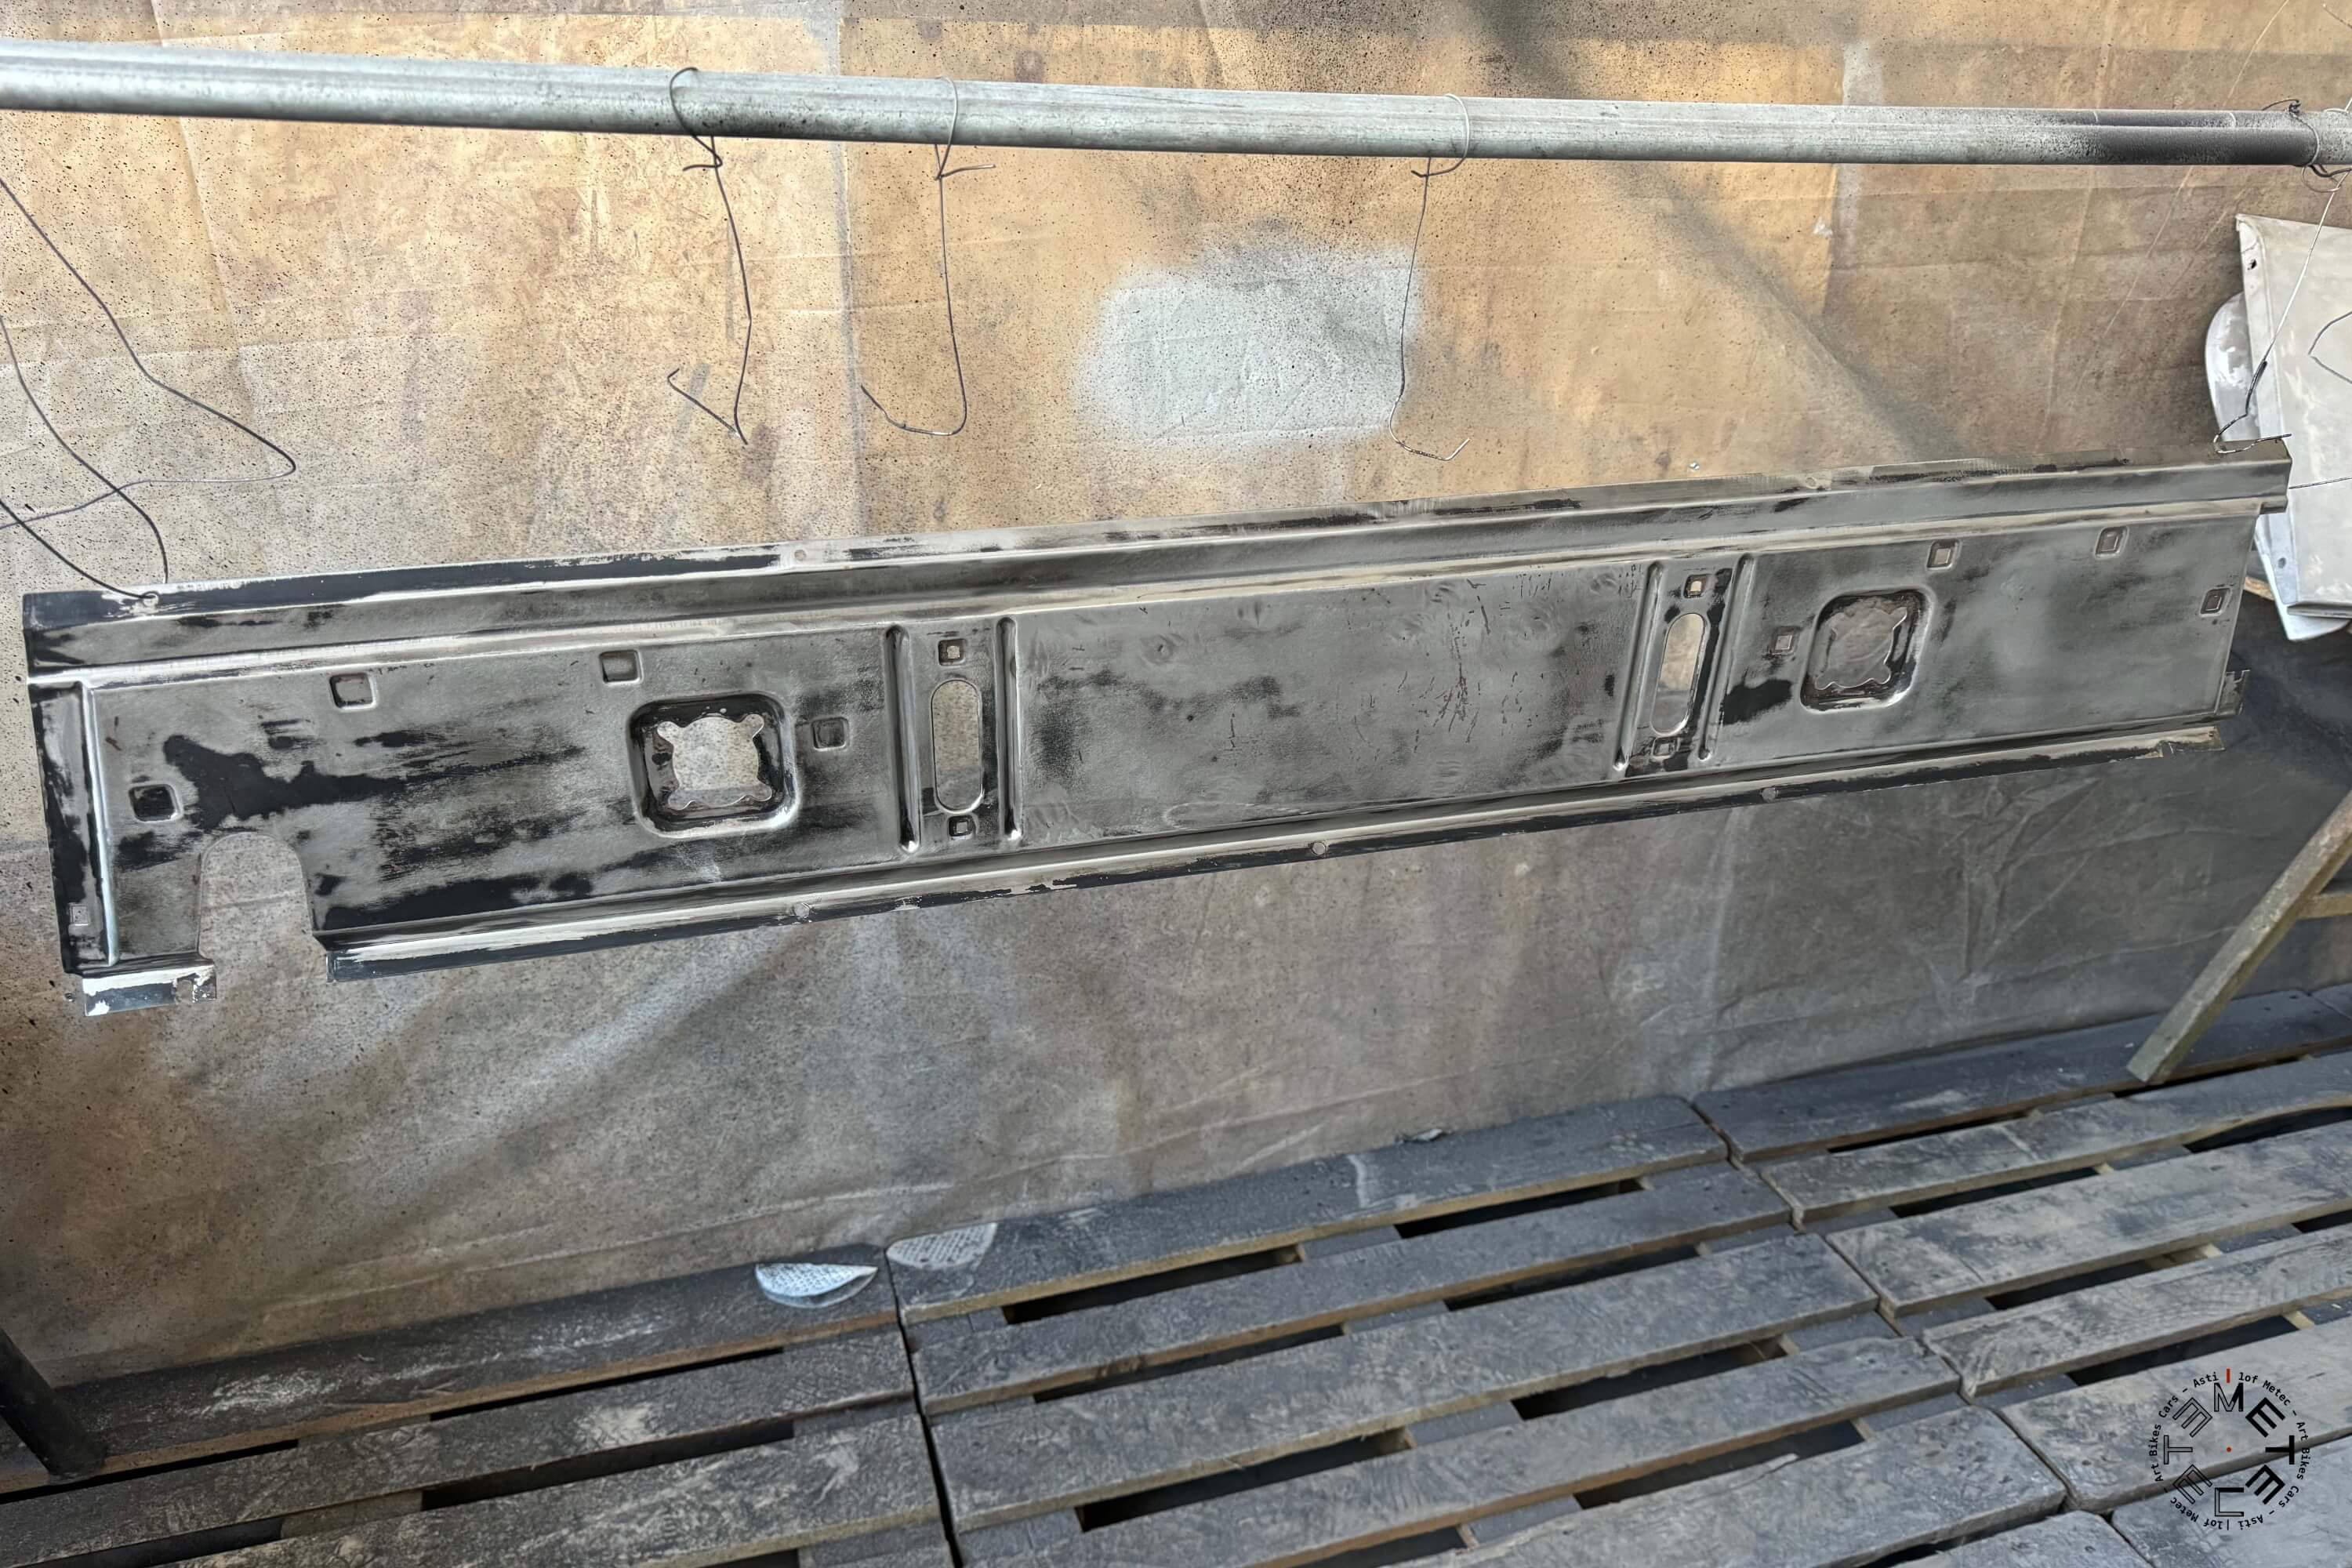
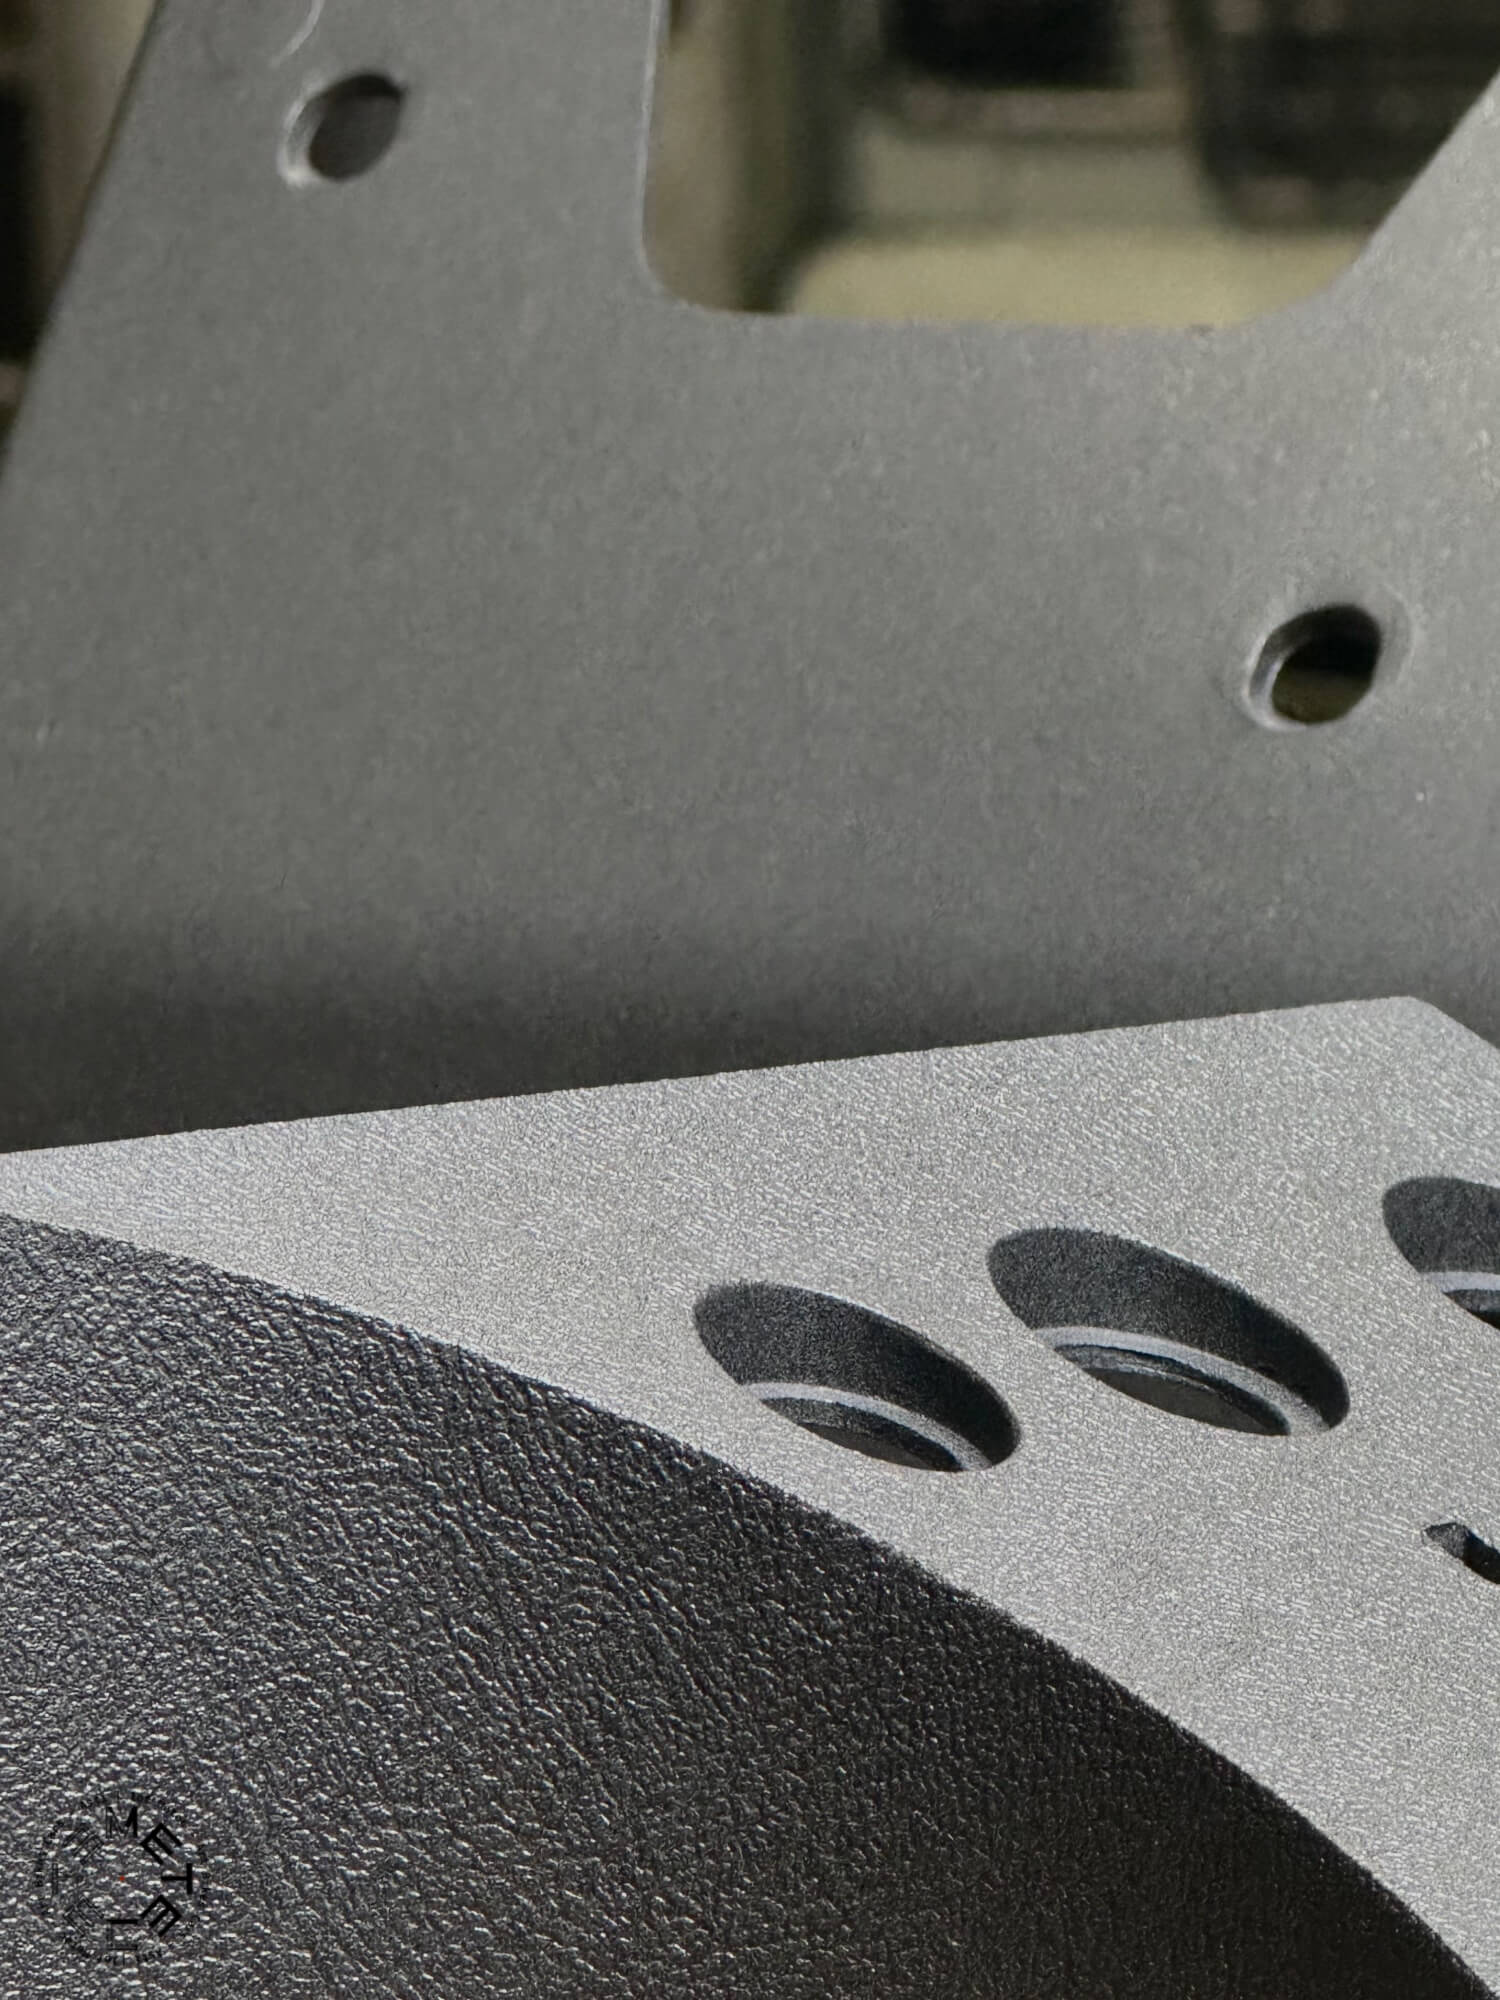
We made the same decision that has always guided us: we don’t like filler, we prefer to restore rather than replace.
And so, for the interior, we applied the same principle.
The seats and dashboard, as you can see from the photos, were in pretty rough shape—perhaps even worse than we had imagined.
But we didn’t let that discourage us.
We began by restoring the dashboard: every hole left by the previous owner (or perhaps by those who came before them) was carefully sealed,
bringing the metal back to its original shine, as if time had never left its mark.
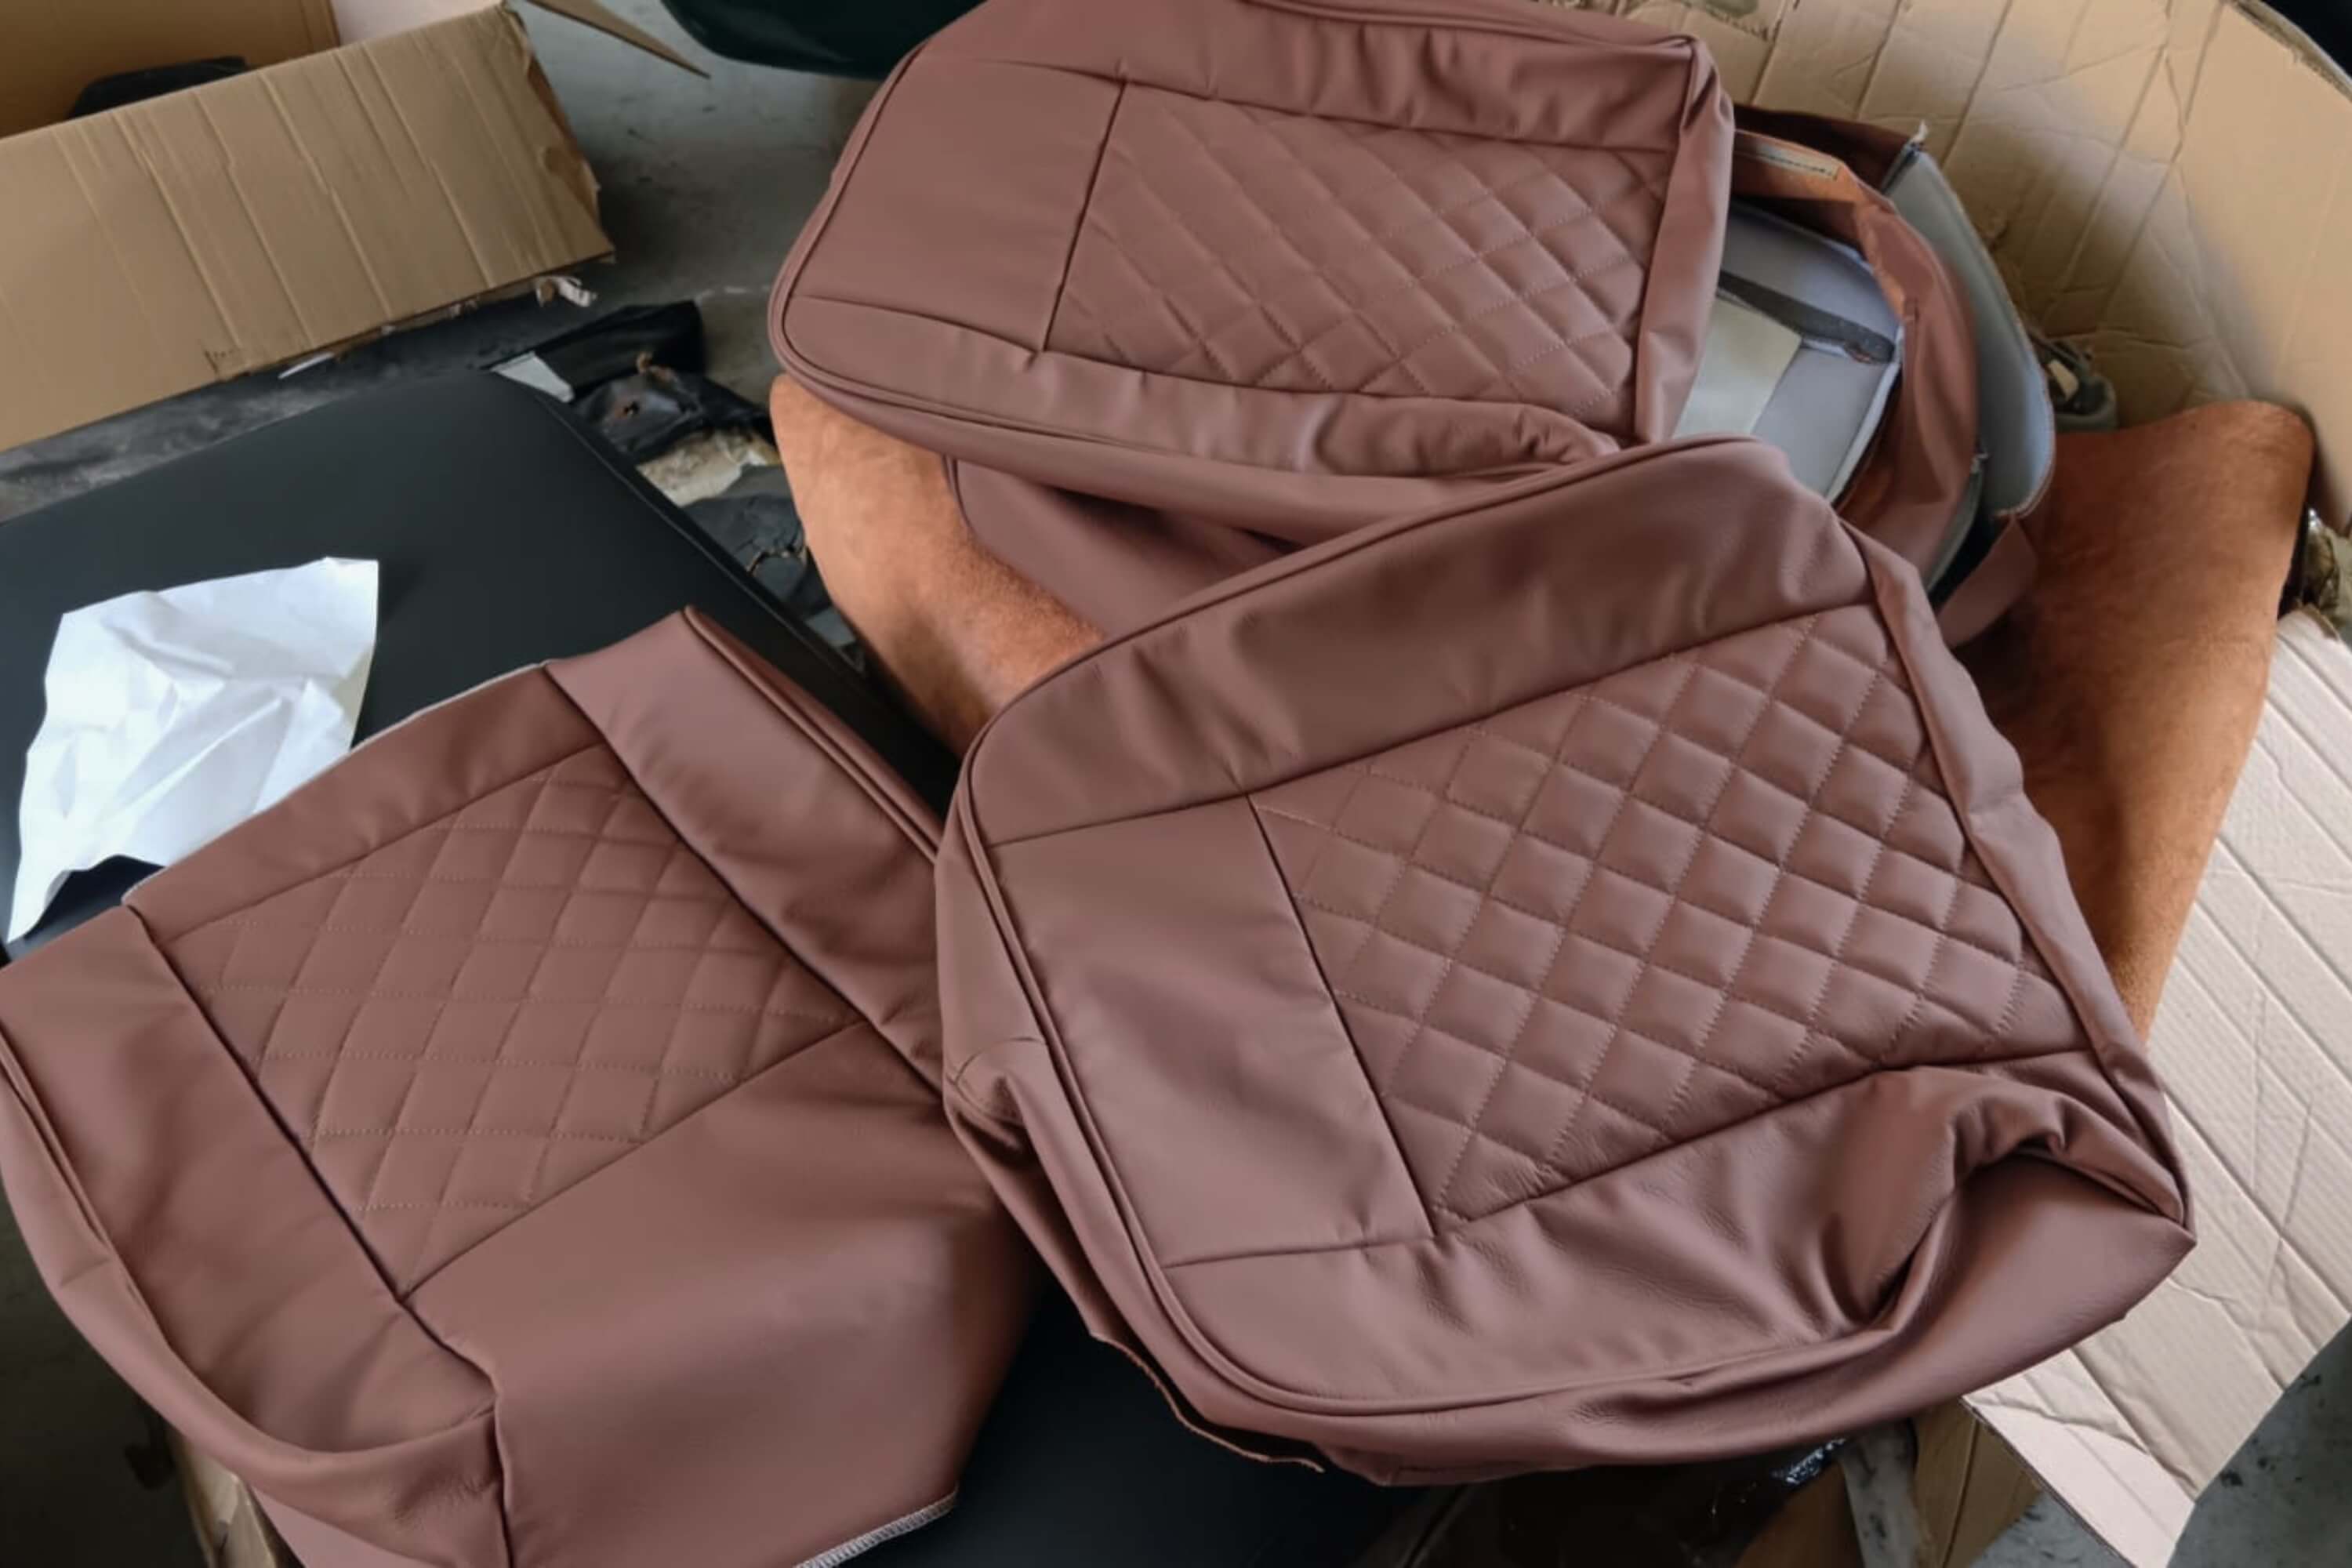
The seats, now worn out, were completely rebuilt and reupholstered in hammered brown leather, the same material used for the dashboard.
It adds a touch of elegance that not only refreshes the interior but also creates a visual harmony,
blending the past and present with craftsmanship that tells a story of dedication and passion.

The dashboard remains exactly as it has always been.
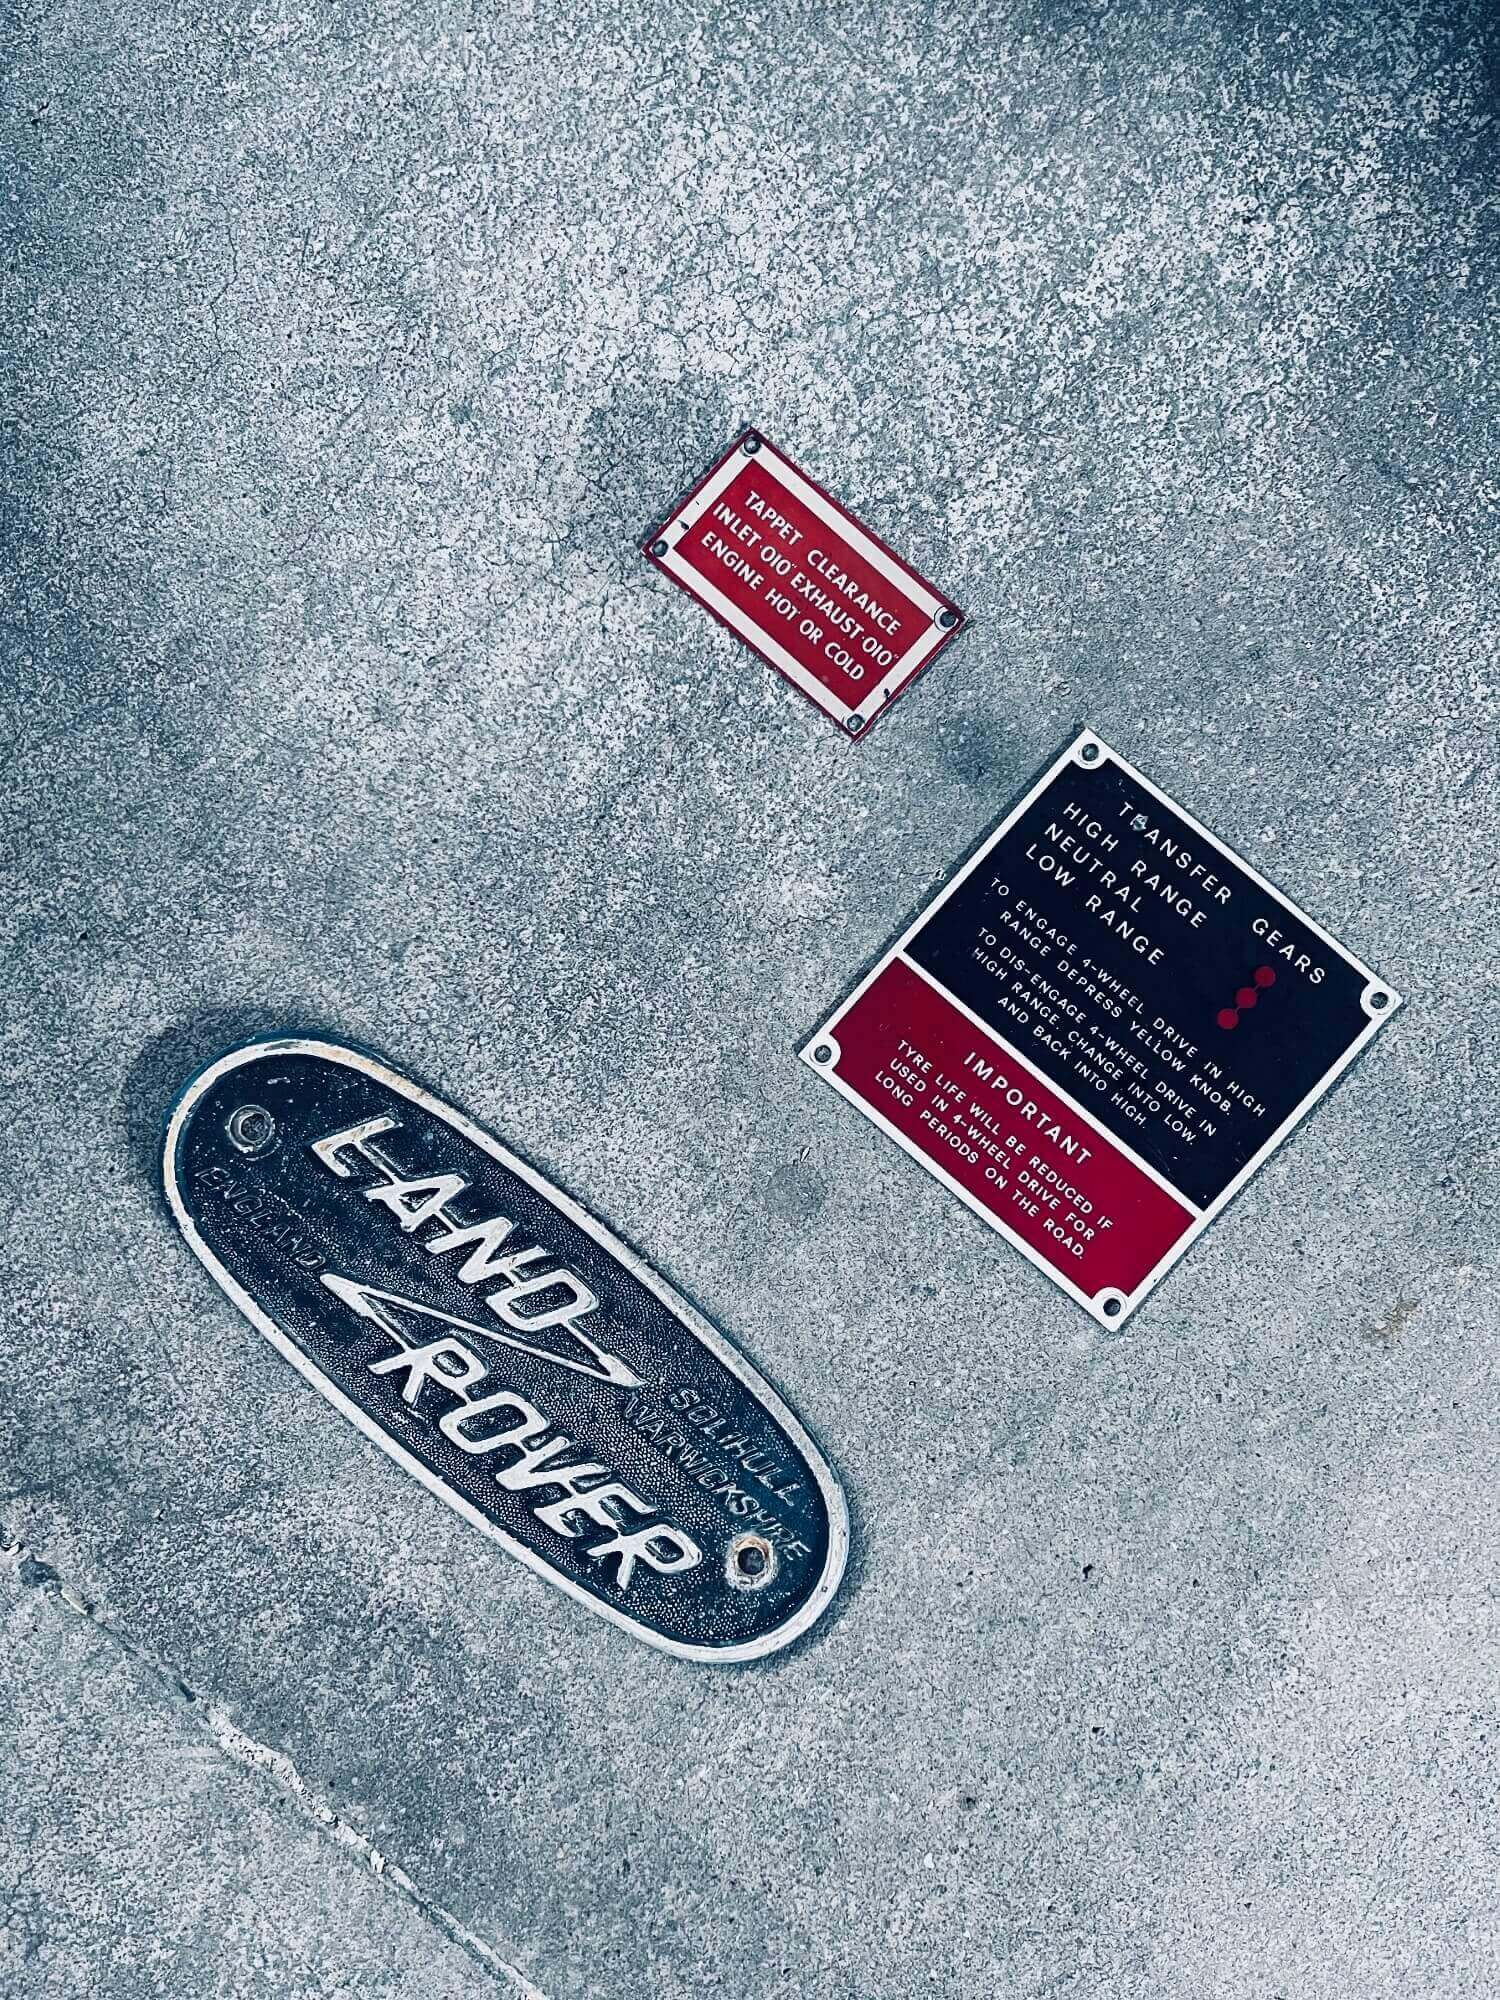
The needles, the switches, the bare metal still tell the story of the Land Rover Series.
At first glance nothing has changed, and yet everything is different.
LED headlights light the way without betraying the original aesthetic.
A hidden digital heart monitors pressure, temperature, and vital flows: no need for extra gauges, just connect.
With an iPad, or even a phone, the entire mechanical world reveals itself in real time, thanks to a silent Wi-Fi server working in the background.
Music plays through a Marshall speaker, the only visible concession to the present. Everything else stays where it belongs: invisible to the eye, but always ready when called upon.
This is the 99%: the final step that does not show itself, but can be felt.
A restomod that doesn’t shout, doesn’t seek to impress, but chooses to remain faithful to the past while quietly embracing the technology of the future.

The dashboard remains exactly as it has always been.
The needles, the switches, the bare metal still tell the story of the Land Rover Series.
At first glance nothing has changed, and yet everything is different.
LED headlights light the way without betraying the original aesthetic.
A hidden digital heart monitors pressure, temperature, and vital flows: no need for extra gauges, just connect.
With an iPad, or even a phone, the entire mechanical world reveals itself in real time, thanks to a silent Wi-Fi server working in the background.
Music plays through a Marshall speaker, the only visible concession to the present. Everything else stays where it belongs: invisible to the eye, but always ready when called upon.
This is the 99%: the final step that does not show itself, but can be felt.
A restomod that doesn’t shout, doesn’t seek to impress, but chooses to remain faithful to the past while quietly embracing the technology of the future.